DIY & Advice
How to Install a Cement Board for Tiling
Learn the basics of installing cement sheeting for your tile project.
Overview
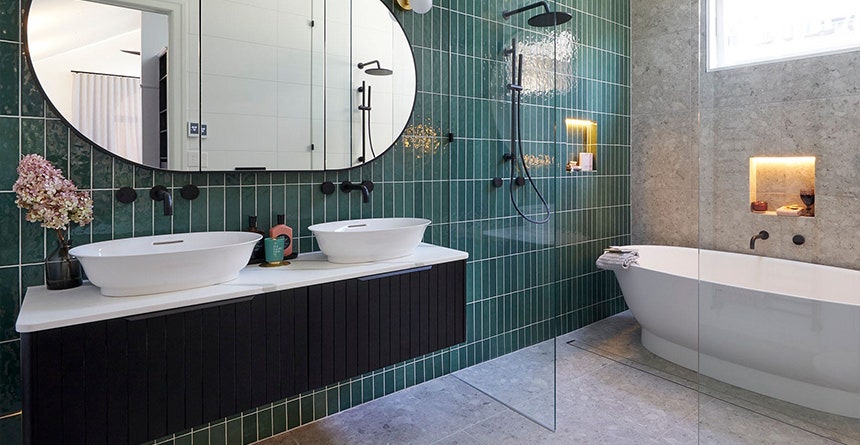
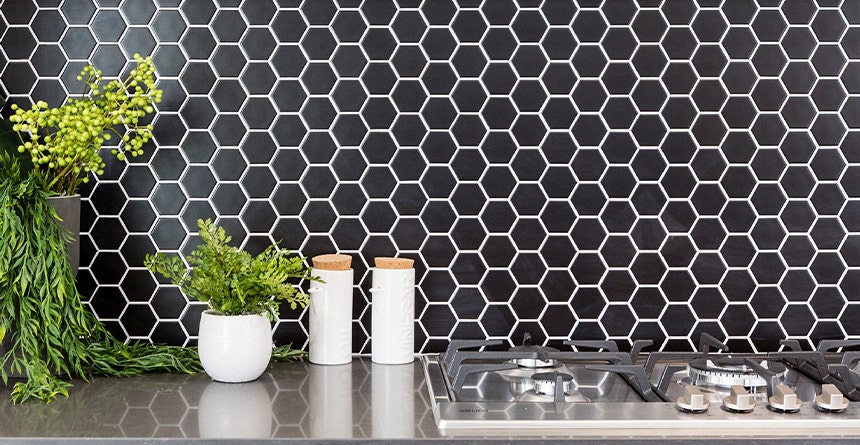
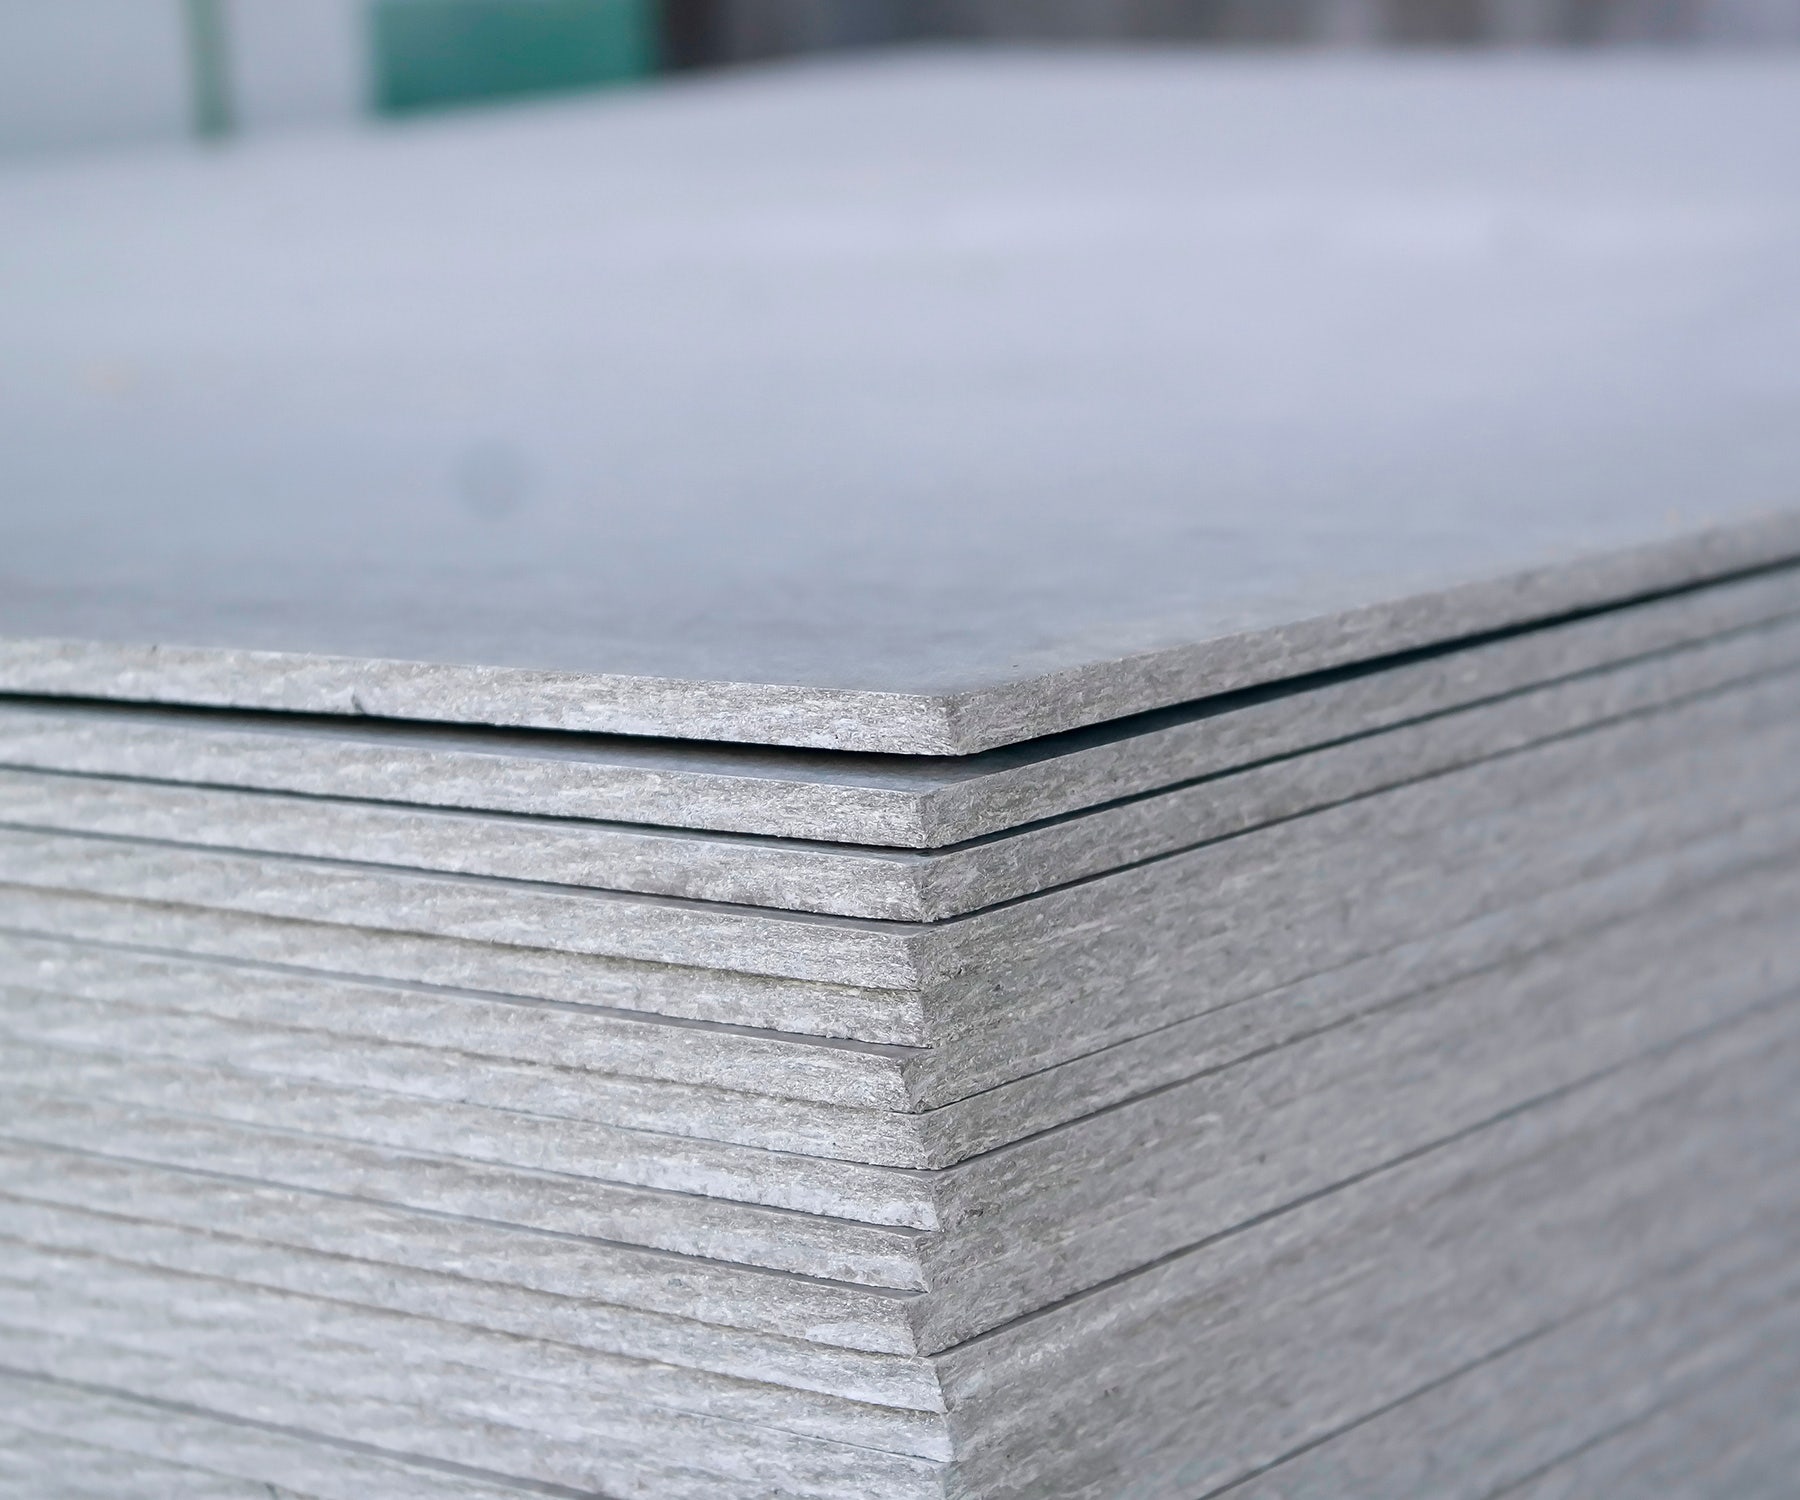
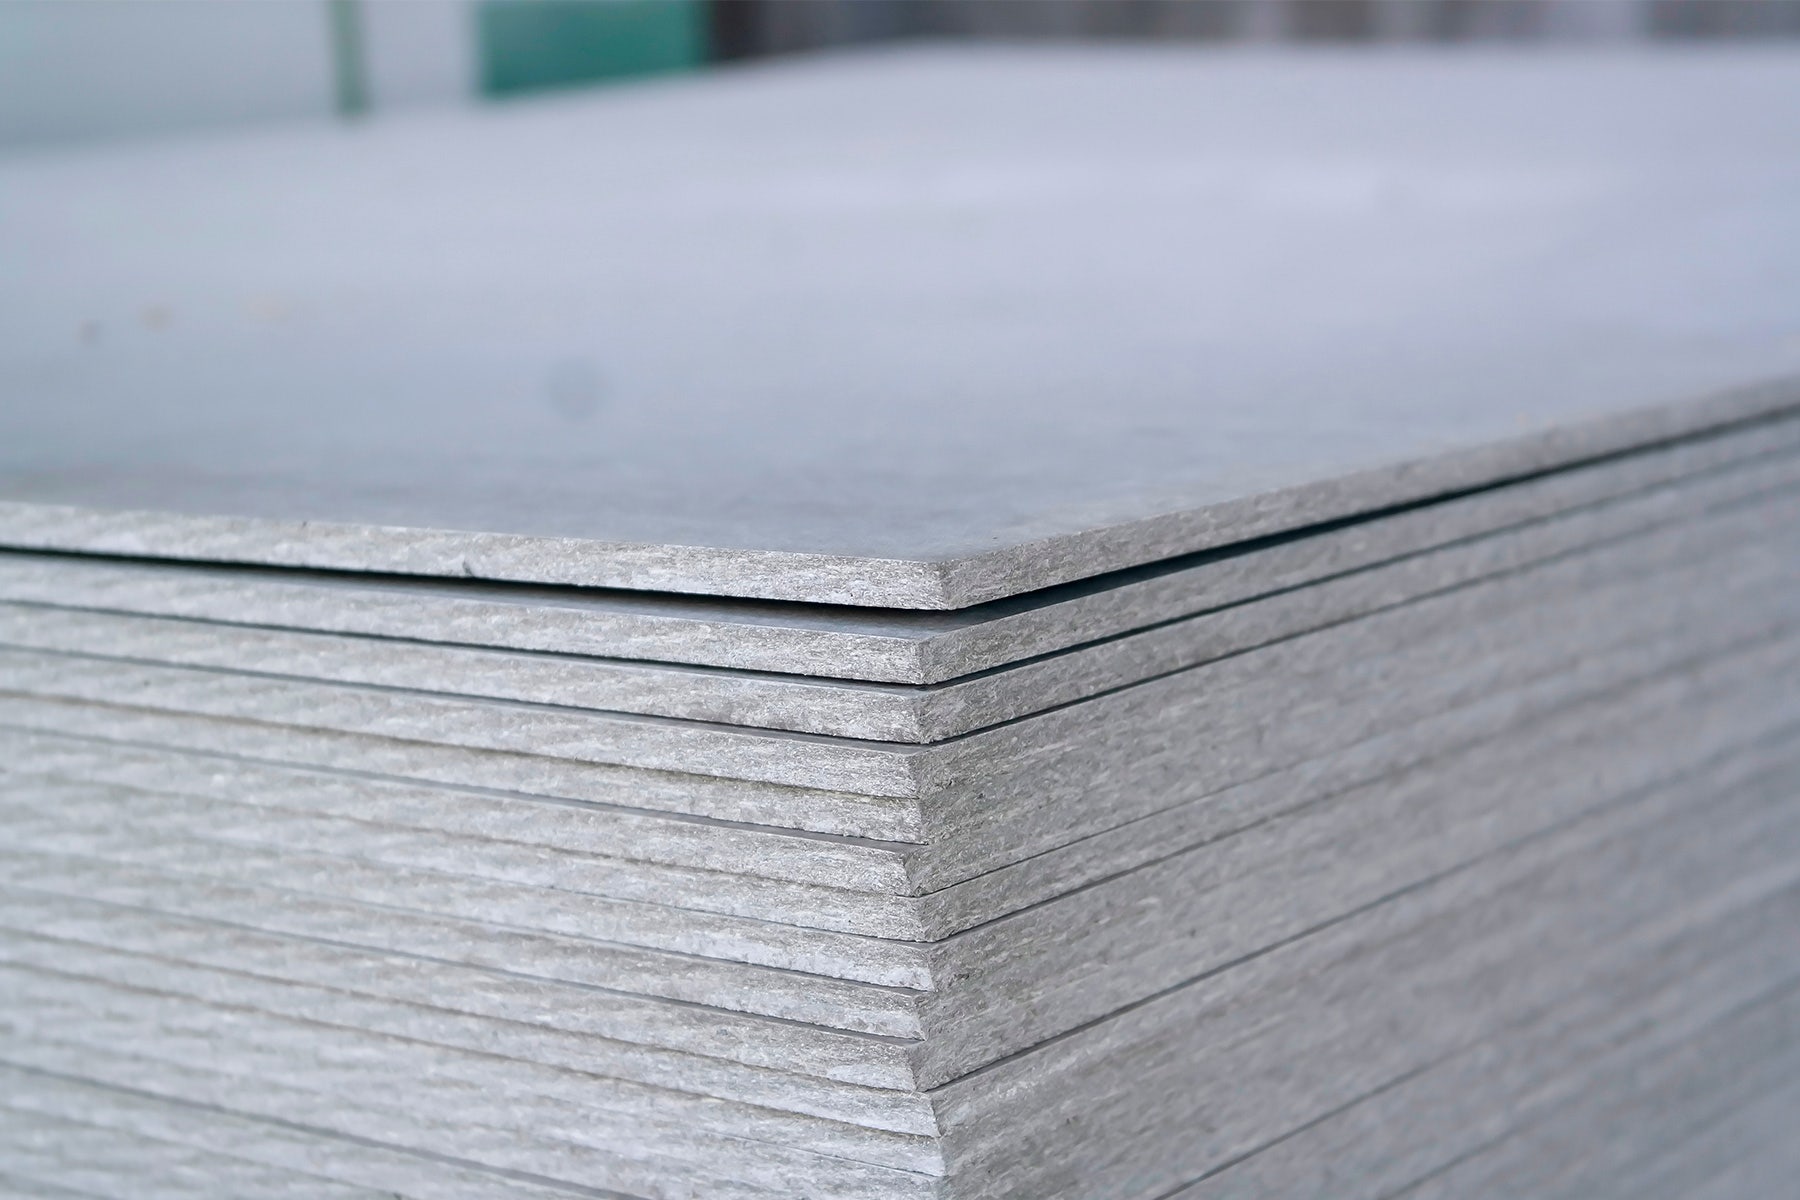
Cement board also known as cement sheeting is used as an underlay for tile installations, especially on the floor. Commonly referred to as Ceramic Tile Underlay (CTU) it helps to create a smooth and rigid substrate to tile over. Unlike plywood, particle board, plaster or drywall cement sheeting won't break down, expand or warp if it gets wet.
Ceramic Tile Underlay is frequently used over floorboards, plywood or particle board to help add rigidity preventing cracks or complications to a finished tile installation.
Getting your substrate right can make or break your tiling project, it is important to read the manufacturer's guidelines prior to installing Ceramic Tile Underlay and follow their instructions for best results, the below steps should be used as a guide only.
Any construction must follow the relevant building regulations and standards, and be sure the existing flooring and framing are suitable for tiling by contacting your builder, designer or engineer. If you are ever in doubt always call in a professional installer.
Hot Tip: If you are looking to tile over floorboards head to our dedicated blog here.
Tools & Materials
Required Items
-
Personal Protective Equipment such as goggles and a dust mask
-
Ceramic Tile Underlay (Cement Sheeting)
-
Cement sheet cutting guillotine, score and snap knife or diamond blade on a grinder
-
Level
-
Tape Measure
-
Straight edge guide, ruler or carpenter square
-
Broom
-
The manufacturer recommended adhesive or short countersunk screws
-
Bucket
-
Trowel or putty knife
-
Drywall T-square
-
Utility knife
-
Leveller ABA LevelFast 20kg Self Levelling OR 1254372: RLA Tru Level Econo Pro PLUS 20kg
-
Primer BT Porous Primer 5 Ltr OR Multiprime 4 Litre
How-To Steps
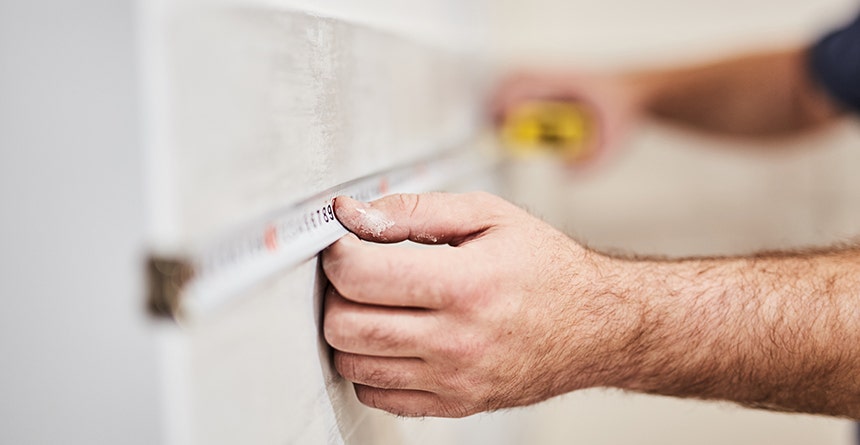
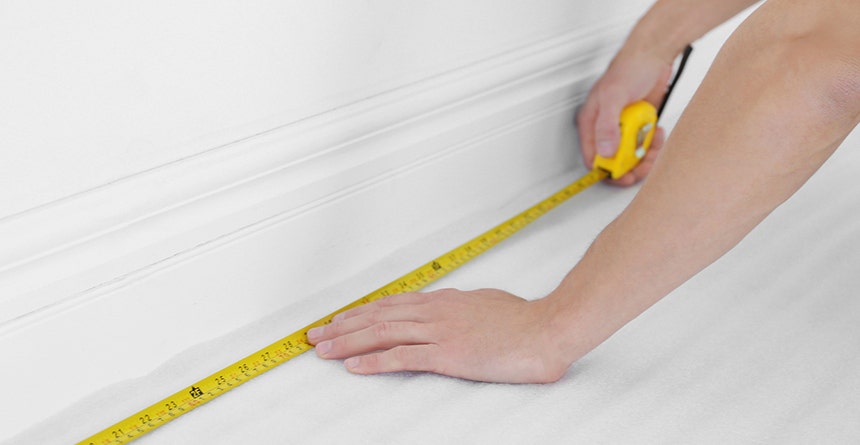
Step 1: Measure Up
Start by measuring your cement sheet allowing for a 5mm gap where it meets cupboards and walls.
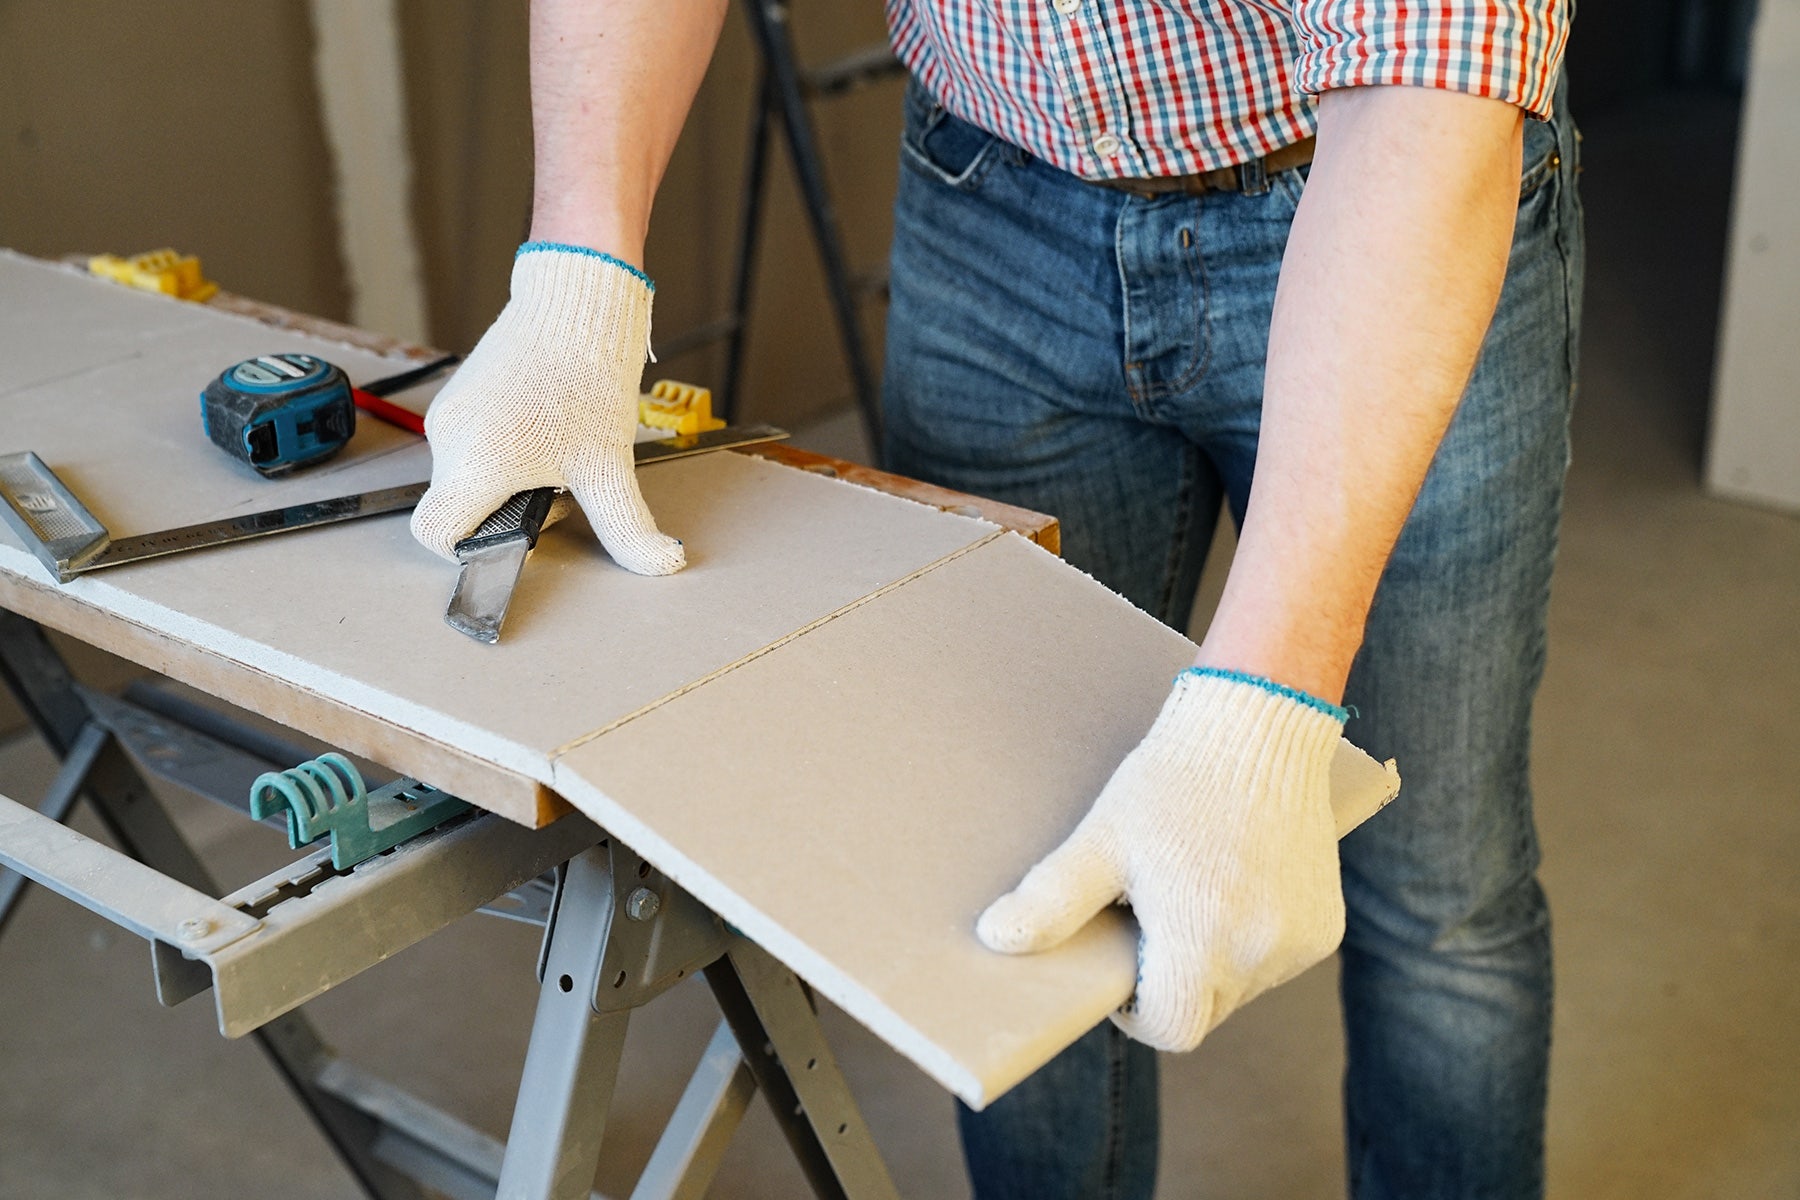
Step 2: Cut It
Cut it into shape using a cement sheet cutting guillotine, a score and snap knife or a diamond blade on a grinder.
Struggling to pick color that would match with each other? Try Adobe Color or Color Hunt, two great tools that do the job for you, from monochromatic to complementary you can have the perfect match for your colour.
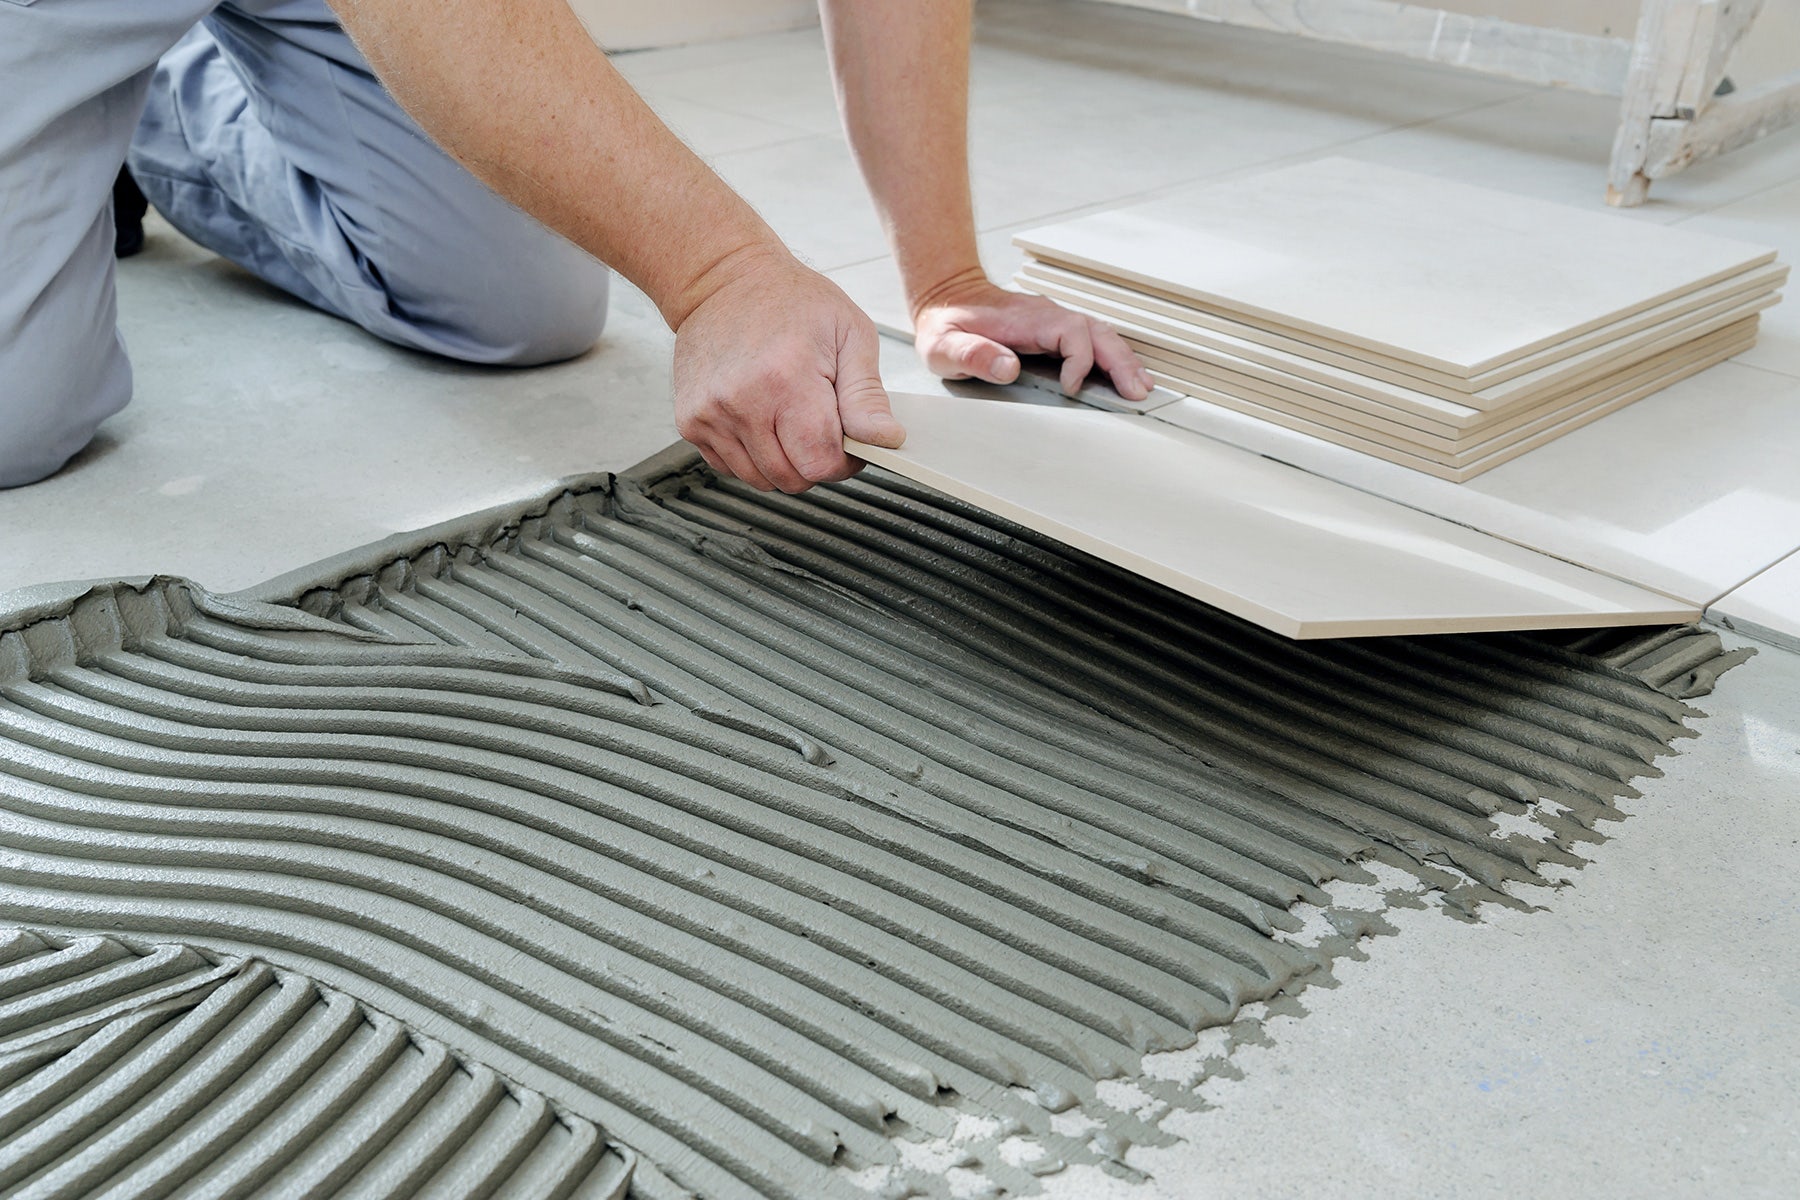
Step 3: Adhere
Always offset the CTU sheets in a brick bond pattern and make sure to start from one corner of your room and work your way out.
Depending on your original floor substrate varied adhesive methods will need to be followed. Read the manufacturer's guidelines prior to installing Ceramic Tile Underlay and follow their instructions for best results.
If adhering to hardwood floorboards use short countersunk screws to fix the sheeting down to your floorboards, Ceramic Tile Underlay normally comes with dots on the surface showing where these screws need to be placed. Read more about our recommendations for prepping tile over floorboards here.

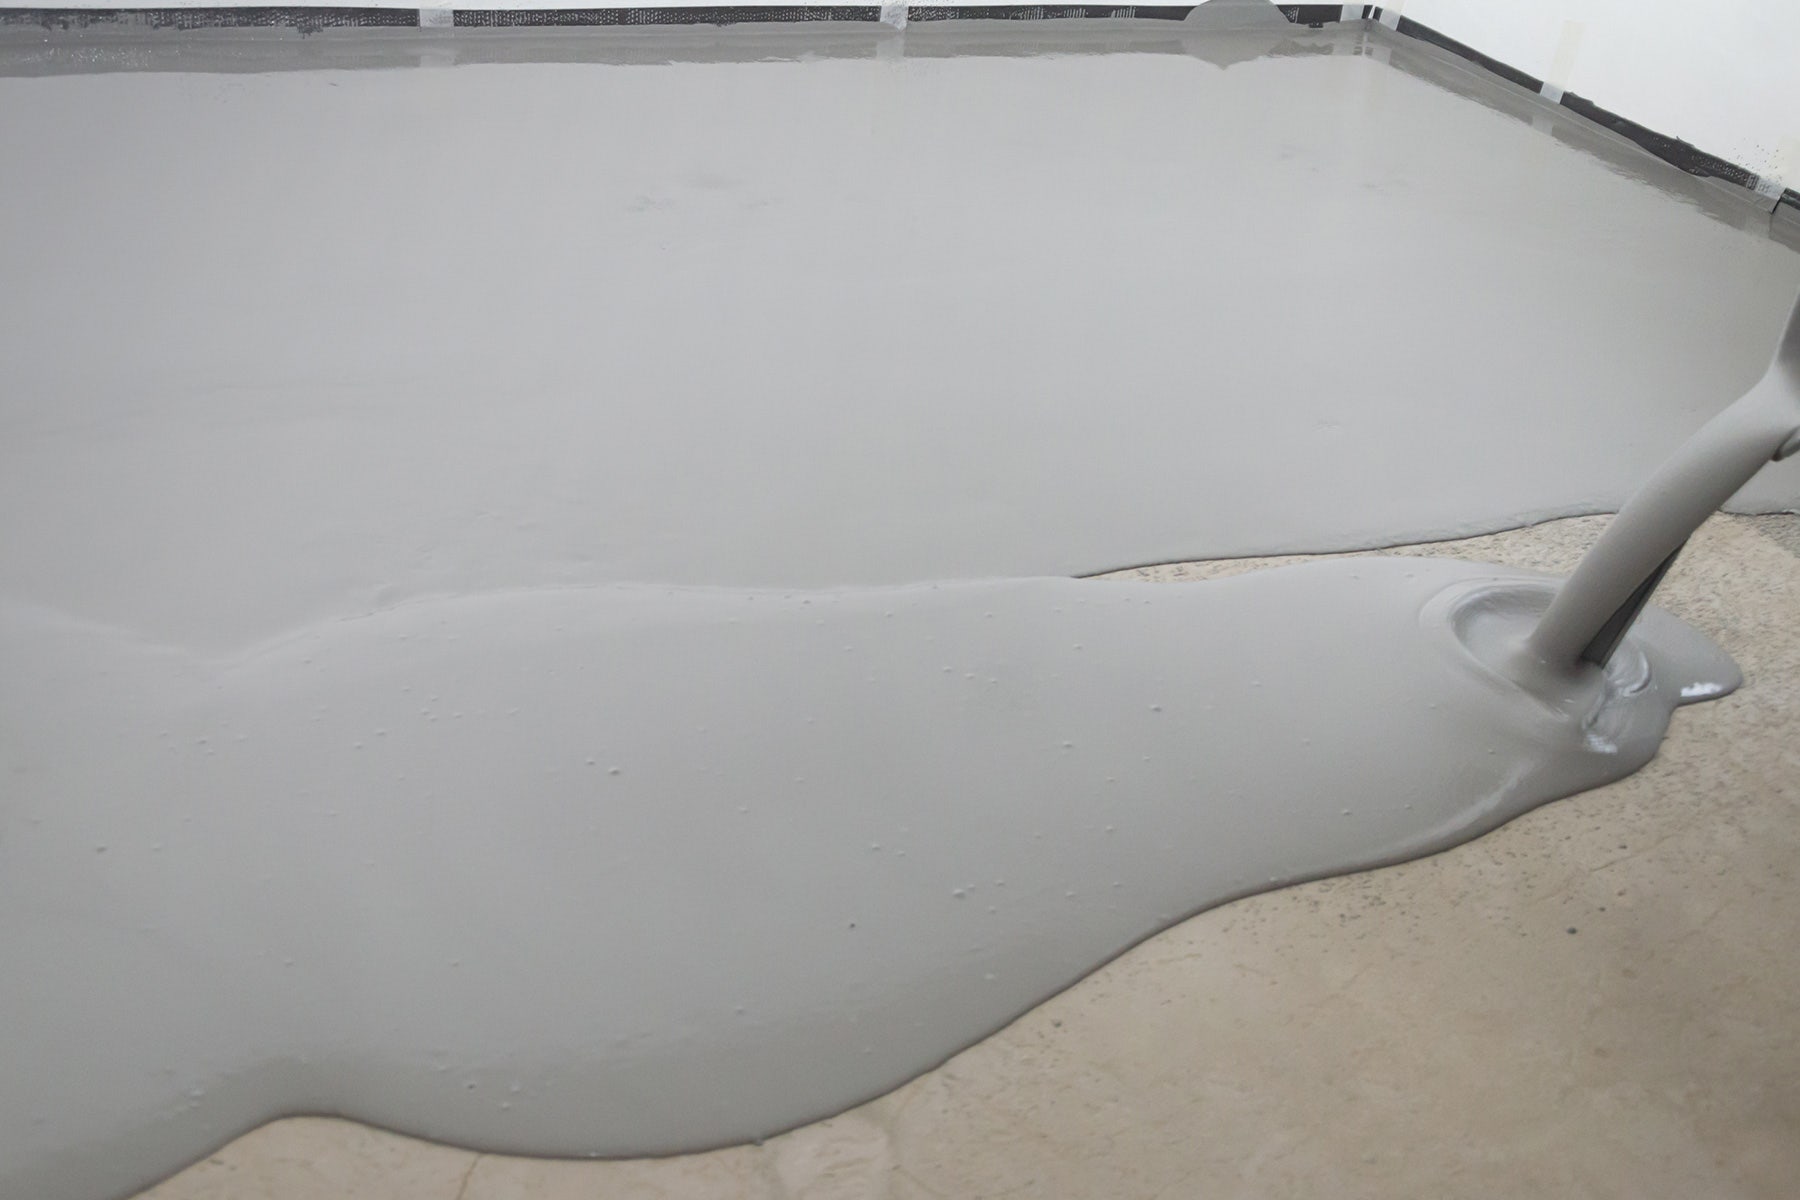
Step 4: Check your levels
Although ceramic tile underlay creates a smooth and rigid substrate for tiling this does not always mean that the floor will be level so be sure to check and use a self-levelling system on top if required.
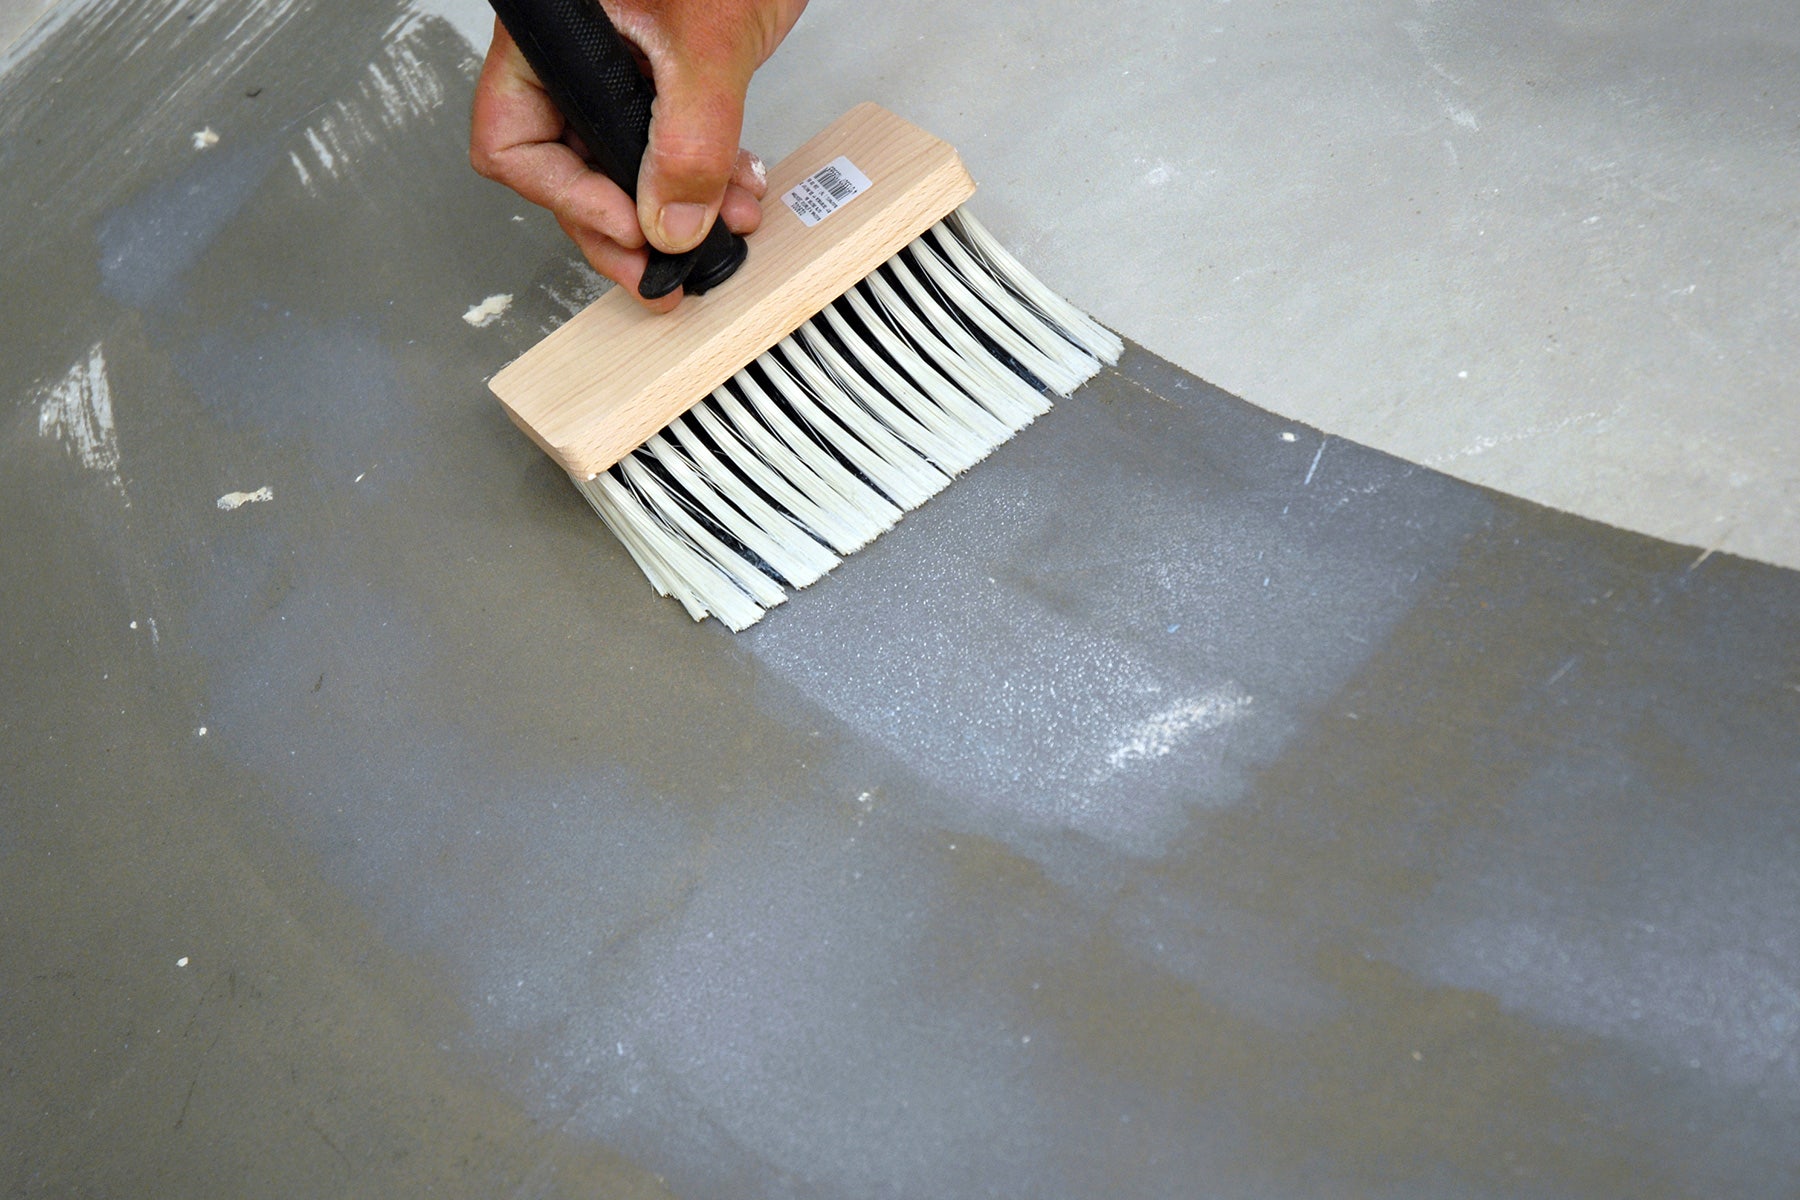
Step 5: Get ready
You are almost ready for tiling but before you can your cement sheeting will need to be primed.
Primer improves tile adhesion and is easy to apply with a brush or roller products such as BT PRIMER or ARDEX MULTIPRIME are perfect.
Hot Tip: If your project is a wet area you will need to waterproof your surfaces prior to applying tile adhesive or tiles.
Step 6: Tile Time
When you’re done priming or waterproofing you are ready for the action, head here for all the details on getting your DIY tile installation looking professional.