DIY & Advice
Undertile Heating Mats
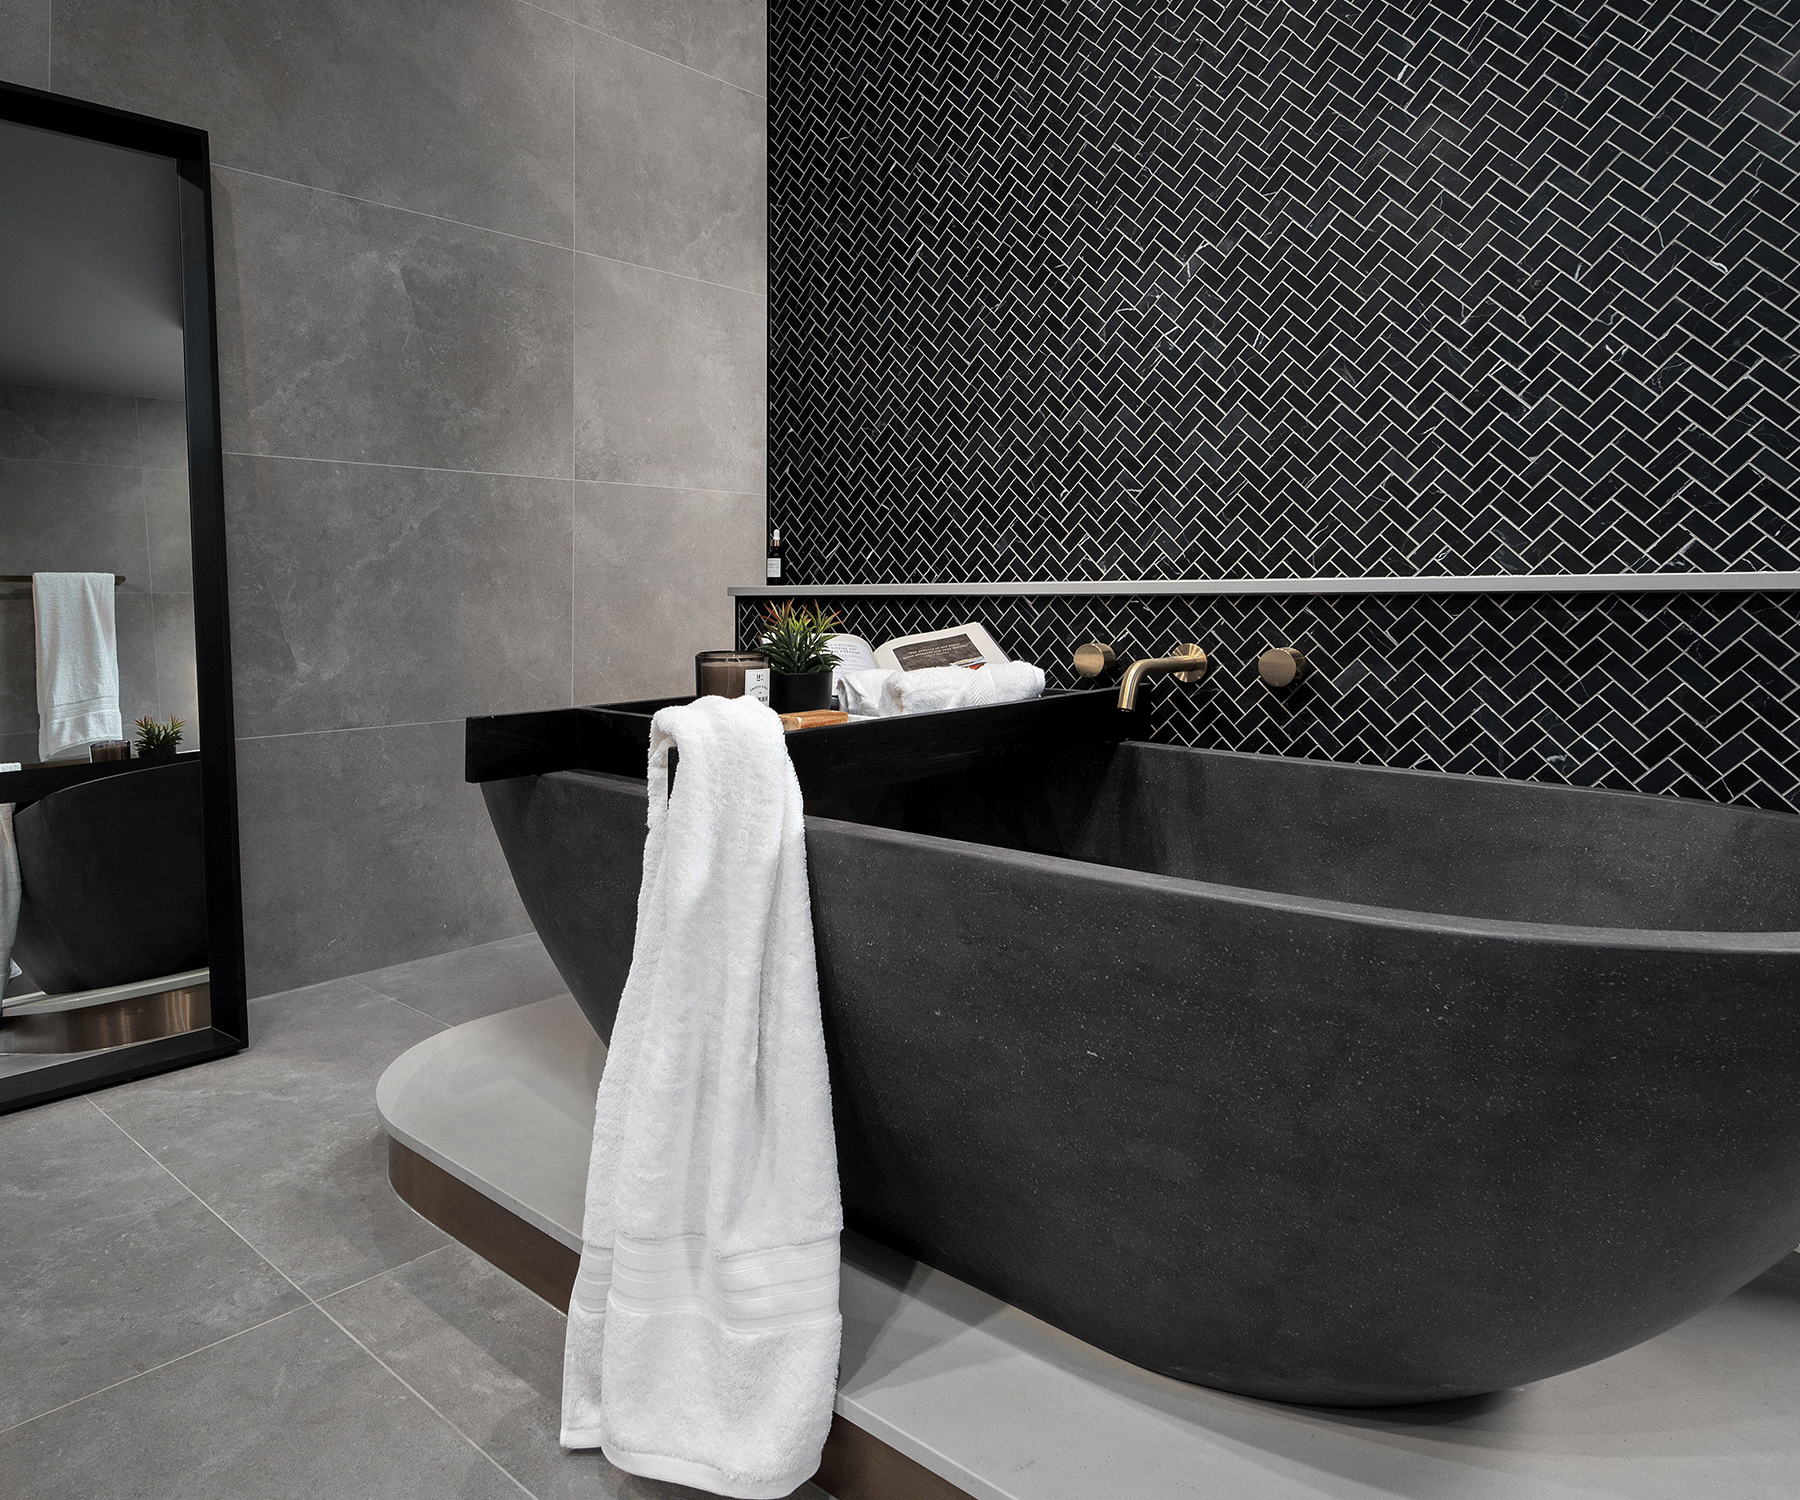
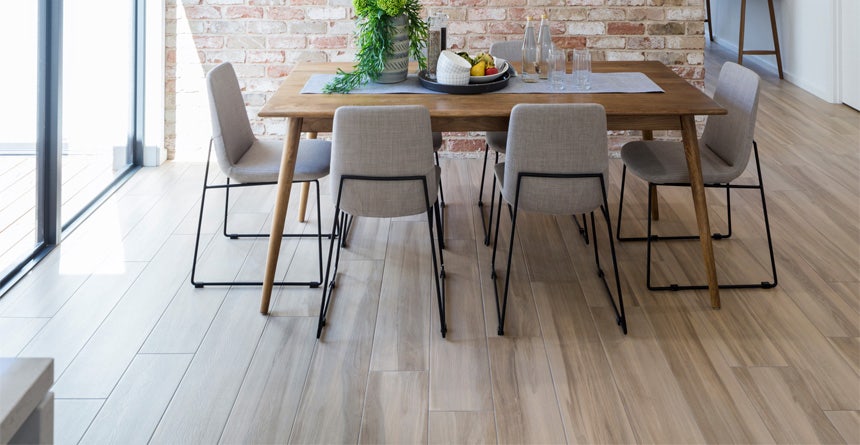
Floor Heating Mats are part of the huge range in bathroomware that Beaumont Tiles offers to you to make your dream area come true.
The Heating Mats at Beaumonts offer all the benefits of Under Tile Heating with the added bonus of the element being already fixed to a mesh.
This makes installation a breeze as you simply roll out the system across your floor. As with all Hotwire products the fully programmable thermostat is standard. You just need to choose which colour you want!
What is an undertile heating mat?
An undertile heating mat provides a warm floor underfoot complimenting a hydronic system perfectly. The electric under tile heating mat is laid on top of your waterproofing and tiled directly over. Once operating it will heat your tiles which in turn radiate and heat your bathroom. They are affordable to run due to being controlled by a programmable thermostat.
Some Helpful Information for you
- The heating mat must only be installed asper the our instructions.
- The heating mat MUST NOT be cut or shortened or the cold tail join be put under any strain.
- In accordance with the local electricity laws an authorised electrician must carry out all prescribed electrical work.
- Your Hotwire element is classified as an electrical appliance. All electrical connections including the connection of the thermostat must be undertaken by a licensed electrician.
- IMPORTANT: A certificate of Compliance (COC) must be issued by the electrician once the installation has been completed. Your electrician may need to check and test the mat installation prior to any floor covering being laid including the screed.
- The design wattage for our heating mats is 150 watts per m2.
- The mat width is 450mm wire to wire.
- Subfloor: It is essential that the subfloor is sufficiently rigid to support the heating elements and not allow unnecessary movement.
Our Hot Tip: Learn about the different types of adhesives here
Our Hot Tip: We’re always here to help book a free online or in-store expert consultation or contact our expert helpline on 1800 4 TILES between business hours.


How to prepare your floor for a Heating Mat
It used to be that the biggest cons of using an under tile heating system are the challenging installation process and the cost to run it. But those days are long gone.
Modern options, like the one we have here at Beaumonts are not only super easy to install—especially our ready-to-install, DIY-friendly Heating Mats *—but also cost next to nothing to run.
And when we say they cost next to nothing to run, we mean it. Using our under tile heating solutions, you can heat a typical bathroom for as little as 700 watts. For comparison, a typical heat lamp unit easily runs at 1500 watts.
Follow these easy steps to prepare your floor for this amazing and innovative solution:
- Floors must be entirely clean, dry and level. If necessary sand or grind the floor first. Clean working surfaces will provide good adhesion.
- If a timber subfloor is being used, then we recommend tile and Slate underlay being installed prior to the elements to give the floor the rigidity required. This is especially important if the subfloor is tongue and groove flooring.
- Water proofing membrane requirements are determined on installation methods and are subject to local council requirements/regulations.
- Where there is no water proofing, the floor must be painted with primer and allowed to dry for 30-40 minutes. This will ensure good adhesion for taping down the element.
Do's and Don'ts of a Undertile Heating Mat
What To Do
- Read the installation instructions prior to the installation.
- Ensure the surface is clean and clear of obstructions
- Plan the heat mat layout prior to installation.
- Pre-plan post drilling Eg: doorstops vanities etc to eliminate damage to the element.
- Before starting and after laying use a multi-metre to check the resistance on the cable ensuring there is a circuit.
- Ensure that all heating element is positioned on the floor and not up into the wall cavity.
- Protect the element prior to tilling
- Check the element again for resistance readings prior to tiling starting and when tiling be very careful not to damage the element.
- Use Tile adhesives and grouts that are suitable for use with underfloor heating.
- Ensure that each tile is solidly bedded in adhesive with no air gaps.
- If you are unsure of any aspect of the installation or the suitability of the subfloor to be heated, check with your supplier (place of purchase) or call 0800 HEATING for technical advise.
What Not To Do
- Don’t cut or attempt to shorten the element
- Don’t commence installation on concrete floors that are not fully cured
- Don’t allow the heating element to cross over or touch – nor cross over into another room.
- Don’t allow the element to be installed on irregular surfaces.
- Don’t commence tiling before checking the continuity tester is working and that it is fitted to the elements cold tails.
- Don’t turn on the heating until the adhesives has fully cured (7 days)

Watch this quick video of how simple, easy & efficient is to install our Floor Heating Systems
Our Hot Tip: The experts have created a handy DIY guide that will be your best friend throughout your DIY journey - DOWNLOAD IT HERE