DIY Tiling
Finish
If you’re up to Finishes, you are almost there...well done! In this section, we’ll cover off everything you need to know to finish your DIY project off like a pro and keep your tiles looking amazing for years to come.
In this section, we run through everything you need to know about the finishing touches.
Click on any topic below and we’ll take you directly to our tips. Come back to this index at any time if you need more information.
| Sealing grout | Our experts run through why sealing your grout is so important. |
| Sealing tiles | Find out why your tiles need to be sealed to keep them looking beautiful for years to come. |
| Sealing natural stone | All natural stone needs to be sealed, our experts dish out their top tips. |
| Grout haze | Grout haze can cause your tiles to look a little dull after they're laid - our experts run you through what you need to know. |
| How to clean tiles | How to get rid of grout haze and get your tiles shining in all their beauty. |
| Cleaning epoxy grout residue | Cleaning up epoxy adhesive and grout residue requires a specialised Epoxy Wash. |
| Silicone | Our hot tips and tricks for the best process for applying silicone. |
Our Hot Tip: Our DIY experts have created a handy guide that will be your best friend throughout your DIY journey. Download it here!

Sealing Grout
Why sealing your grout is so important.
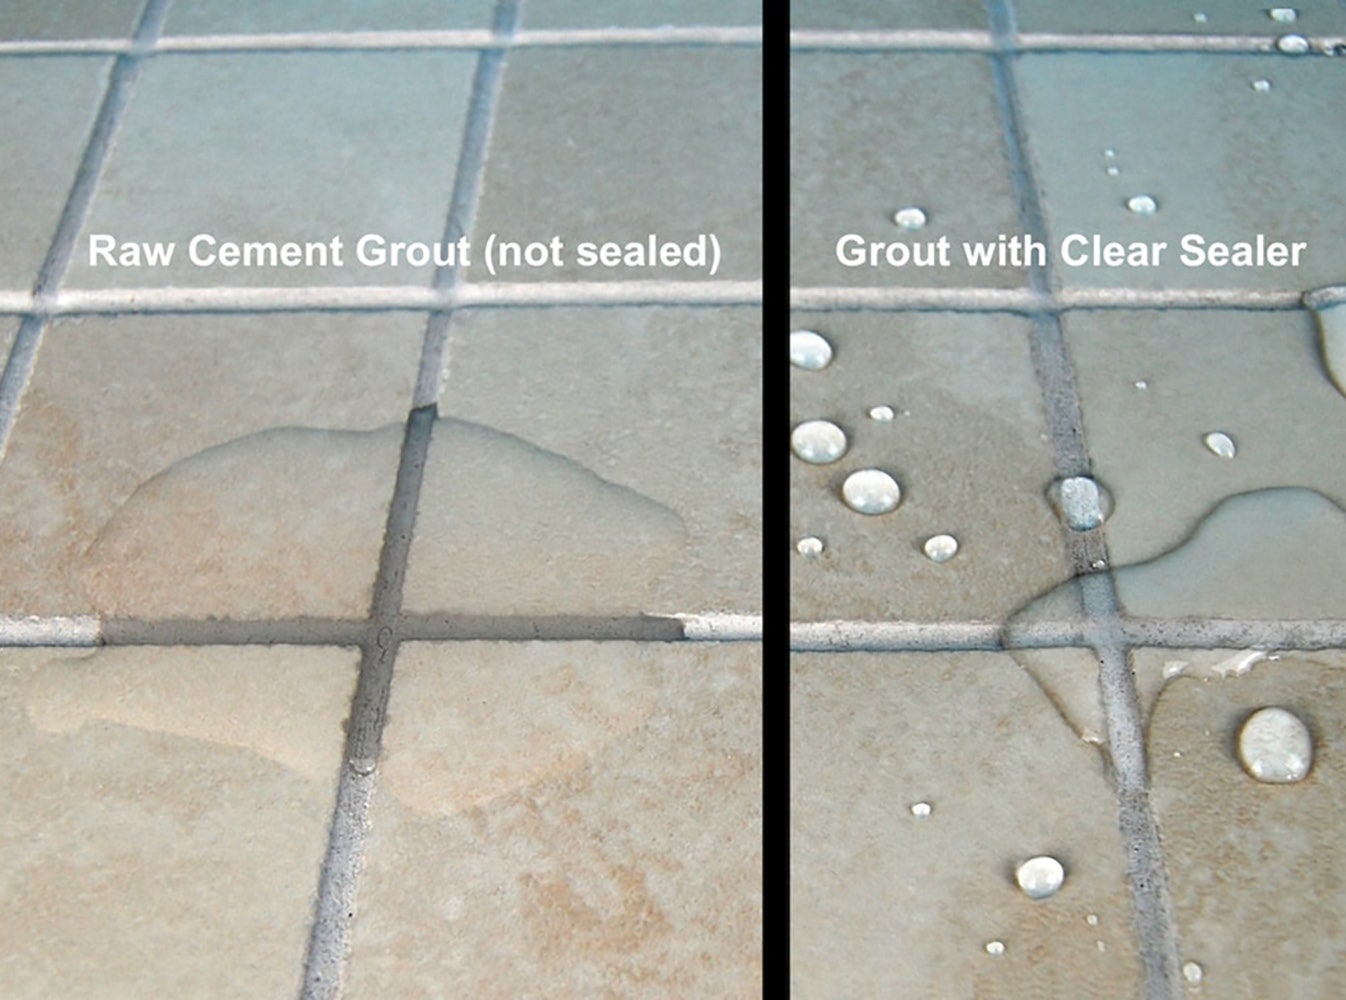
Grout contains sand and is porous which means it will absorb water and moisture (unless you are using an epoxy-based grout). It’s important to get one step ahead of the moisture by sealing all of your grout lines on both your walls and floors. The grout sealer will penetrate the pores in the grout and make maintaining your tiles easier, keeping your tiling job looking fresh for years to come.
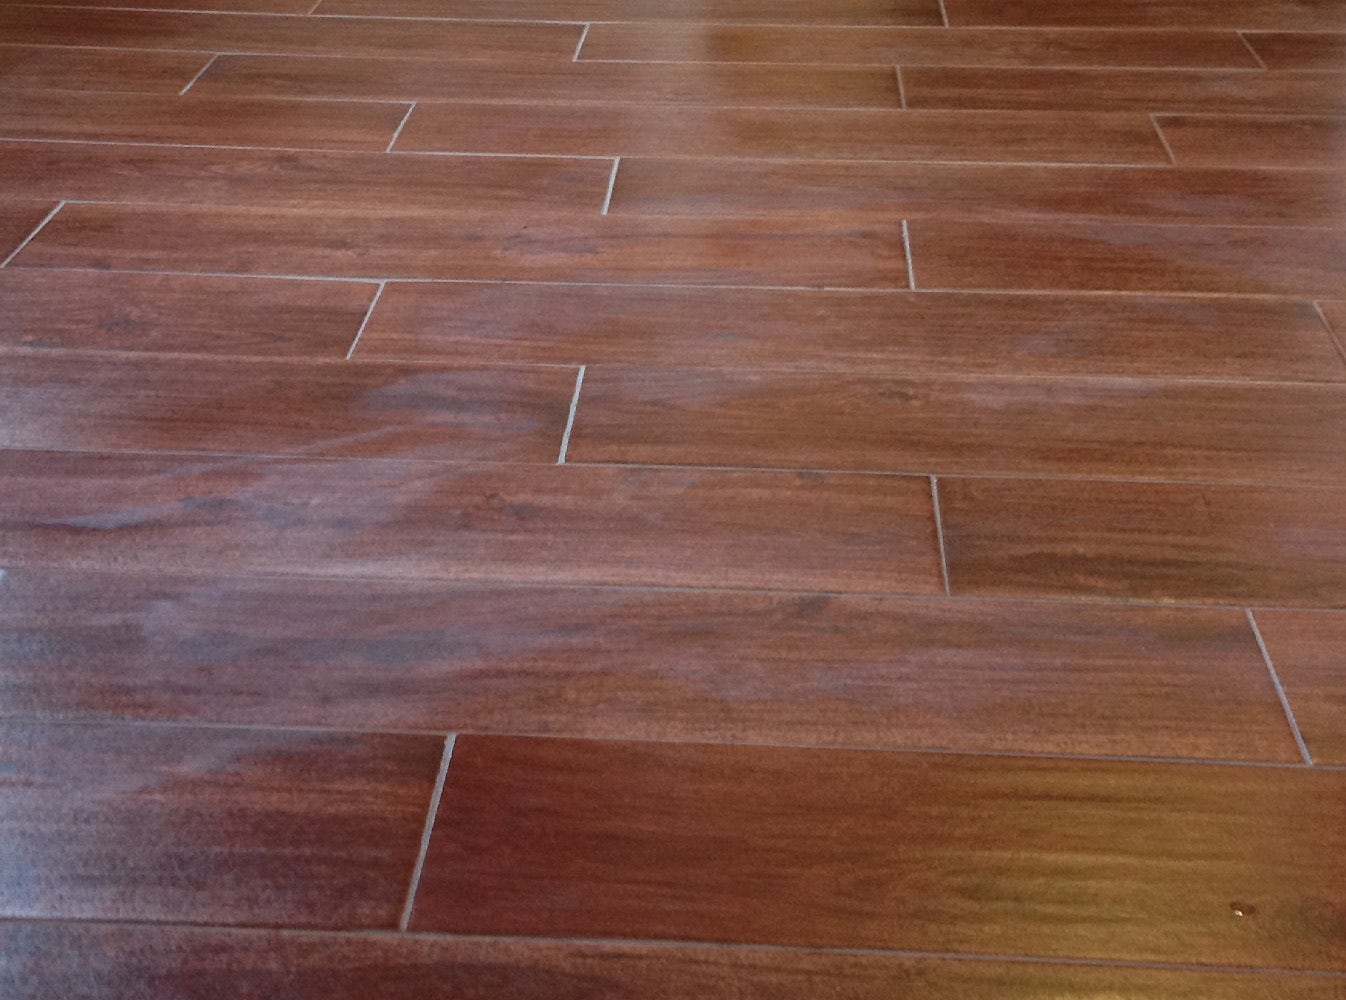
The grout sealer will last for many years but the longevity depends on the level of traffic or wear endured by your tiles. The best way to tell if your grout needs re-sealing is to sprinkle some drops of water over the tile surface. Any grout that immediately absorbs the water needs sealing. If the water stays as a bead, your grout sealer is still working - see the picture to the left for a visual representation of sealed vs unsealed grout.
Your local Beaumont Tiles store has a great range of grout sealers, including spray-on sealer which can make the job a lot easier. Pop in and speak to your friendly experts.
Our Hot Tip: Never apply grout sealer to the surface of a non-glazed tile, otherwise, the sealer may soak into the tile itself unevenly and won’t come out.
Our Hot Tip: We recommend Miracle 511 spray on grout sealer. You’ll find our full range of grout sealers here.
Sealing Tiles
Normal glazed ceramic and porcelain tiles are impervious to water and do not require sealing. The glaze seals the surface and there are no pores or holes for stains to enter. Unglazed tiles can have either a very low water absorption (like polished porcelain) or have higher absorption (like terracotta). Some of these will require a suitable sealer.
Virtually all polished porcelain tiles sold by Beaumont Tiles are pre-sealed with a very special penetrative sealer to make them more resistant to staining. It is still important, however, to promptly clean off any substance which is likely to cause a stain, as polishing and sealing a tile does not make it as resistant to staining as a glazed tile.
If the tile you choose is not pre-sealed, your consultant will let you know. It is then important to seal the tiles when they are laid and before they are grouted to avoid problems with stains. If you are unsure if your tiles need to be sealed, you can always ask your local friendly Beaumont team.
If your tiles need re-sealing, such as natural stone, the frequency will depend on the amount of wear endured by the tiles or natural stone. You can test if your tiles require re-sealing by conducting a simple test. Using an eye-dropper, deposit a few drops of contaminants such as red wine, cooking oil or lemon juice on the surface of a loose tile and leave it for 15 minutes. Wipe off the contaminants and if the surface is stained, the tile will benefit from a re-seal.
Our Hot Tip: Your local Beaumont Tiles store can recommend the best sealer for the tile you select.
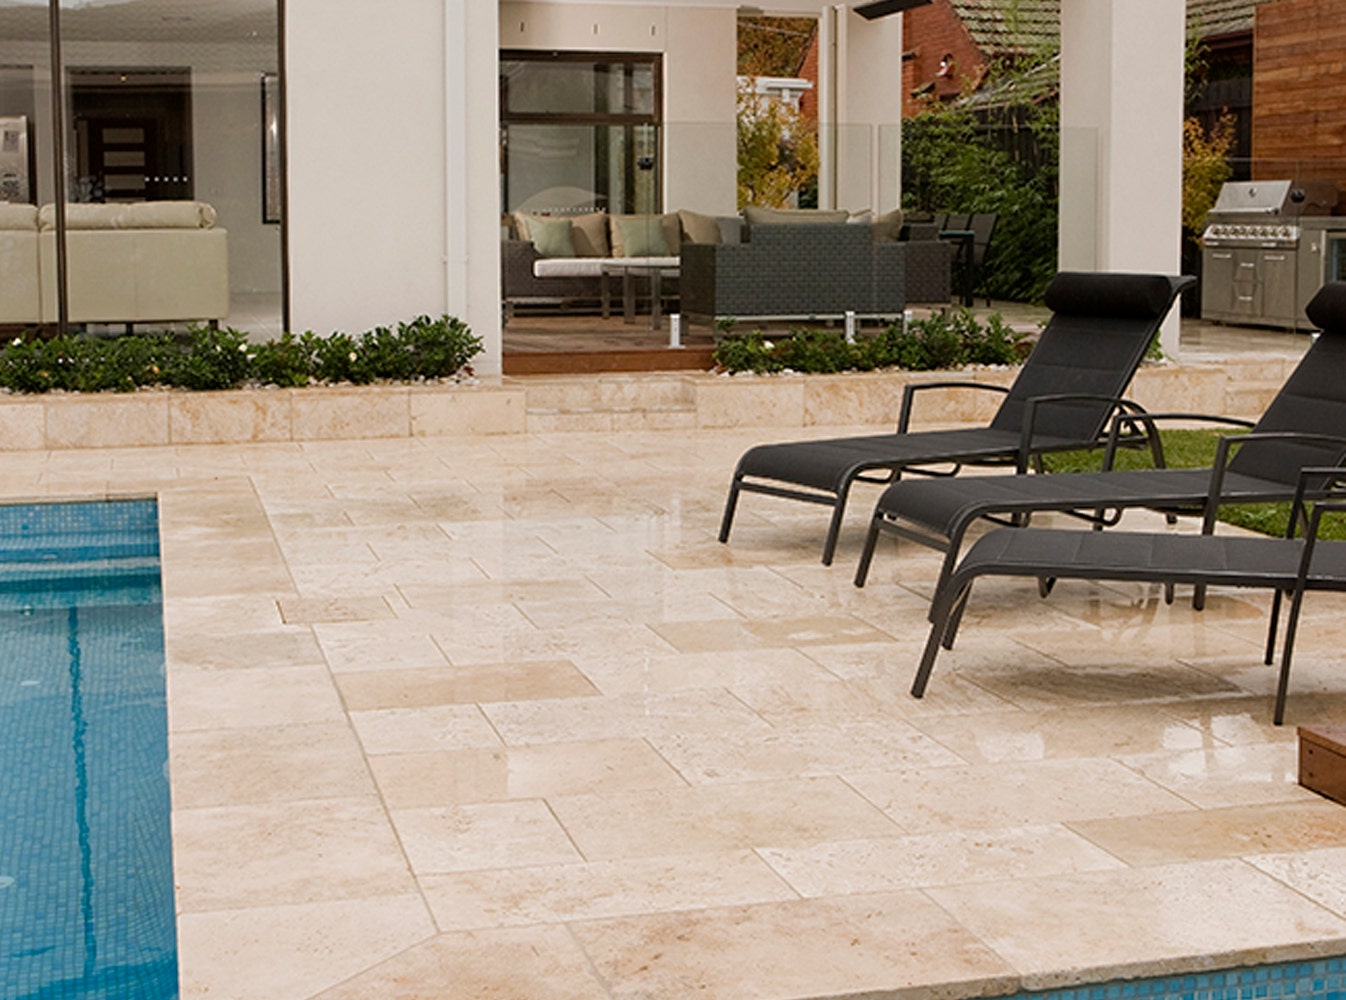
Sealing Natural Stone
Natural stone is provided unsealed (with the exception of some natural stone mosaics). All natural stone tiles should be sealed after installation and before grouting with good quality, penetrating stone sealer. Follow the manufacturer’s guidelines but generally, one coat before grouting and one coat after will ensure your natural stone remains in good condition. A quality penetrating sealer can last up to 15 years depending on the amount of wear the surface is subject to.
Please note, basalt varies from the norm and requires sealing on 5 sides before installation. Check out our fixing page for more information on fixing basalt.
Penetrating stone sealers soak into the stone and provide a barrier to stains but still allow the stone to ‘breathe’, unlike some old fashioned topical sealers that almost acted like a varnish on the surface. Sealers are available in natural finish or colour enhancing which, like the name says, highlights the colours within the stone. The stone colour should not change significantly when using a natural sealer, however, it's always a good idea to test on a small, inconspicuous area before continuing.
Our Hot Tip: A sealer will not protect a surface if a stain is left untreated. Rather, the sealer gives you time to clean off any stain or liquid before the stone or tile is marked permanently. Ensure you clean all stains immediately to avoid staining. You can find our recommended list of sealers here.
What Is Grout Haze?
After your tiles have been grouted, there's likely to be a bit of residue cement or cement-based grout, silicone leaching, and dirt on them. These will come off easily with a good thorough clean following our steps to remove grout haze and cleaning tiles.
Grout haze is simply an almost invisible residue of grout and latex that has been left to dry on the surface of the tiles after grouting. This will make a tile look dull, easily marked and difficult to keep clean. It’s part of having your tiles grouted and an easy clean solves the issue.
Grout haze is often not picked up during installation as the damp floor will hide any deposits. The effects, however, are noticeable, dulling the tiles and causing them to get dirty very quickly - sometimes even showing footprints. Conventional cleaning methods don’t remedy the problem and the grout haze will remain. This may be in certain patches or across the entire tiled area.
The ease of removal depends on the type of grout used, the texture of the tile surface and when the tiles were laid. The longer grout haze is left, the harder it is to remove as the grout bonds into any open pores on the tile surface. Cement grout and latex modified cement grouts can usually be removed with a Grout Haze Removal cleaner. Epoxy grout is very difficult to remove.
The aim is to remove all traces of the grout haze film on the surface without damaging the stone or tile, or damaging and discolouring the grout itself. It is best to complete a general clean as soon as you have finished tiling to remove any excess grout. Check out our cleaning and maintenance page for more information. If you notice a haze of grout left on the tiles after installation, either buff it off with a dry soft towel or undertake one final clean. Grout haze is generally easy to remove within 48 hours of grouting.
Removing Grout Haze
Follow the steps below to remove cement-based grout haze.
What you need:
-
Gloves and eye protection
-
Spray the bottle with warm water
-
Broom or vacuum
- Scrubbing Brush
- Bucket with Cold Water
- Sponge
- Lithofin KF Cement Residue Remover
- A wet vacuum cleaner or mop and bucket. If you don't have a wet vacuum cleaner some elbow grease will work just as well.
- Ensure you're wearing long sleeves, gloves and safety glasses.
- Begin by sweeping the floor to remove any loose debris.
- Saturate the grout joints with cool, clear water.
- Following the manufacturer's instructions, dilute Lithofin KF Cement Residue Remover to a ratio of 1 part Lithofin and 1 part warm water. Using a spray bottle, apply the solution to a section of the tiles being cleaned. Once the solution has been applied, do not allow the tiles to dry until it is thoroughly rinsed.
- After allowing the solution a good 10-15 minutes to break down the excess grout, dirt, and grease; scrub the tiles with a brush to lift all the dirt and remove with a wet vacuum cleaner. Repeat steps 4-5 if necessary.
- Finally, rinse thoroughly several times with cold water and scrub to ensure the complete removal of the acid cleaner. Use the wet vacuum cleaner to remove the excess water from the surface.
- Give your tiles a good clean, following the instructions below.
Beaumonts experts show you how to best remove Grout Haze from Microtec Tiles.
Microtec textured tiles create seamless transitions between multiple areas and are easy to maintain. Follow these steps to keep your Microtec textured tiles looking good as new:
- 24 hours after the grout has dried, tiles should be washed with Lithofin Cement Residue Remover
- Dilute up to 1:1 with water
- Let the cleaner dwell for approximately 15 minutes
- Scrub the surface with a doodle pad or stiff bristle brush
- Mop up residue and wash with Lithofin KF Vitra-Clean as a final step
- If you notice a dull haze just after your new tiles are laid, or you are finding that your tiles are getting dirty very quickly - don’t panic! This will likely be grout residue. The good news is that it’s easily washed off with Lithofin Cement Residue Remover
- Grout additives or boosters should be avoided with Microtec or textured tiles. If they have been used, clean the tiles with Lithofin Wax-Off or Resin-EX first, before the initial grout haze clean.
- For everyday cleaning, we recommend Lithofin KF Vitra-Clean.
For more helpful information check out our Microtec brochure.
Our Hot Tip: Don't use abrasive cleaning tools, such as steel wool or scrub brushes, as they can scratch the surface of the tiles.
How To Clean Tiles
Once your tiles are grouted, completely dried, and grout haze has been removed, it's time to give your tiles a good thorough clean to get them looking fabulous! We recommend working in sections of ten square metres at a time.
You will need:
- Grout Tile & Stone Cleaner
- Bucket of warm water
- Scrubbing brush
- Bucket of cold, clean water
- Following the chemical manufacturer's instructions, dilute the cleaning detergent in your bucket of warm water and apply it to the tiles with a heavy scrubbing brush.
- Leave for 5-15 minutes to allow the mixture to penetrate and emulsify the dirt. This will also neutralise any remaining acid left on the tiles.
- Thoroughly rinse with cool, clean water to remove all the detergent and dirt; and then remove the excess water with the wet vacuum cleaner.
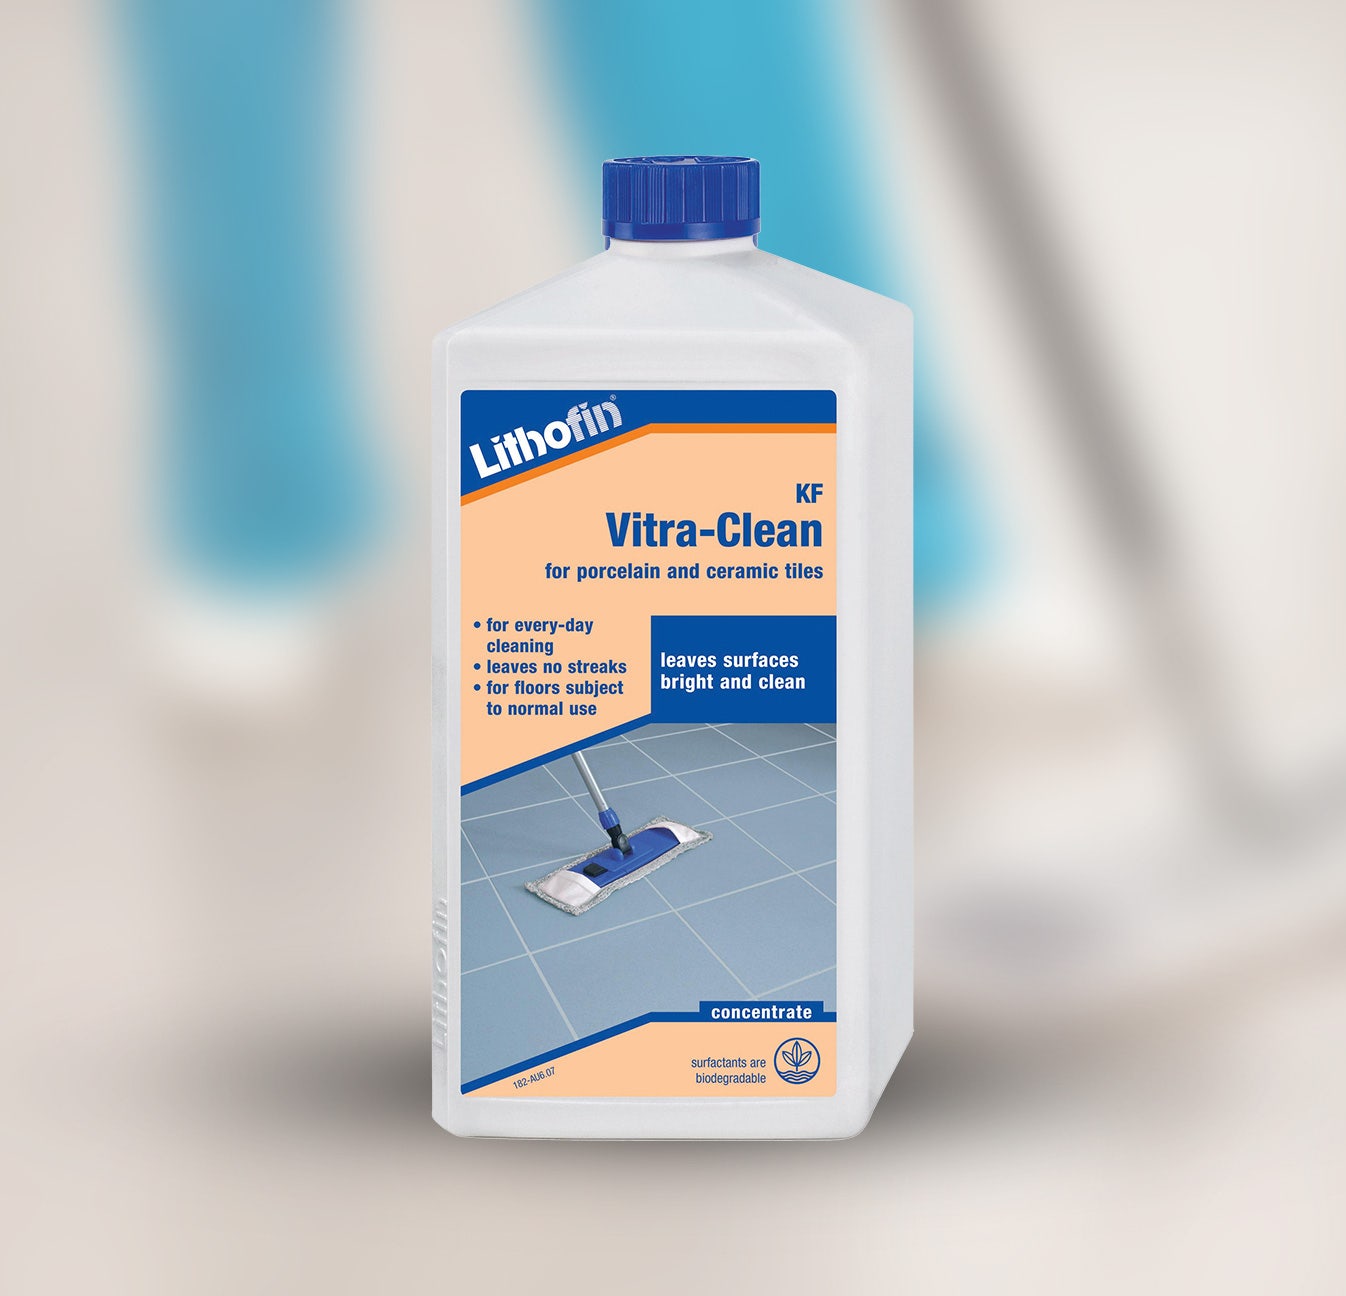
Featured Product: Lithofin KF Vitra Clean 1 litre
Cleaning Epoxy Grout Residue
Epoxy grout is impervious to most types of chemicals and stains, making it ideal for kitchen floors and splashbacks, both in commercial and residential applications.
Because epoxy grout is so durable, waterproof and mildew resistant, it also makes it difficult (but not impossible) to remove from the tile surface once dried. Talking with your local Beaumont Tiles staff and following the manufacturer’s instructions when using epoxy grout will help you achieve a great looking tiled surface. If you notice a slight haze or residue on the surface once the grout has dried, cleaning up epoxy adhesive and grout residue requires a specialised Epoxy Wash. Your Beaumont Tile store can recommend the right product and advice for your project.
The strong nature of an epoxy cleaning product means you should protect surrounding surfaces and ensure adequate ventilation. Use protective gloves and eyewear and carefully follow the manufacturer’s instructions. Usually by allowing the wash to react with the epoxy for approximately 10 minutes followed by scrubbing with a stiff bristle brush or Scotchbrite pad will remove any surface residue. Then simply remove the cleaning solution with a mop or cloth and rinse.
Our Hot Tip: If you have any questions, we're here to help, just call your local store or our helpline on 1800 4 TILES.
How To Silicone With Builder James Bawden
Our mate James Bawden runs you through the simple steps of siliconing.
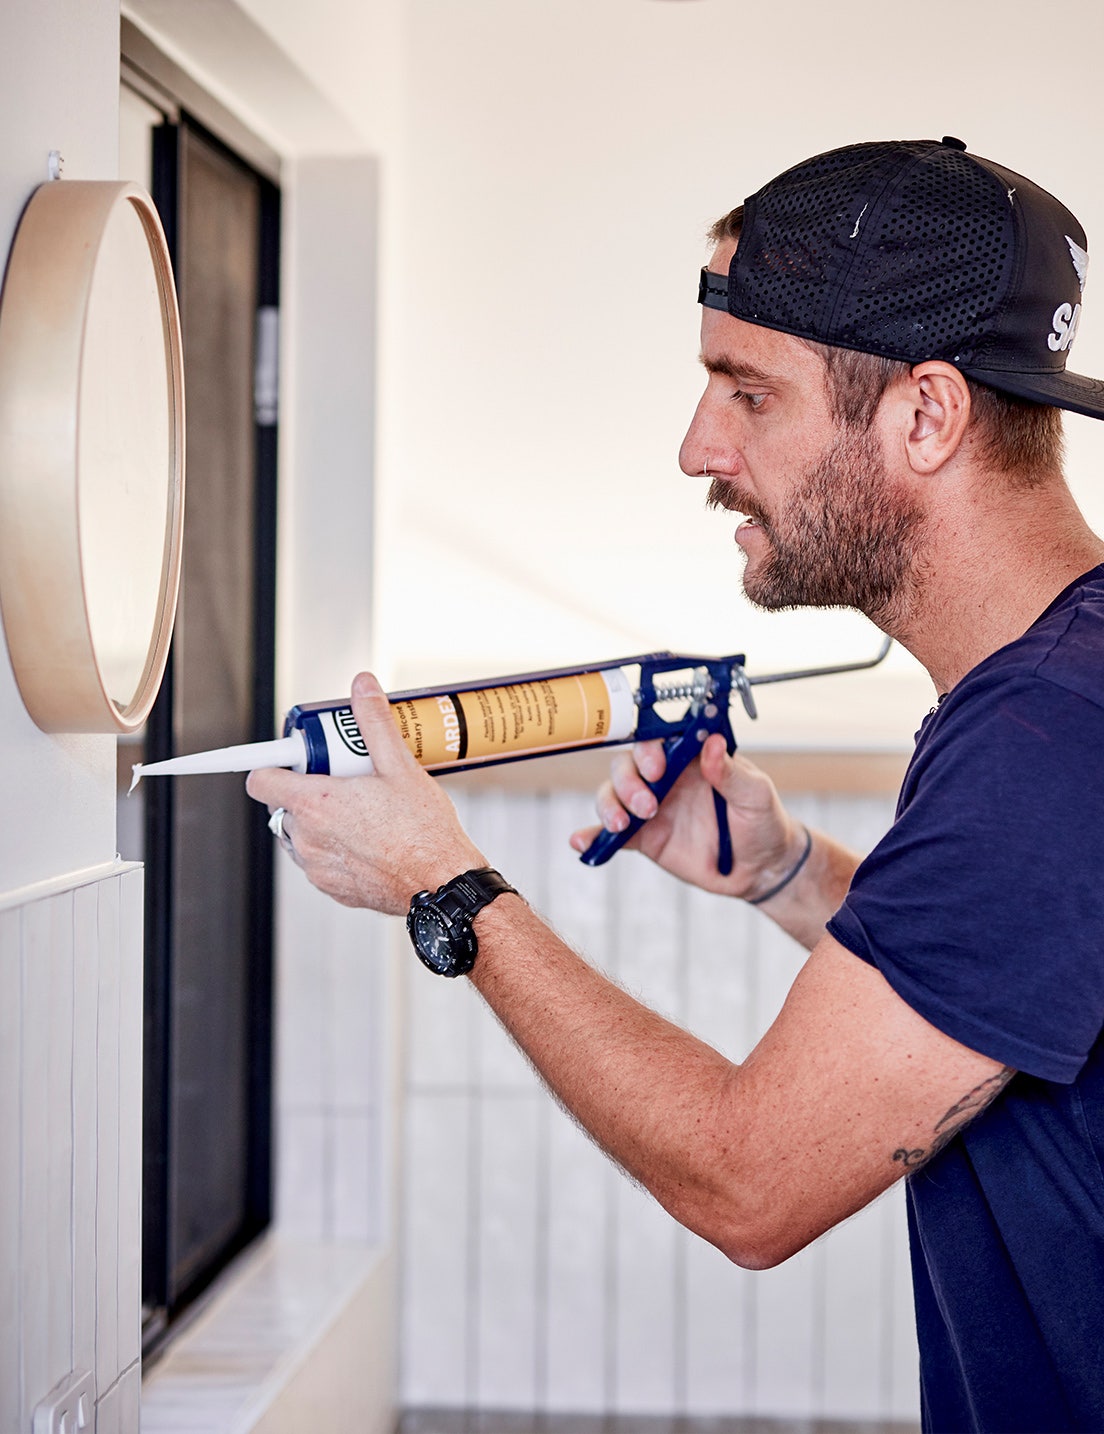
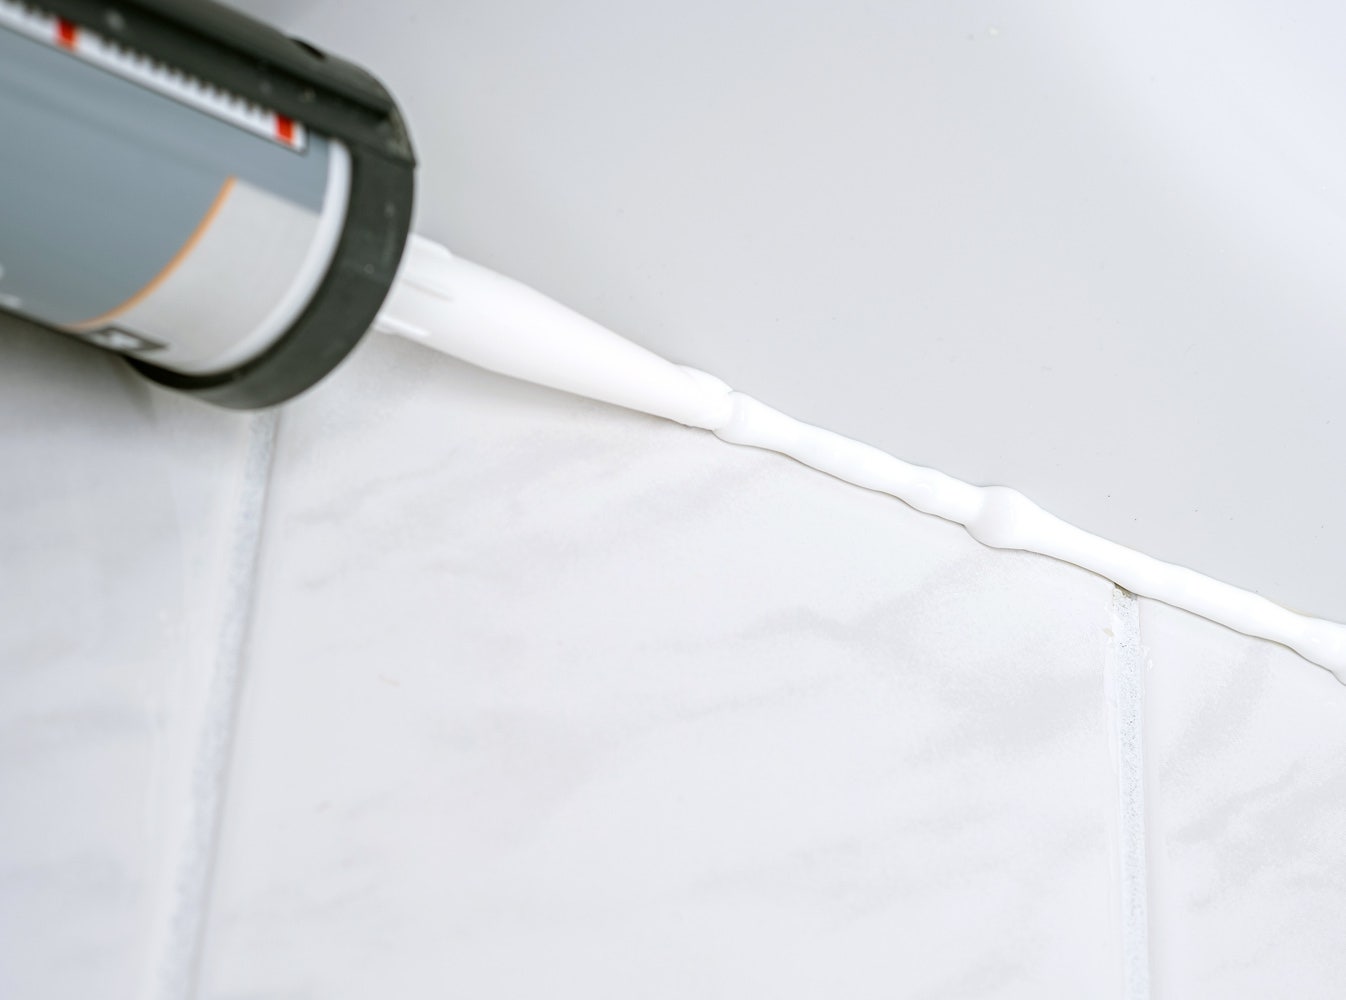
Silicone
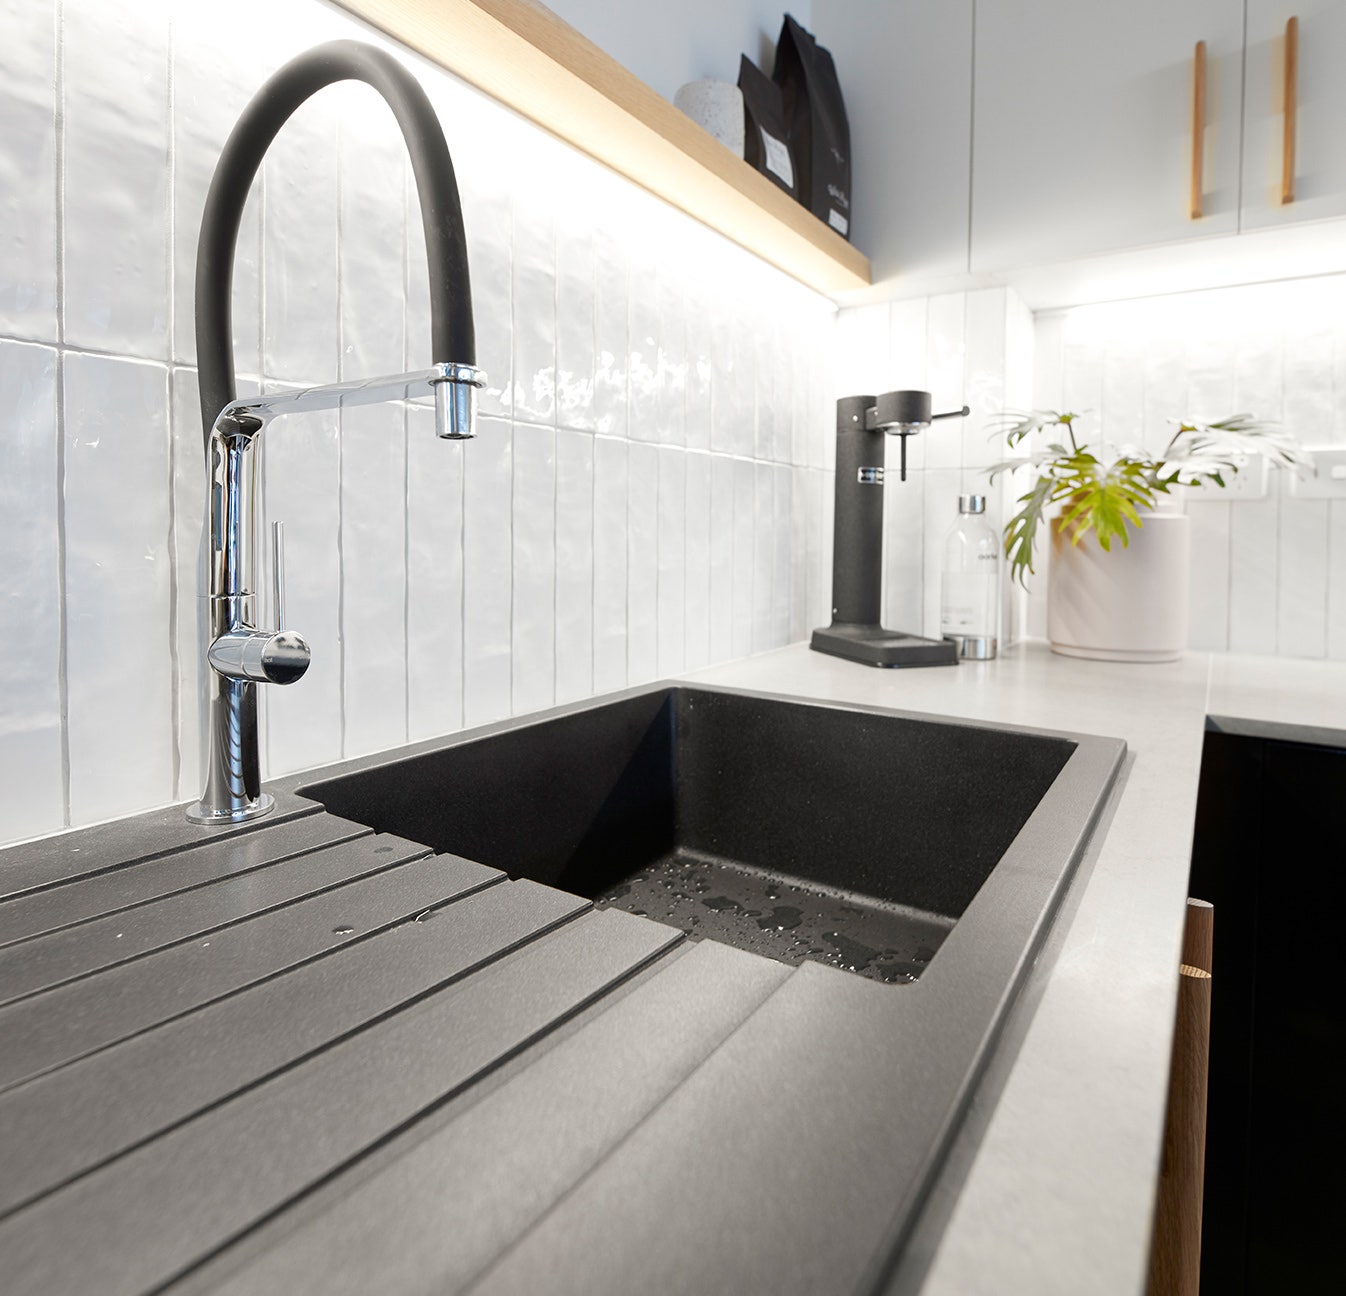
Silicone is a necessary part of every tiling job no matter how big or small. Silicone should be used instead of grout in the joint where a tile meets another tile in a corner, or where a tile meets another surface e.g. where a kitchen splashback tile finishes on the benchtop or between the floor and the wall. Silicone can also be used as a movement or expansion joint.
Here's what you will need to silicone:
- A cloth
- Silicone (either acidic or neutral cured)
- Caulking gun
- Smoothing agent - such as Smoothtex A
- Paddle pop stick
- Your thumb :-)
- Before you start, wipe the corners or areas you are going silicone to ensure they are thoroughly clean and dry.
- Insert the silicone tube into the caulking gun. We suggest cutting the tip of your silicone at a 45-degree angle to help achieve a smooth trail.
- Trail the silicone and line the area in one smooth motion.
- Use a smoothing agent, spray over the trail and cut it back with a paddle pop stick in one smooth swipe.
- Using a little more smoothing agent, run your thumb over the trail once more to achieve a nice, smooth finish.
Our Hot Tip: We have everything you need in-store. Find you local Beaumont store here.
How To Silicone When Tiles Meet The Ceiling
When tiling to the ceiling, measure the tile to be cut and allow a gap between the top of the tile and the ceiling for a flexible joint such as caulking or silicone. It is important not to fill this gap with grout as it will only crack later. It is best to paint the ceiling first as paint will not stick to silicone.
The silicone at the top of the tiles will act as a movement joint as the ceiling is likely to move over time due to steam and heat. If the ceiling is not exactly level, you will need to measure and cut each tile to fit, keeping the joint width the same. If the ceiling is very uneven, you may find it easier to finish the tiling 75mm below the ceiling and paint the top of the wall.