
DIY & Advice
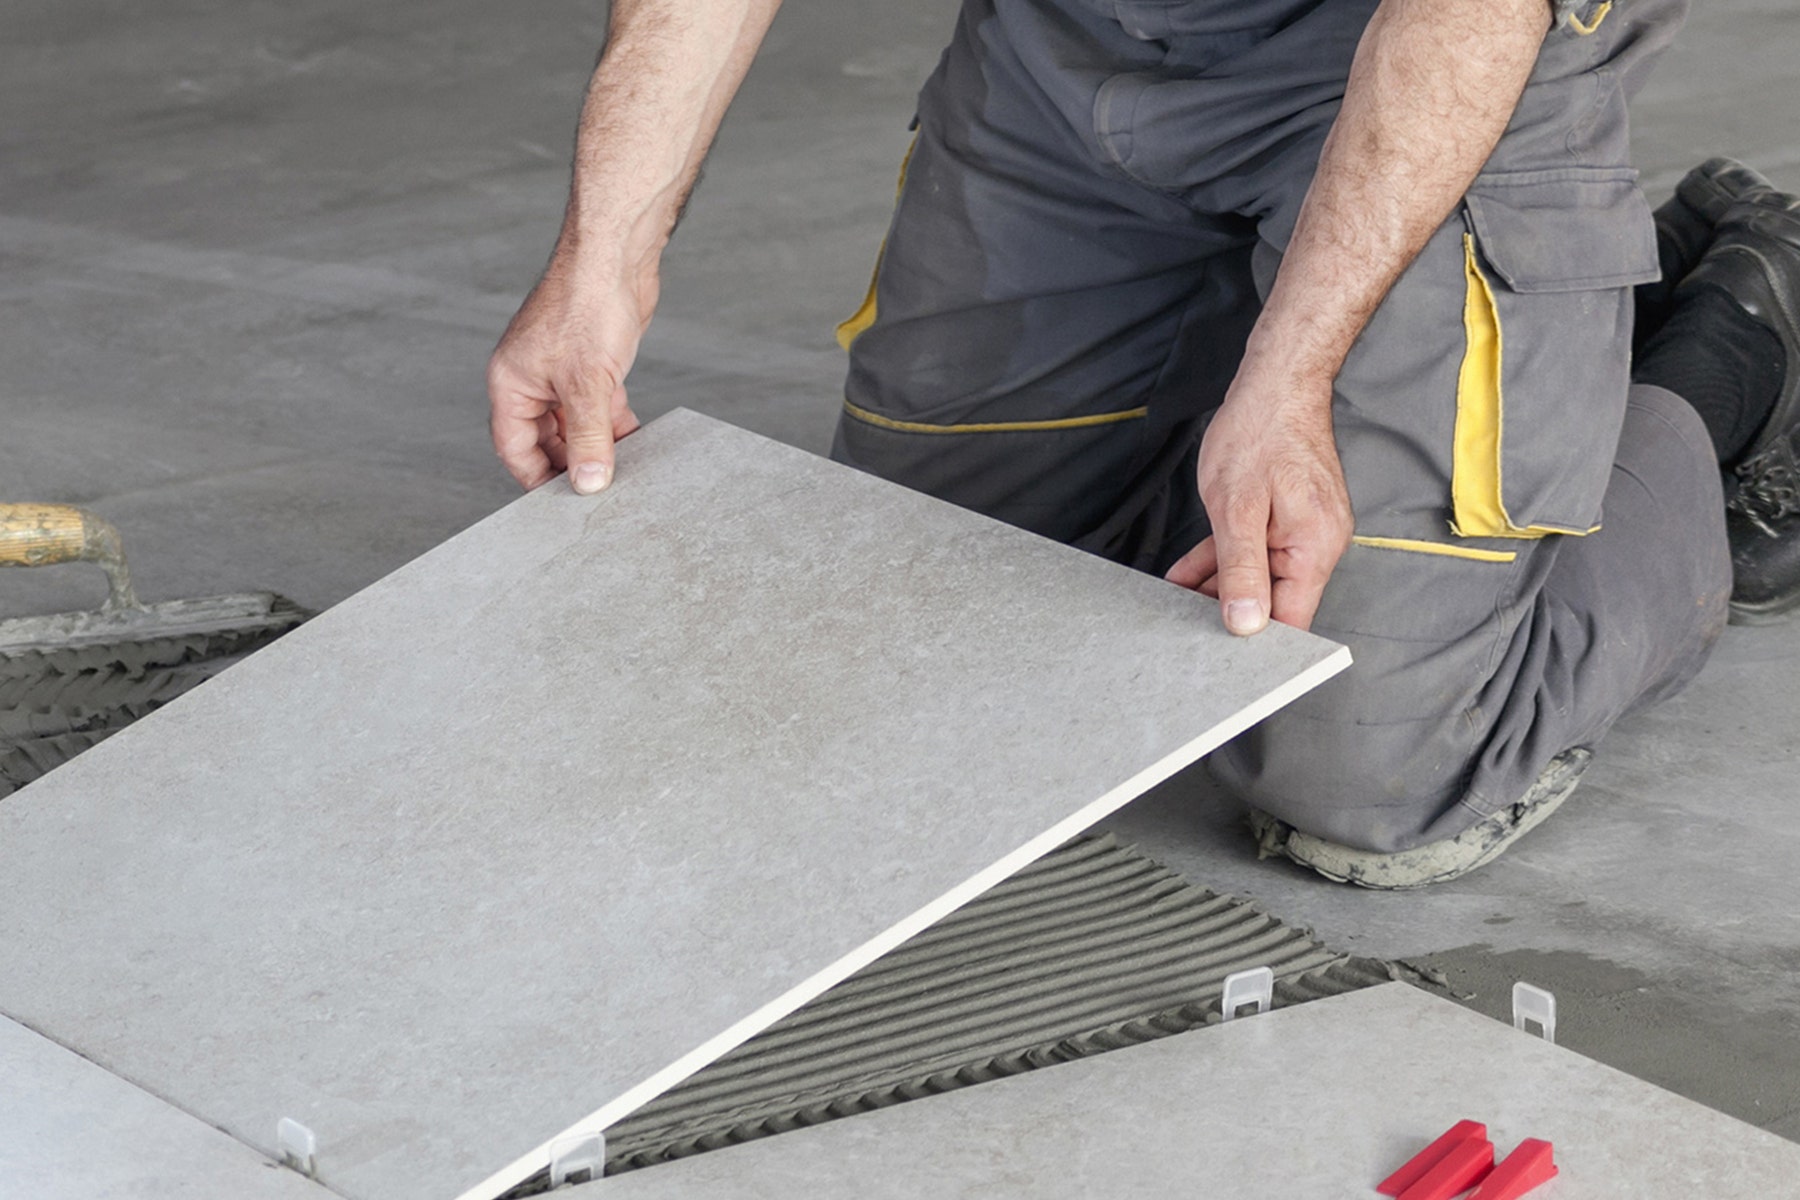
How to Prepare and Lay Tiles on Floorboards
Surface preparation is key to a tiling job that looks professional, here is our step-by-step guide to getting your wall ready for tiling.
Overview
You may see the word ‘substrate’ used in manufacturer’s instructions. This is is the existing prepared floor surface you will be applying the tiles to. Regardless of the surface type, all surfaces must be structurally sound and strong enough to support tiles as well as clean, dry, and free from all dust, dirt or contaminants and any existing surface coatings such as polish, lacquers, sealers, or paints
Hot Tip: Tiling over floorboards will raise the height of your floor so take that into consideration when planning your renovation, the bottom of your doors may need to be trimmed.
Tools & Materials
Items required
- Personal Protective Equipment, googles, dusk mask etc
- Notched tiling trowel
- Manual or electric tile cutter
- Diamond drill discs and blade with electric grinder
- Electric corded drill and mixing nozzle
- Mixing buckets
- Sponges
- Short, countersunk screws
- Electric or cordless screwdriver
- Spirit level
- Measuring tape
- Pencil
- Broom
- Cement Sheet AKA Ceramic Tile Underlay (especially if the floorboards are springy)
- Self- Levelling system
- Flexible tile adhesive (get guidance from your local store)
- Grout Booster
- Grout
- Primer such as BT Primer or Ardex Multiprime
How-To Steps
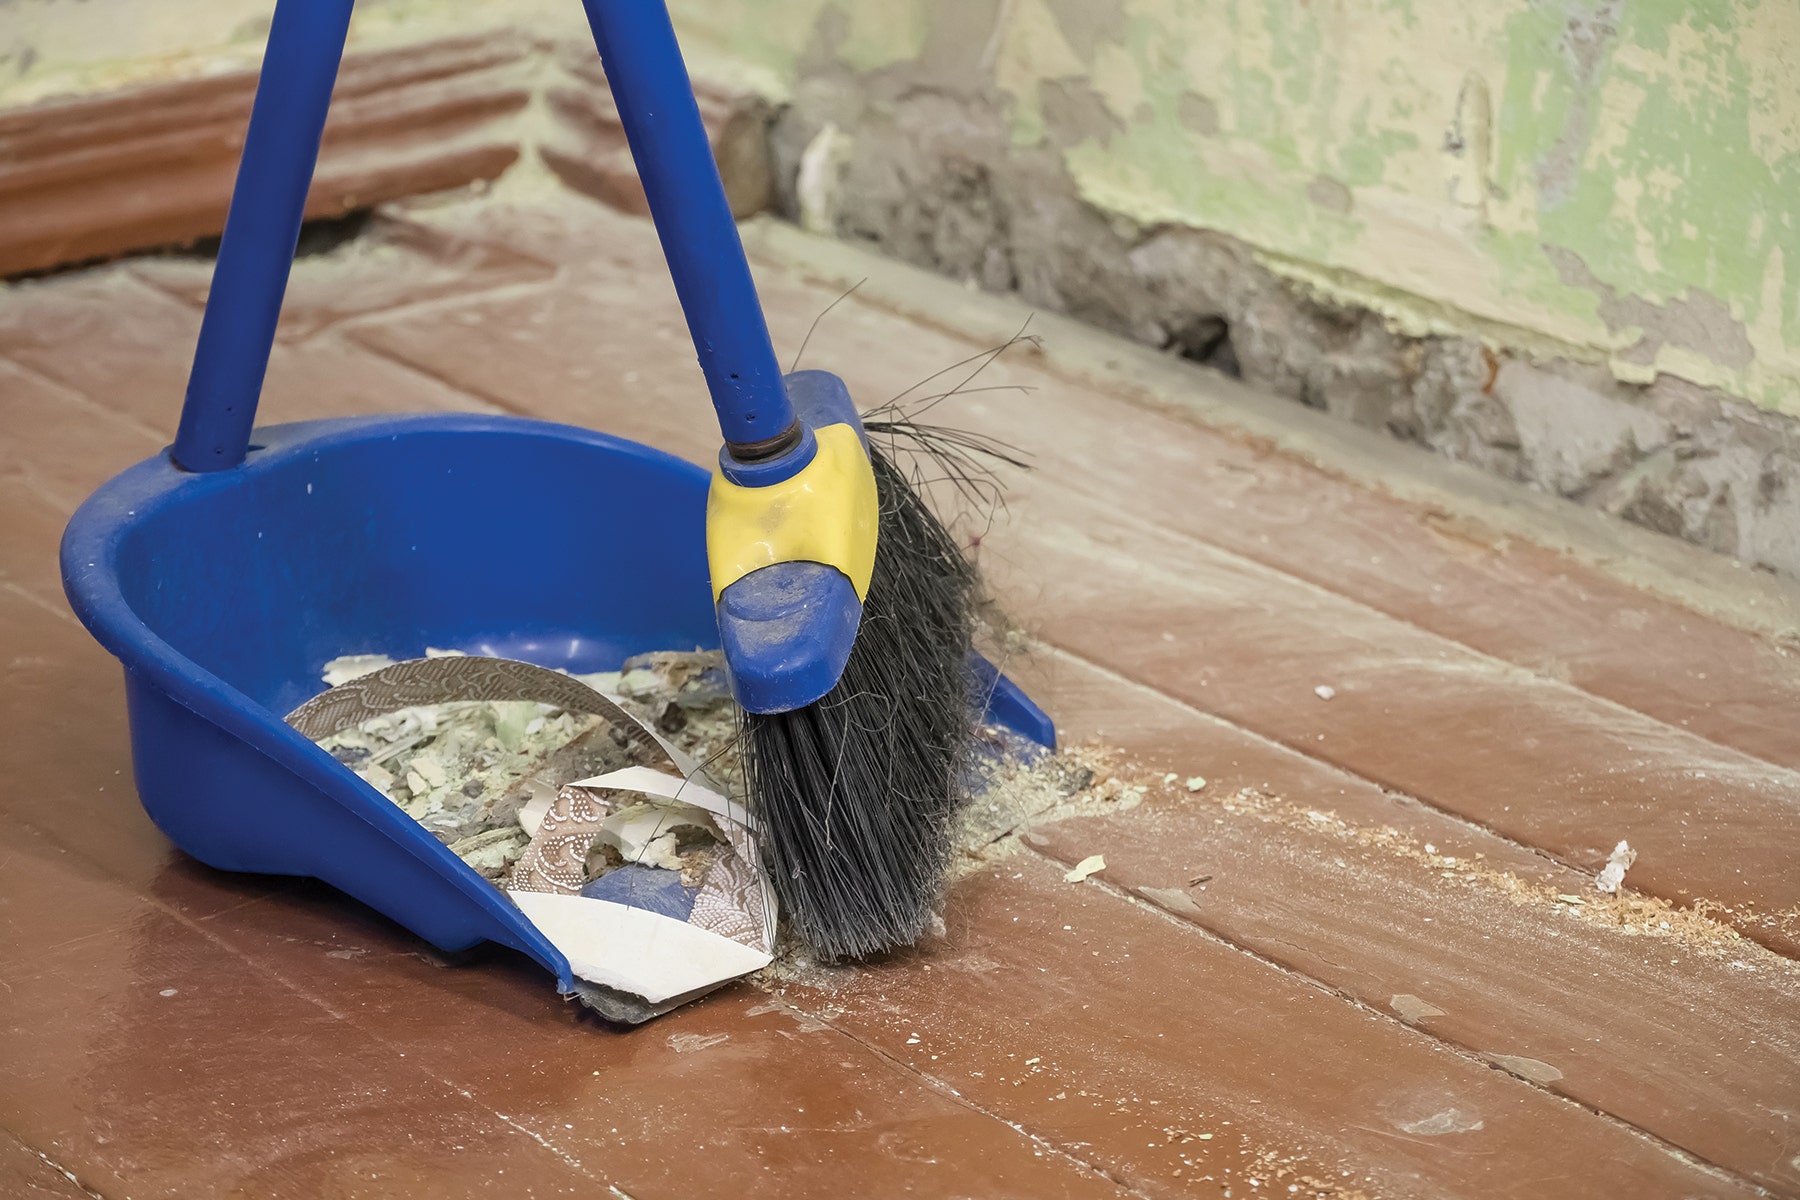
Step 1: Fix loose floorboards
A squeaky or creaky wooden floor that contains loose floorboards will need to be fixed before laying tiles on top. To locate loose floorboards, clear everything out of the room and walk around the floor. Mark any loose floorboards you find with a pencil and use additional screws to fix them in place. Use short countersunk screws to avoid any bumps or unevenness on the surface. When you’re done fixing the loose floorboards, sweep and clean the floor.
Step 2: Prep the floorboard surface to tile over
There are a few options for preparing a floorboard surface for tiling.
If you are working with reasonably sound floorboards that are not creaky, springy or drummy use a self-levelling system like Arditex NA. It helps to pre-level existing timber floors prior to installing and can be tiled straight over.
An alternative is covering the surface with cement sheeting called Ceramic Tile Underlay (CTU), especially if the floorboards are springy. This will help create a smooth and rigid substrate to tile over, you could then use a self-levelling system on-top if required. It is best to follow CTU manufacturer guidelines but here is a brief guide. After completing step 1 start by measuring your cement sheet allowing for a 5mm gap where it meets cupboards and walls. Cut it into shape using a cement sheet cutting guillotine, a score and snap knife or a diamond blade on a grinder. Use short countersunk screws to fix the sheeting down to your floorboards, Ceramic Tile Underlay normally comes with dots on the surface showing where these screws need to be placed. Offset the CTU sheets in a brick bond pattern and make sure to start from one corner of your room and work your way out.

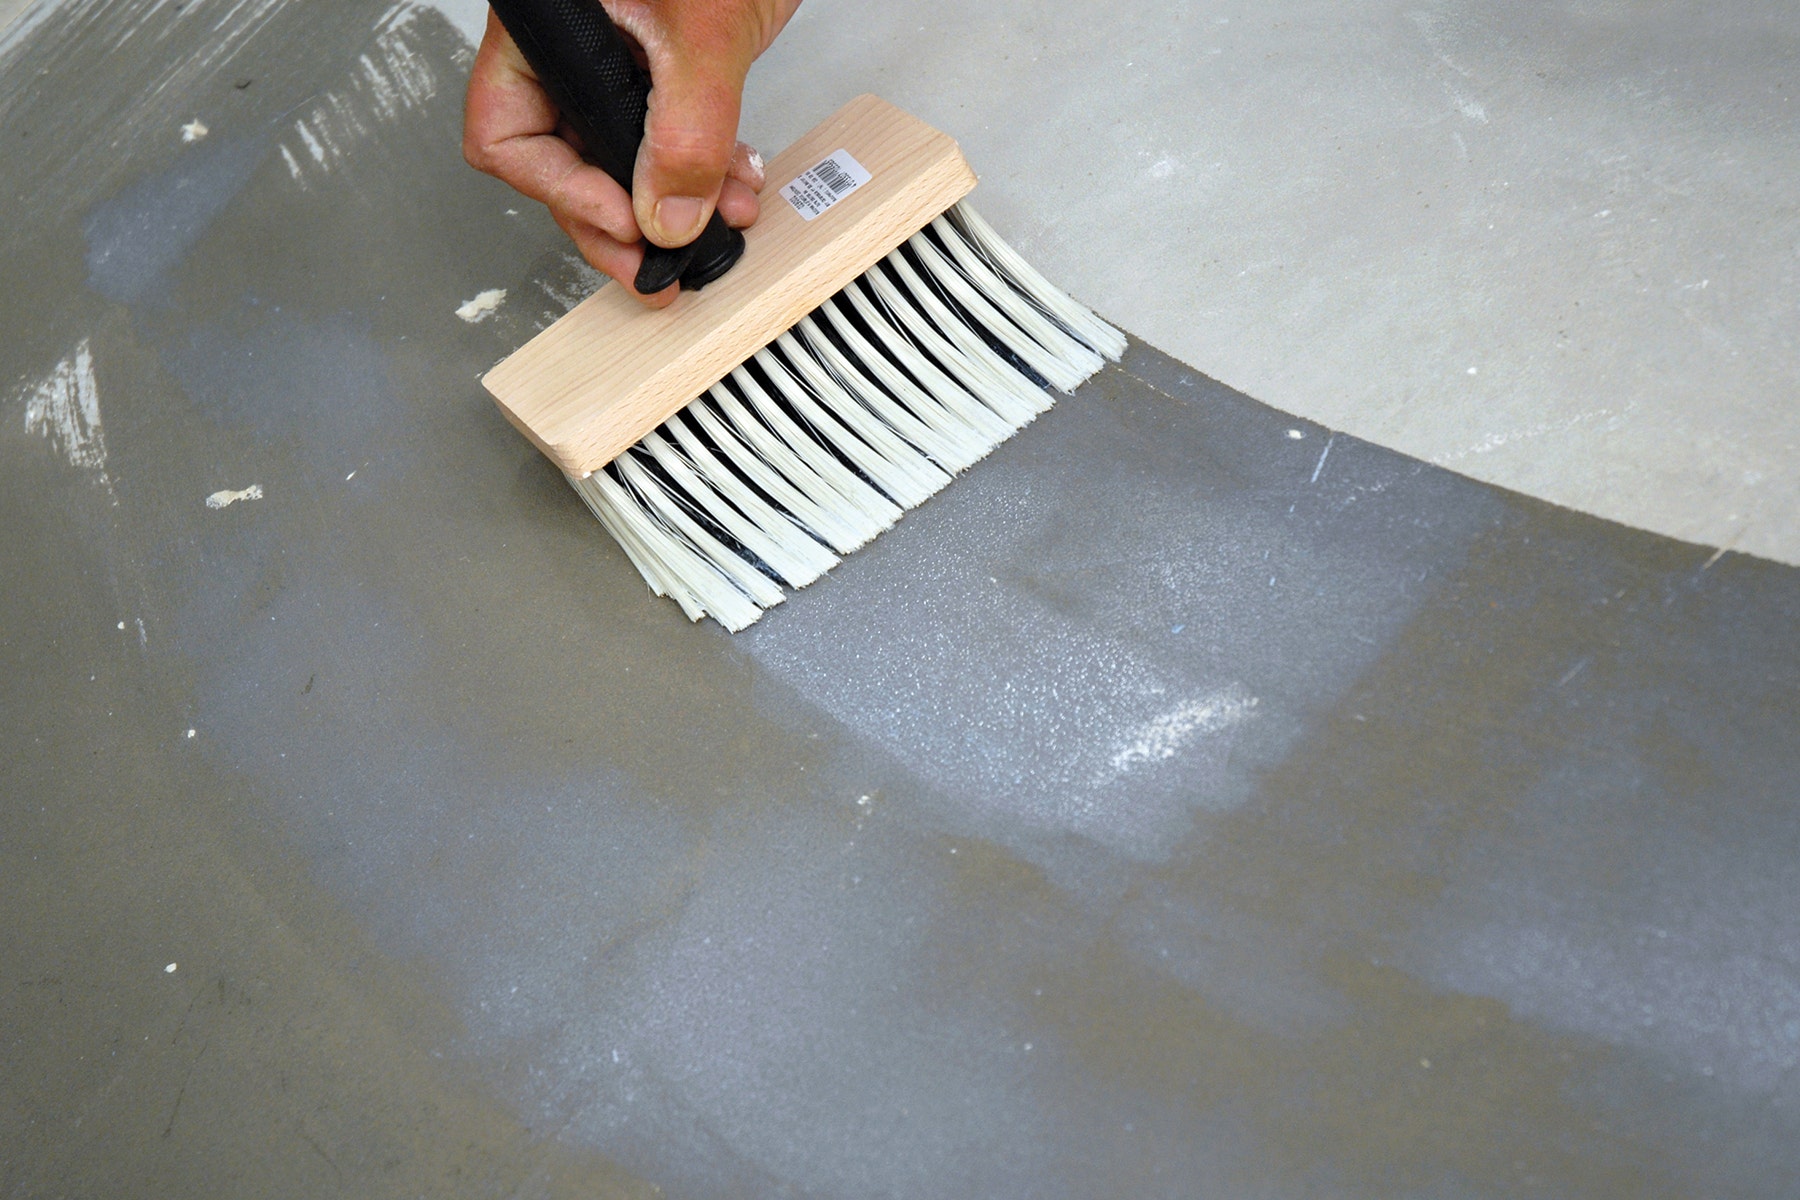
Step 3: Prime the surface
After you’re done preparing your floorboard surface, you will need to prime it for laying tiles.
If you’re working with cement sheeting you can use BT Primer or Ardex Multiprime on the surface. Speak to one of our DIY specialists in store for more guidance on the correct product to use for your project.
Primer improves tile adhesion and is easy to apply with a brush or roller. When you’re done priming, you can simply use tile adhesive to lay ceramic tiles on your wooden floor surface.
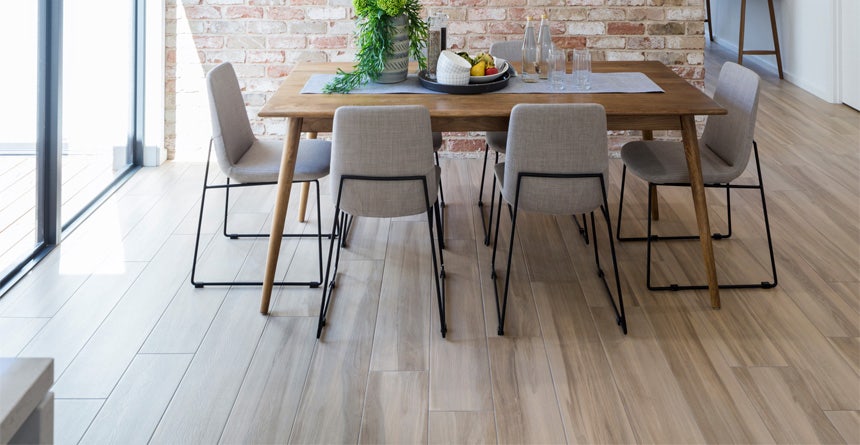
Step 4: Find your perfect floor tile
Once you’ve prepared, levelled and primed the surface your timber floorboards will be ready to tile over!
Before you begin tiling always keep in mind that no two surfaces are the same. Each surface has its own characteristics (such as rate of expansion and contraction, moisture absorption, 'dimensional stability,' and so on). It pays to know the nature of each surface as these characteristics must be considered when choosing the right adhesive for the job.
Need help choosing the right adhesives or tiles for your project? Get in touch with our specialists today. If you are ready for tiling head here