DIY & Advice
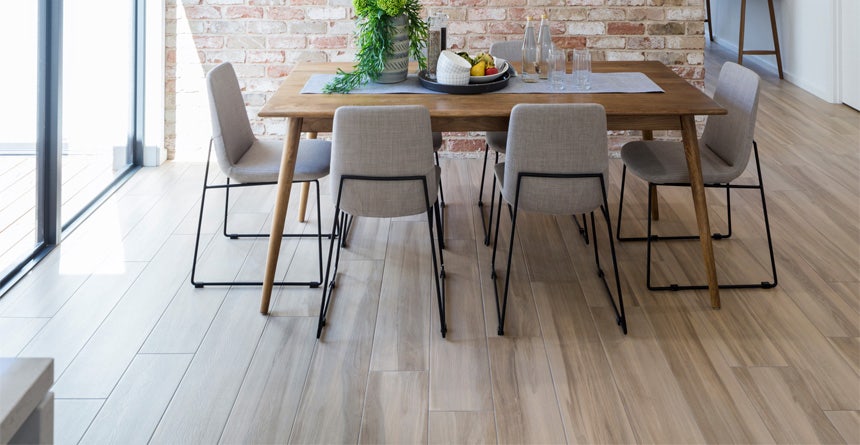
How to Measure Your Floor for Tiling
Let our experts help you with an easy way to calculate floor tile quantities.
Overview
To get started, you will need a measuring tape, a pencil, paper, and a calculator.
Unless you are measuring one large single area, it is not a good idea to work in square metres as it may be inaccurate for the number of tiles required. We recommend measuring in meters (see the video above).
Tools & Materials
Tools
- Tape measure
- A Notepad & a pencil or pen
- Calculator
How-To Steps
Here's how to calculate the number of floor tiles required
Use the example below and change out your tile sizes and you’ll be spot on for your floor tile amounts.
It’s best to work in millimetres to begin. Inches and feet are allowed of course, but you’ll find that most Australian tile shops and tilers prefer to work in the metric system which is millimetres (mm), centimetres (cm) and metres (m).
Step 1: Draw A Sketch Of The Area To Tile
When space planning an interior remodel, such as a bathroom, draw out each wall on a piece of paper (not necessarily to scale), your floor plan drawing is simply to help you measure the size of the area and show the general layout, you don't need to be overly accurate, make a rough outline of the dimensions, so you have a good visual starting point. You will calculate each rectangular section as a separate area. As an example let's start with the easiest of all room shapes, a straightforward rectangle, like below.

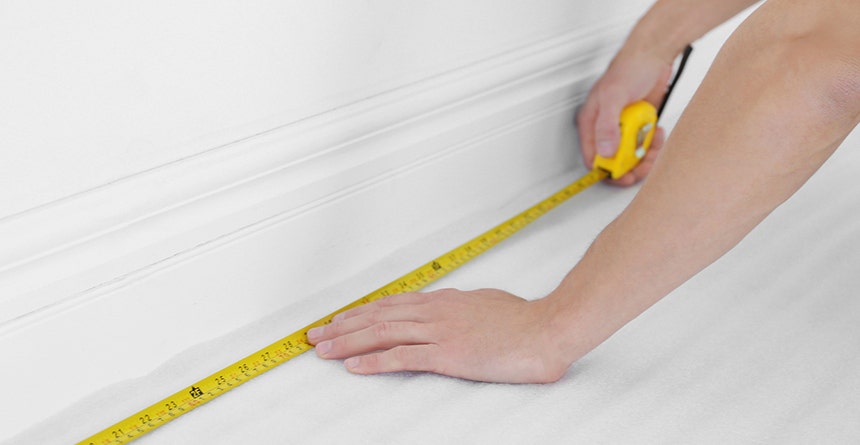
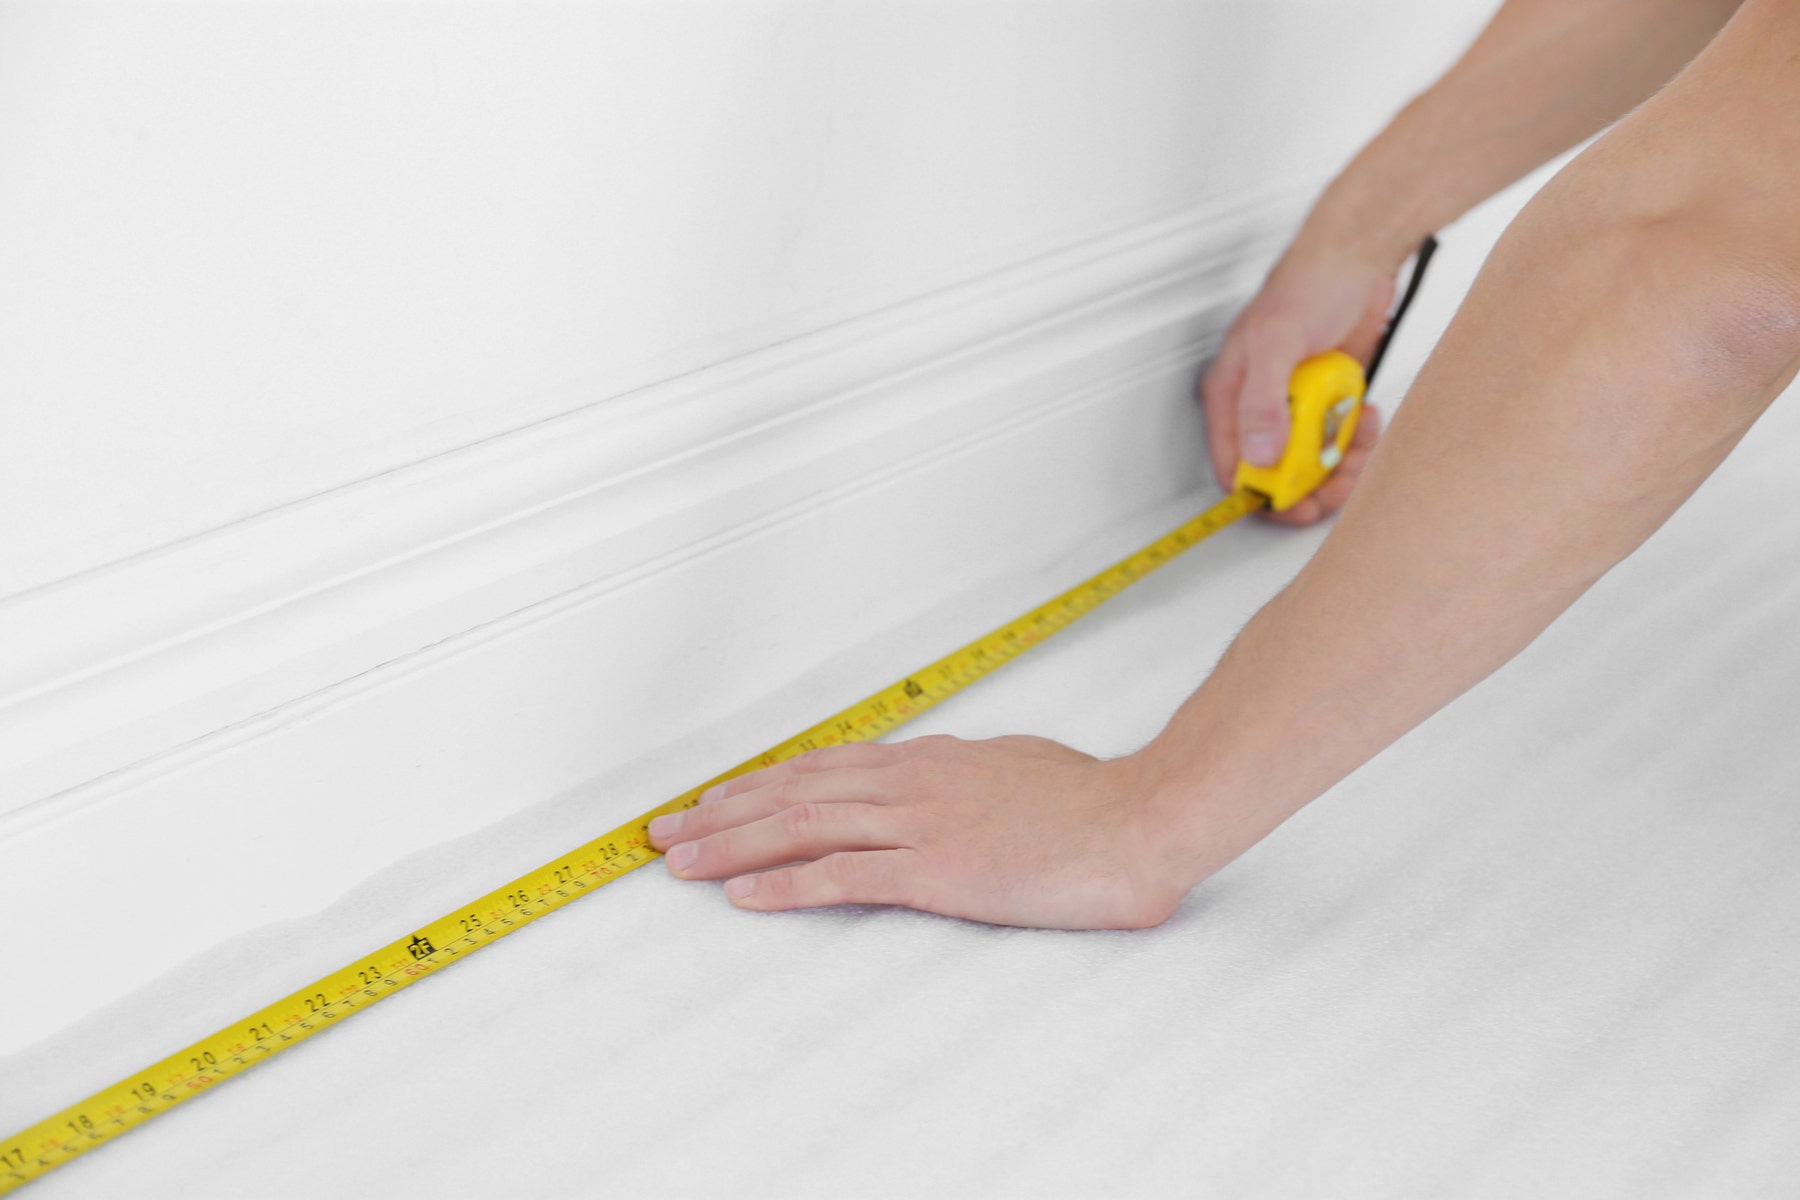
Step 2: Measure the length of your floors
Do this by running your tape measure along the baseboard from one corner of the floor to the other. Take the length measurement in millimetres, Assume we are tiling the passageway in the drawing below where the length is 6000mm and the width is 900mm.
Step 3: Calculate the Tile Quantities needed
Assume we are tiling the passageway in the drawing below with 250mm x 250mm tiles. To work out total tiles required we need to divide the length of the space by the tile size and then the width of the space by the tile size. For example, The length is 6000mm, 6000(length/250(tile size) = 24 (tiles required). The width is 900mm, 900 (width) / 250 (tile size) = 3.6 (tiles requried), we round 3.6 to 4 tiles as 4 tiles across will be needed. The total number of tiles needed will be 24 x 4 tiles = 96 tiles. If we worked out the area simply by multiplying the length by the width, the answer would be 5.4 square metres which is 86 tiles. As you can see, this would have been quite wrong being 10 tiles short! So remember – work in tiles, not square metres.

Step 4: Add an extra 10% Tiles to your Total
You need to add a recommended 10% extra onto our total using the handy calculation: Total x 1.1 = Total including 10% wastage. In our example 96 x 1.1 = 9.6, meaning you need an extra 9-10 Tiles. Extra tiles compensate for any breakages that may happen during installation that can come from tricky cuts. Extra tiles are also super handy for you in the future. Keep spare tiles in the garage or shed and you’ll thank yourself later if you want to make any changes, for example, add a powerpoint. Of course, life happens and accidents are normal! Spare tiles make life’s little accidents an easy fix.
A big reason why you should buy your tiles all in one is that they’re produced in batches and each batch has subtle differences. If you buy two different batches, the tiles could look a little different and if you had to replace any tiles in the future, we’d hate for the look of your room to change so keeping spares removes that chance.

Step 5: Job Completed
If you are still not certain about quantities, just draw out your measurements on some paper and one of our friendly tile consultants will be only too pleased to work it out for you.

Tip: Do not forget you may need an edging of “step treads” (very tough anti-slip tiles) to go on any steps down. You will probably also need brass angles to put along the edge of any unfinished tiling where it butts up against another type of flooring.