DIY & Advice
How to Choose A Splashback
A splashback selection can be a daunting task but our experts are here to help! Here are the 5 key steps to getting your splashback selection right.
Overview
If great design is a marriage of form and function, splashbacks are a designer’s dream. The purpose of a splashback is embedded right in its name: a splashback protects your wall from unintentional splashes, spills or stains. In addition to protecting your walls against water damage, good splashbacks provide a hygienic and durable surface that is easy to wipe down.
Visually, splashbacks offer brilliant design opportunities. Splashbacks are often the focal point of a room and can transform a tired-looking space dramatically with minimal effort. Splashbacks are also a great opportunity to experiment with different colours and patterns to create a focal point that’s a bit fun and reflects your style and personality. When choosing a splashback, there are two key things to consider: The functionality your room requires Your style and design goals for the splashback and overall room
Tools & Materials
Tools
How-To Steps
Step 1: Choose the right material
Some of the most common materials for kitchen splashbacks include tiles, metal, glass, stone and mirror. Using the same material as your benchtop is also an option that can create a lovely consistent look in the kitchen. Before getting into material selection it is important to note that cooktops need to be a certain distance away from a splashback which can vary depending on the material chosen. If your cooktop is already installed you may be a bit more limited in your material selection, thankfully tiles are one of the most durable and long lasting material selections that meet the standard regulation for this distance.
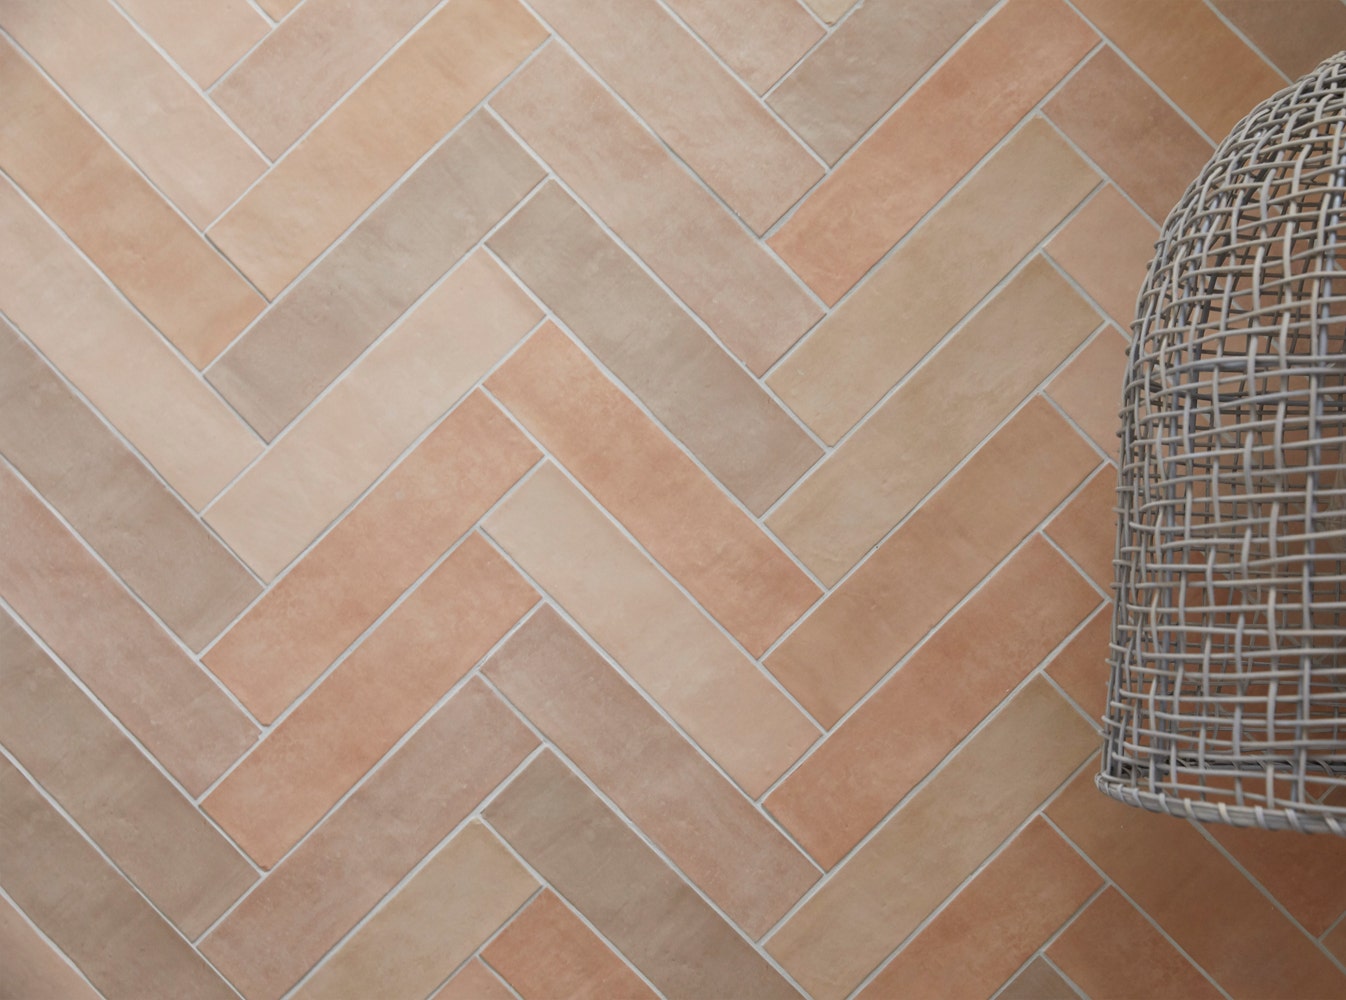
Think about cleaning when you are selecting your splashback material. Glass, mirror, stone and metal give a sleek contemporary result but can be tougher to keep maintained and might need special care that a tile wont. Larger tiles will have less grout joins are a great option when it comes to keeping things clean, while a mosaic tile with an epoxy grout is a great option thanks to epoxy grouts built in resistance to stains. Tiles come in an array of options from plain designs to stone and marble looks, there is an option to match all design styles.
Step 2: Select the right colour
You will have already narrowed down your choices if you have selected your benchtop or cabinetry first.
Depending on what you have chosen, you can decide whether you want your benchtop to take centre stage, in which case, you should opt for a more subtle, perhaps even very minimal splashback that won’t draw attention away from the benchtop.
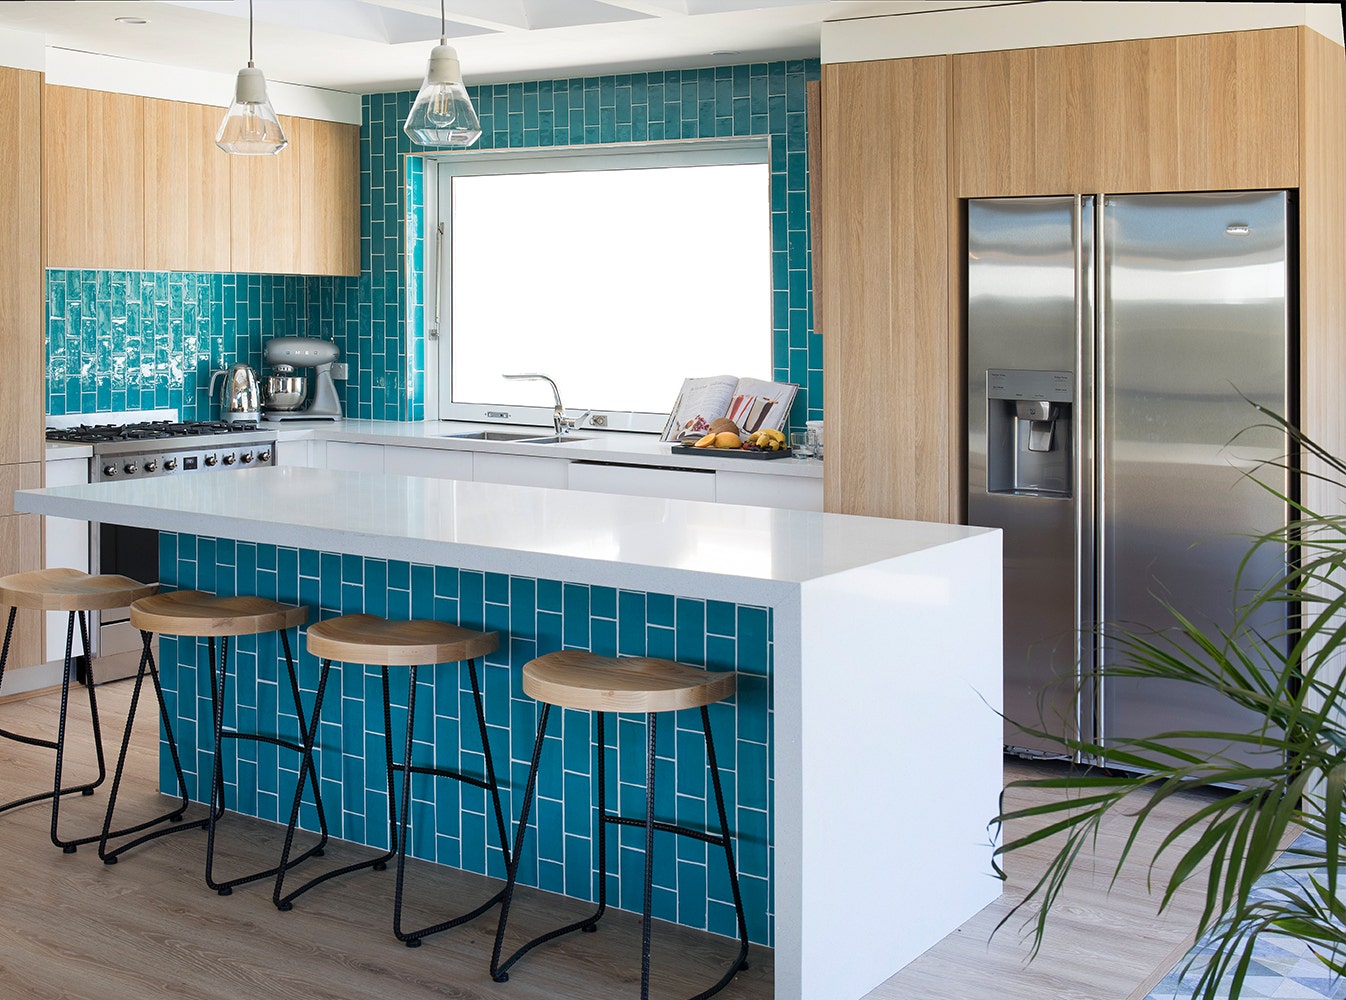
If you have chosen a neutral colour for your cabinetry and benchtop, you could opt for a feature colour for your splashback to add some drama and a focal point to your kitchen.
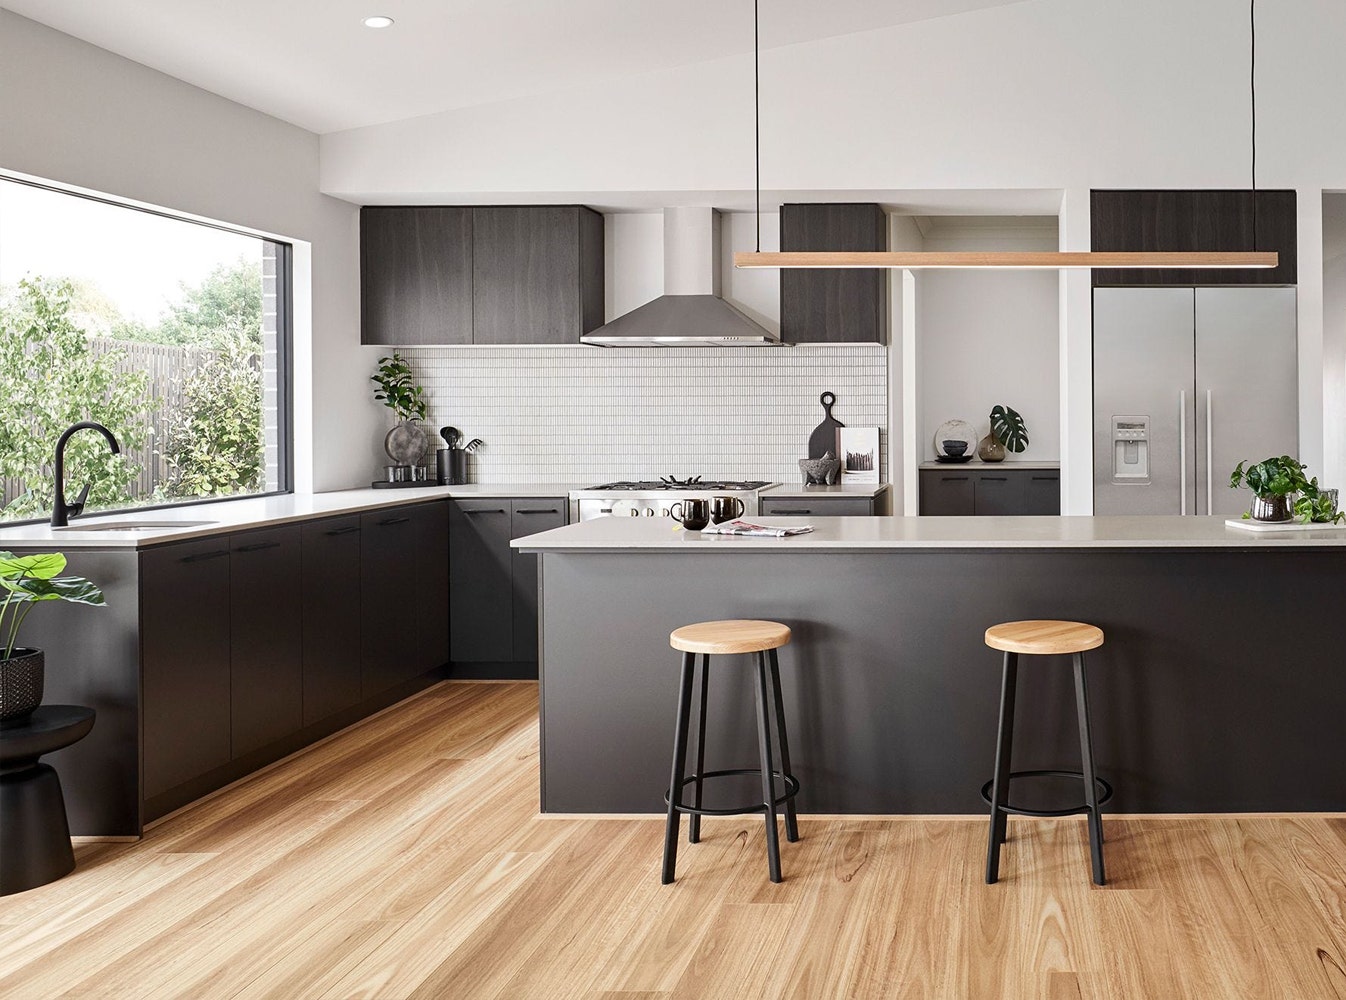
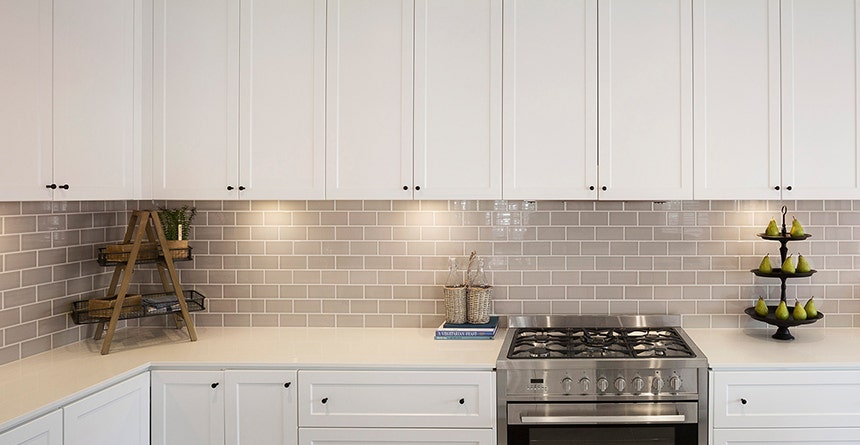
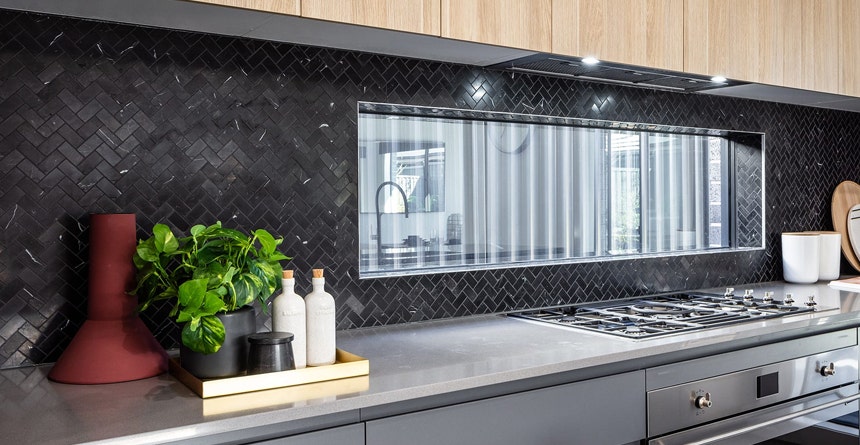
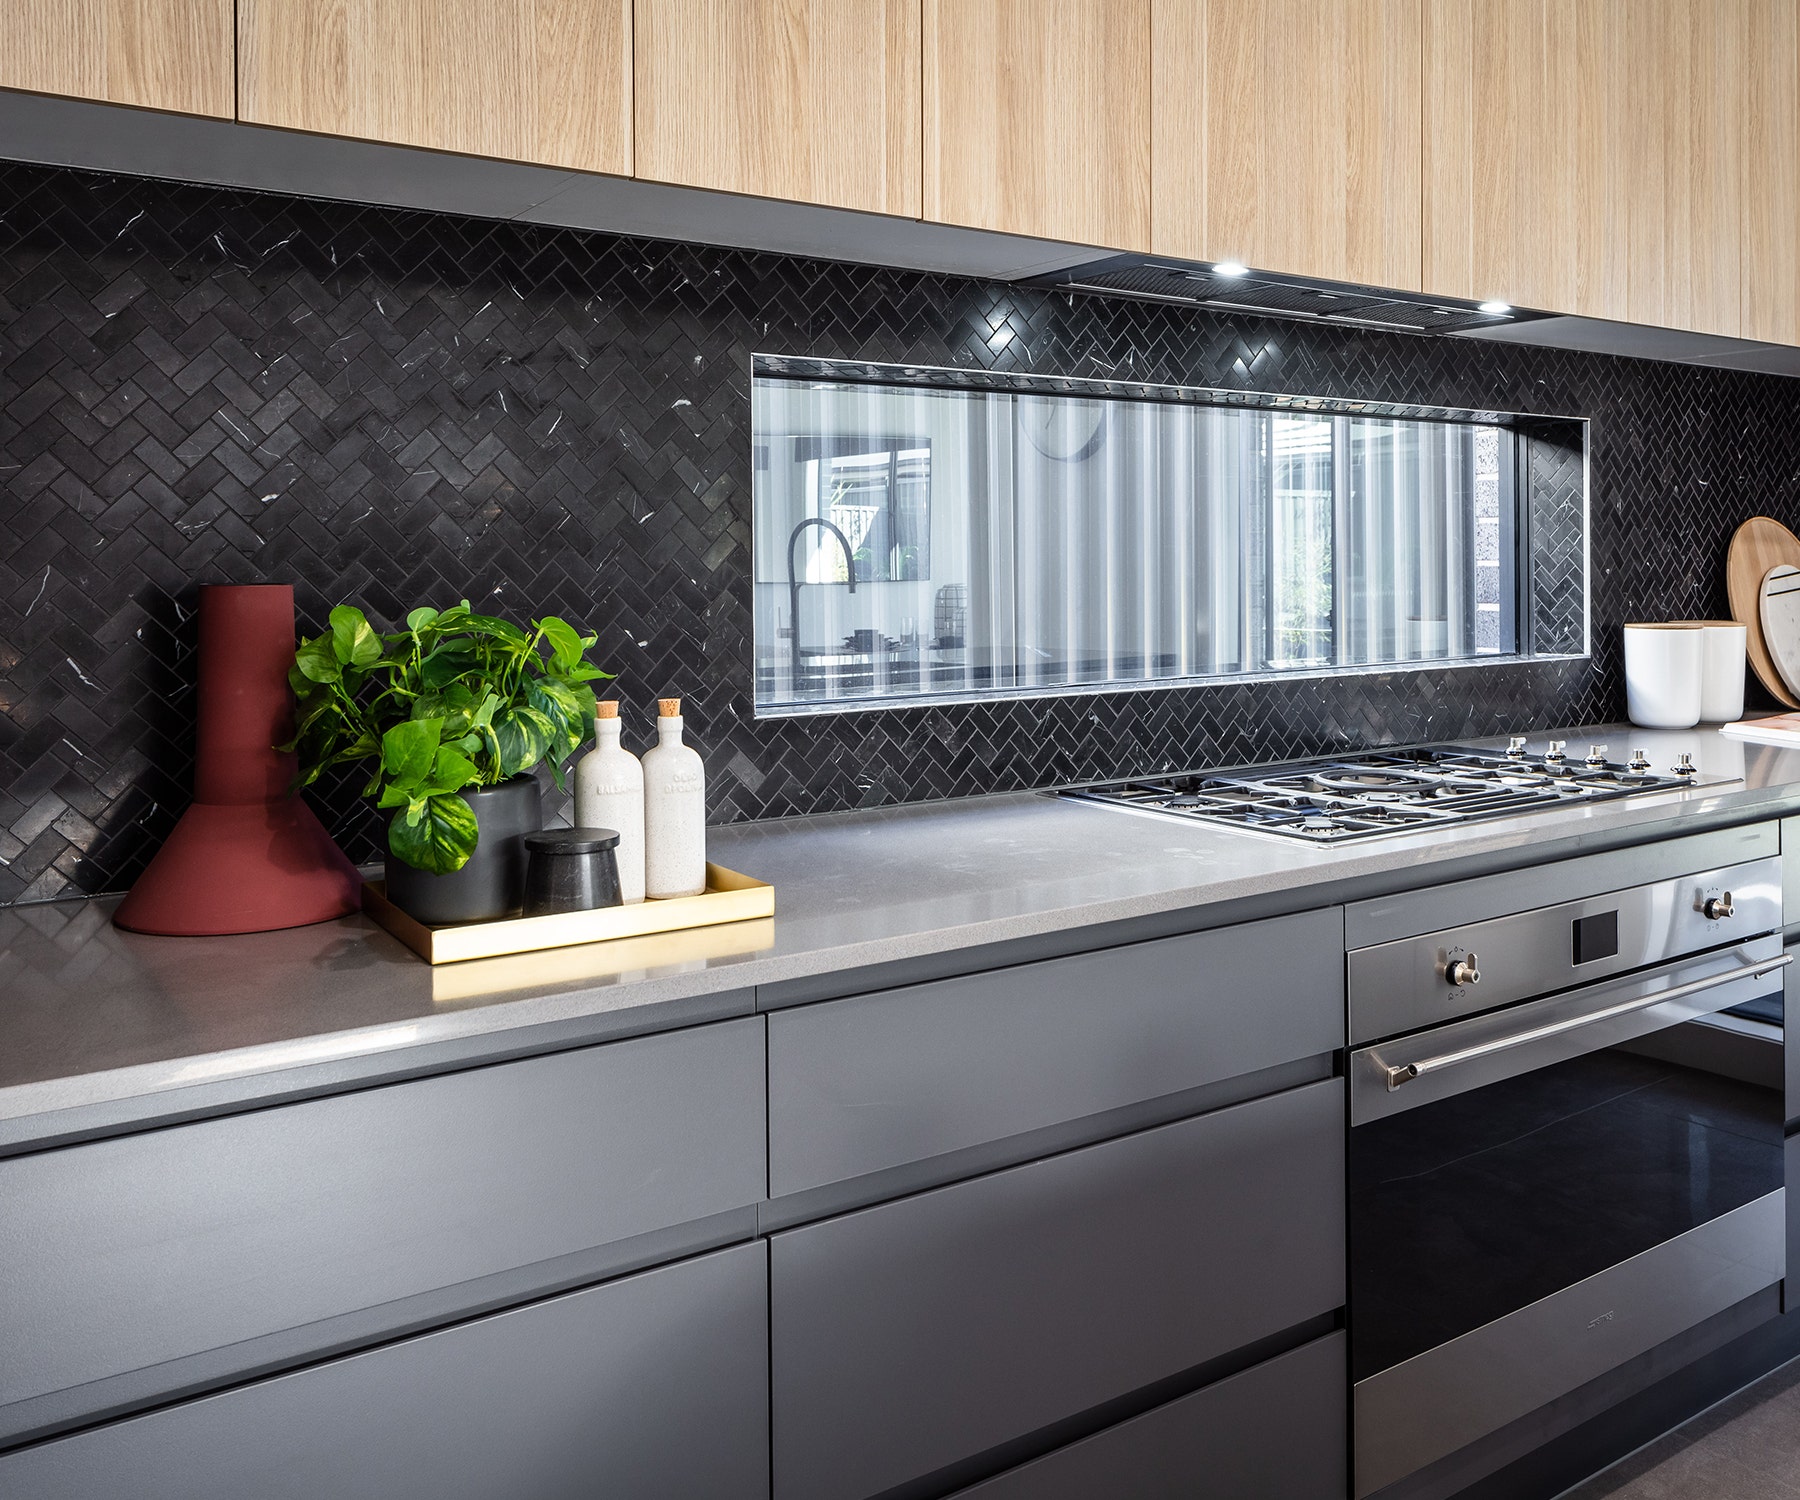
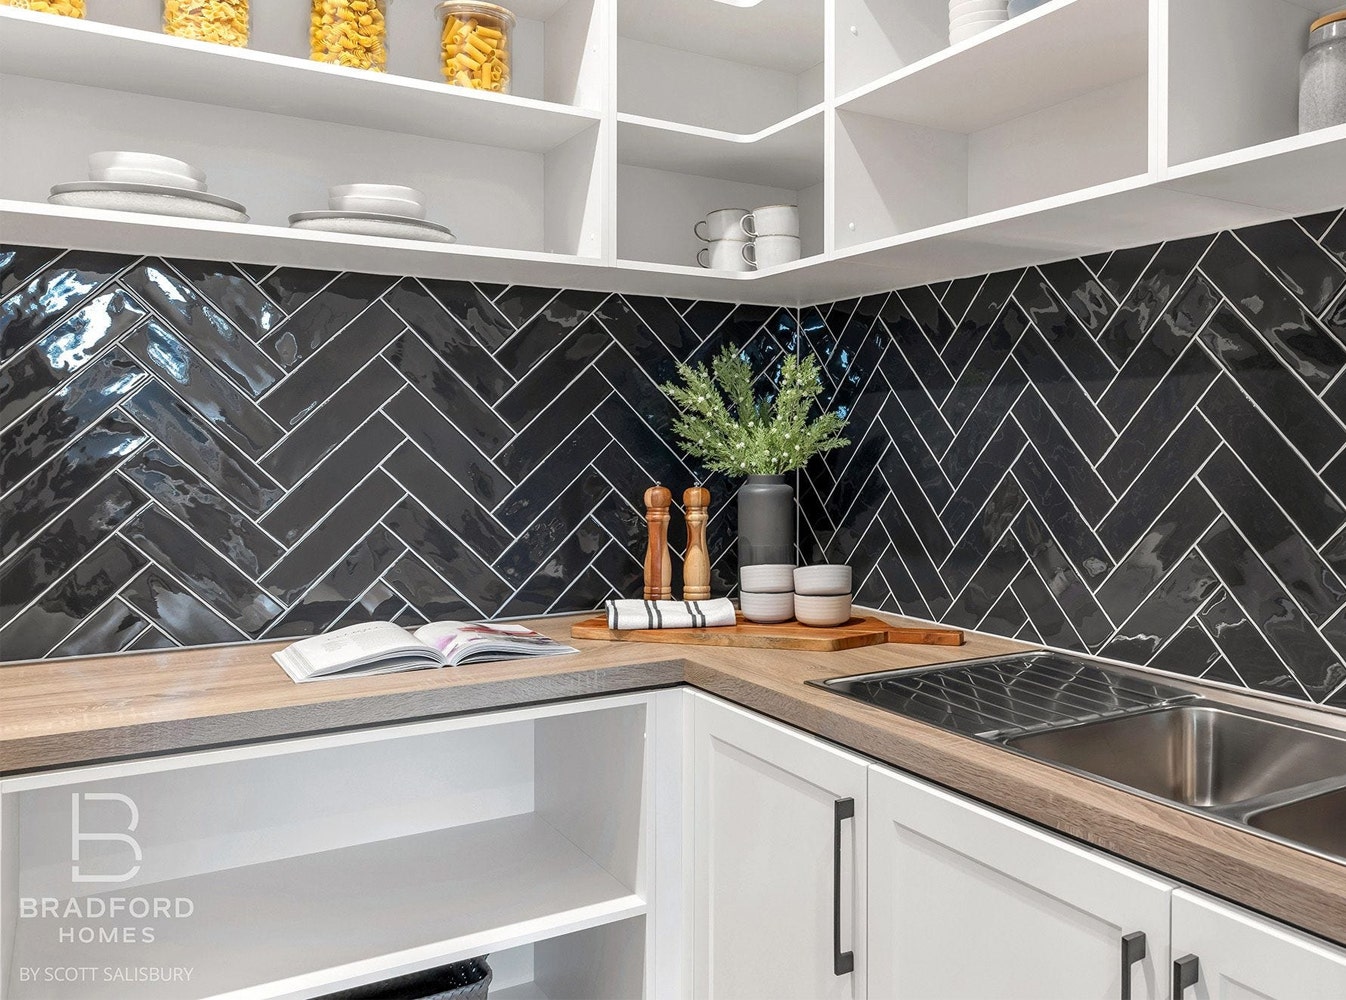
Choose colours that are either similar tones to your benchtop for a more consistent look, or colours that are complementary or contrasting if you want to add interest. This light-coloured tiled splashback is a nice contrast to the darker benchtop, however by choosing similar tones, the look is tied together.
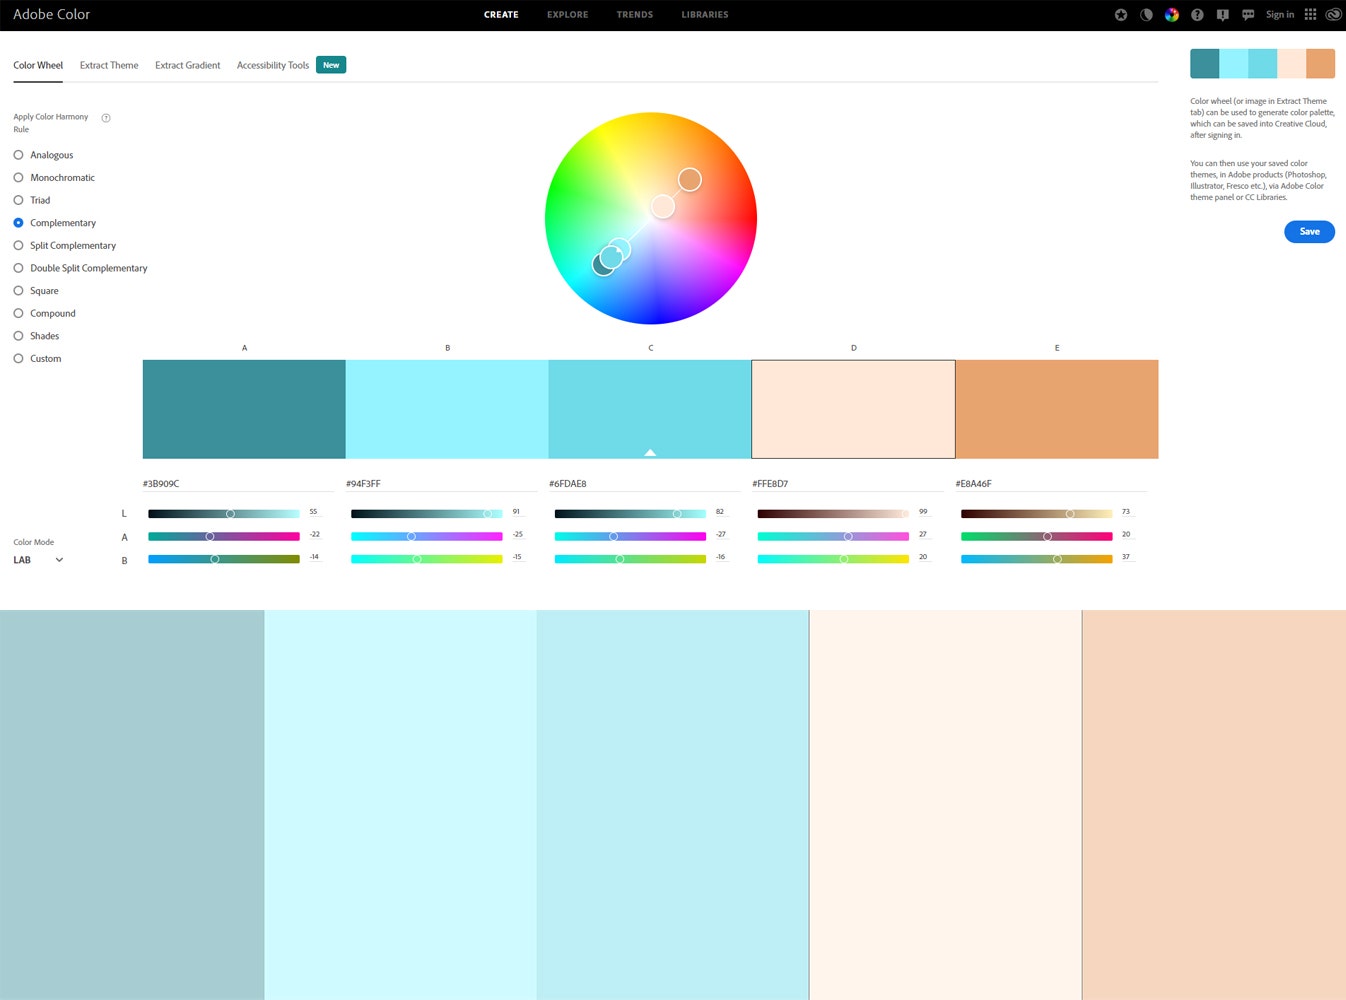
Struggling to pick color that would match with each other? Try Adobe Color or Color Hunt, two great tools that do the job for you, from monochromatic to complementary you can have the perfect match for your colour.
Step 3: Use your splashback and grout to add extra light
Don’t be afraid to think outside the square like a splashback with an unfinished top. This look creates a striking design element and adds another colour and texture to the wall that can be bright and shinny.
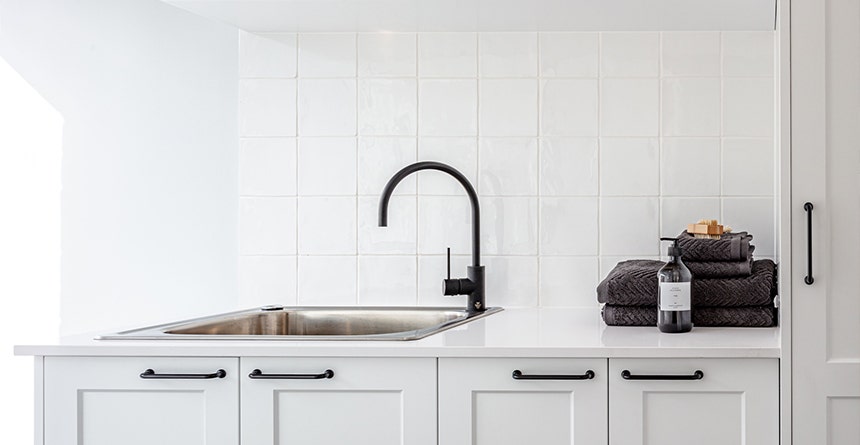
Don’t forget to consider your grout colour. Various colours will bring out different aspects of the splashback tiles and can help to conceal or highlight the spacing between tiles. A contrasting grout colour looks especially beautiful with mosaic tiles. Important to consider is the cleanliness of your grout colour, especially in areas that are likely to experience splashes and splatters like the kitchen and laundry. This is a great way to make a kitchen feel bigger than it really is. It will reflect both natural and artificial light around the room. Plus, it can be a great way to introduce colour.
Another grout tip for the kitchen is to opt for epoxy grout. Epoxy grout is used in commercial grade kitchens so you know it is tough. It is a water based polymer that is resitant to stains, mould and mildew. If using a general cement based grout make sure you seal it while clean straight after installation, this will protect it from stains and make on going cleaning a breeze.
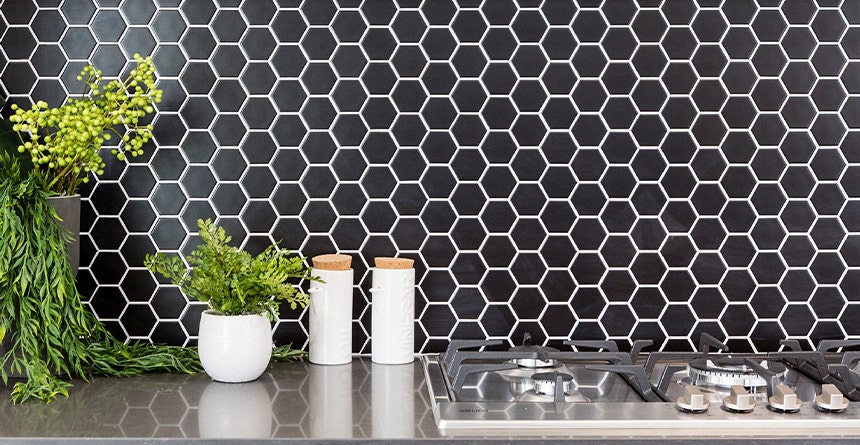
Step 4: Try a feature splashback Tile
You may already have your heart set on a bold splashback colour, an eye-catching tile or you may even want to consider a splashback with a texture. You can design the rest of your kitchen around this!
Choose a benchtop colour that will complement your feature splashback but won’t fight it for attention – allow your spectacular splashback tiles to take centre stage in the kitchen.
Consider having a shorter splashback in lighter work areas and a full-height splashback behind the cooktop (this will save on cost considerably if you’ve opted for stone, for example) and also looks quite smart.
Step 5: Do not rush if you are not sure
If you are really struggling with splashback choices, rest assured that you don’t need to decide straight away.
Visit your local Beaumonts showroom and any of our experts would gladly help you takea decision.
Your new splashback will be one of the last components to be installed in your new kitchen, so you will have an opportunity once your cabinets and benchtop have been installed. Once they’re fitted, you can assess the overall look of your new kitchen, which can be difficult to visualise in the planning stages. This will help you to decide what tile and colour to choose to tie the whole look together.