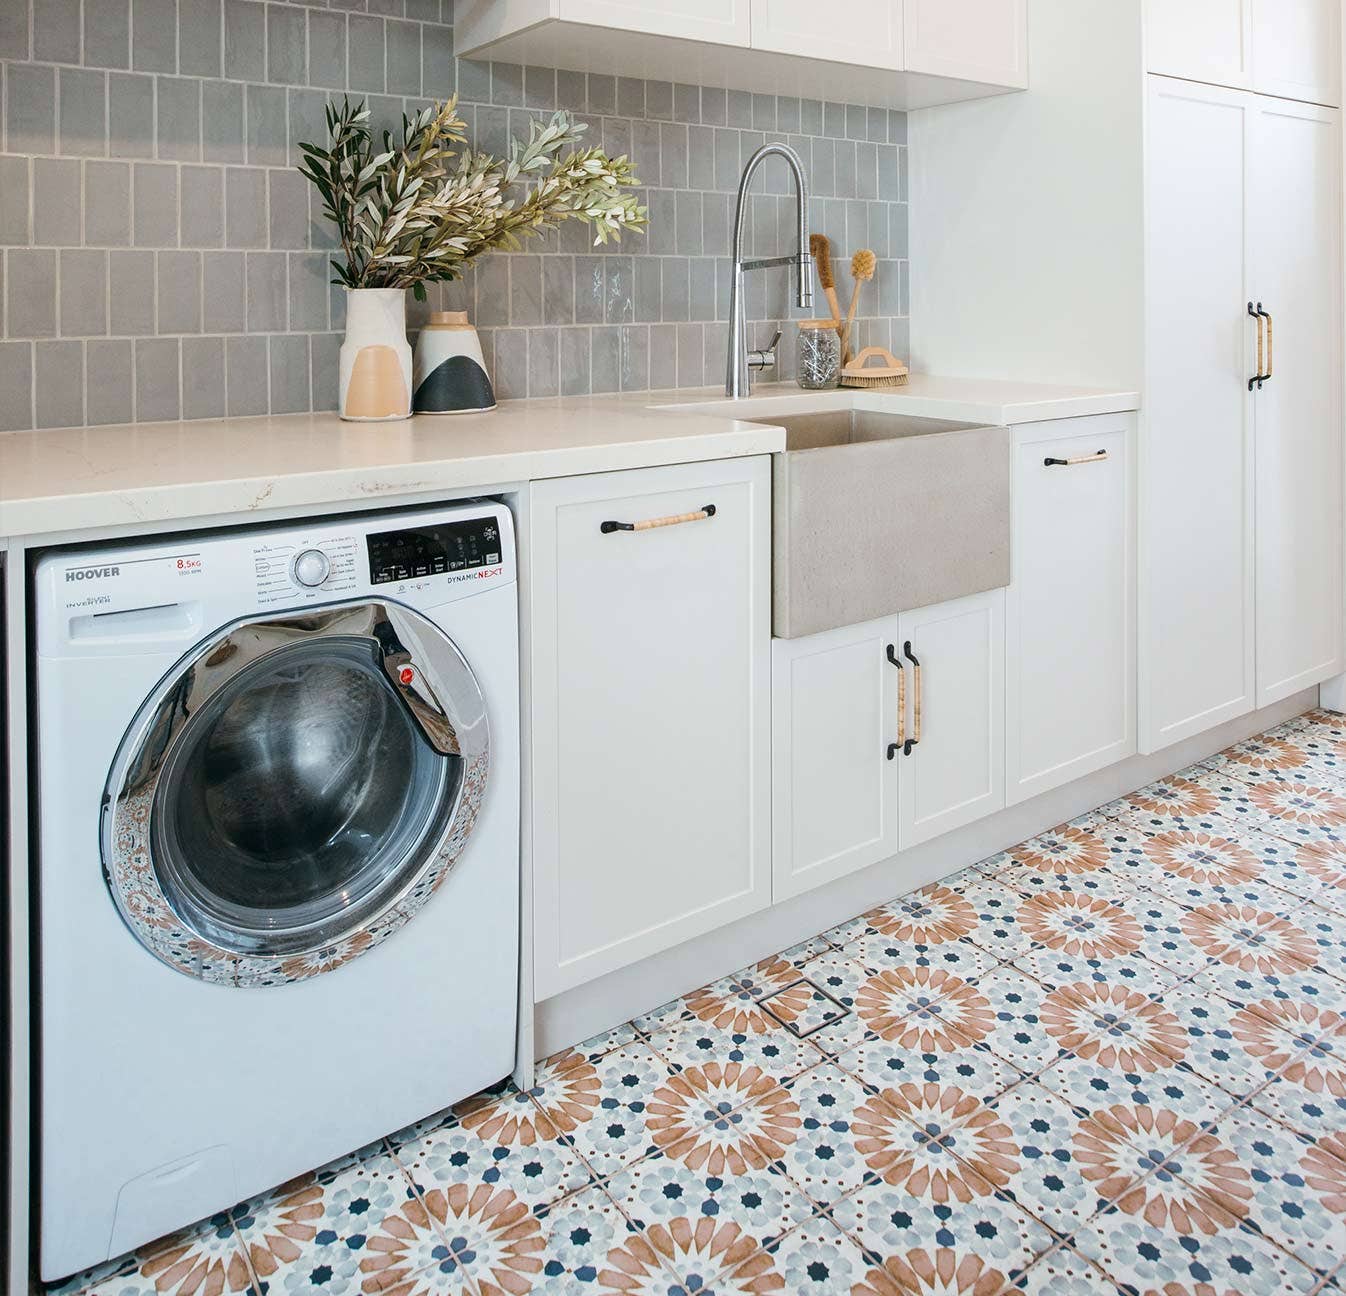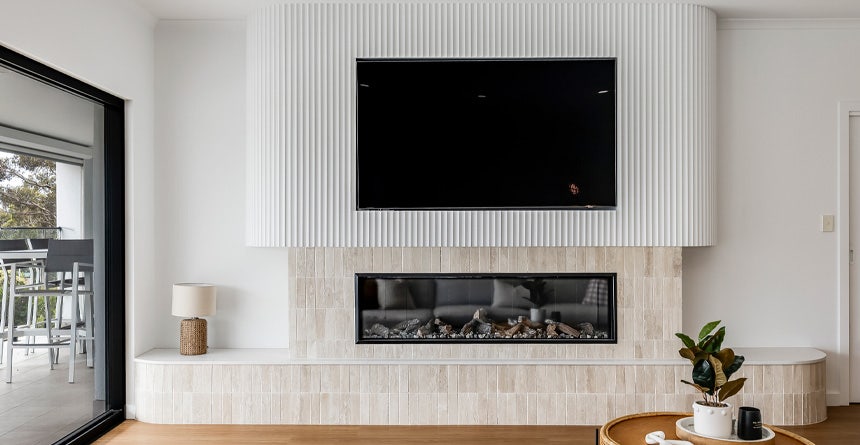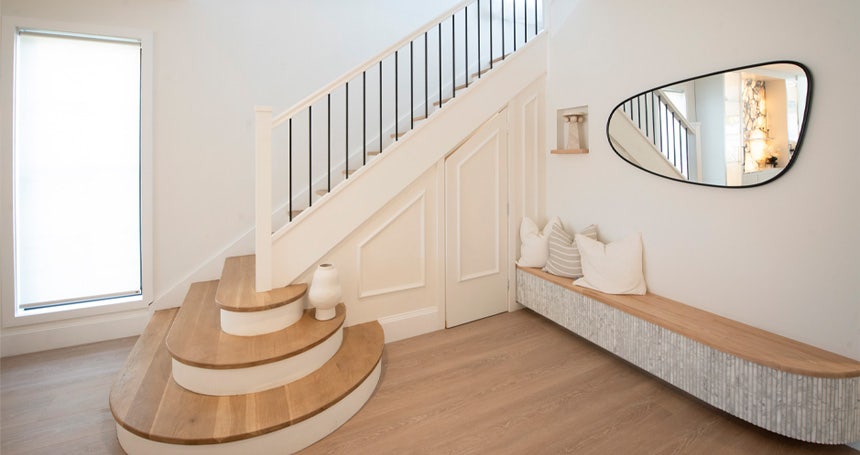
DIY & Advice
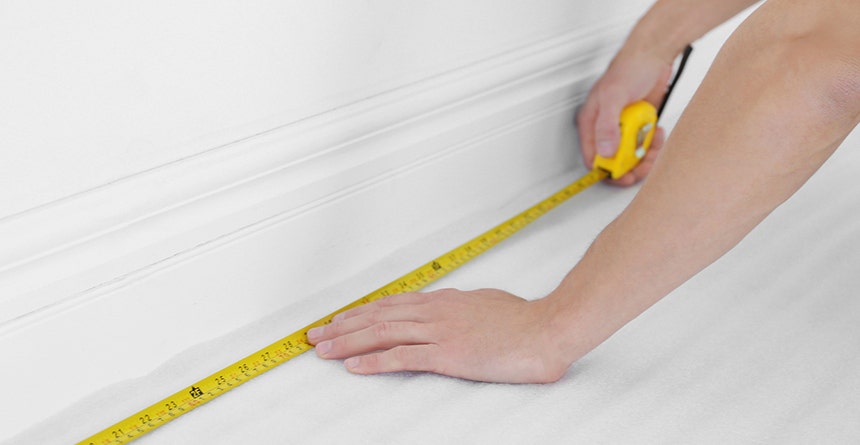
How to Measure your Wall for Tiling
Here are our handy tips to help you get the all-important measure up correct.
Overview
Our first tip, measure twice, in fact, three times, and always remember to order around 10% more to accommodate for cuts and any breakages during installation. We also suggest ordering some extras to store for future use should you need them to ensure the tile batches match.
Tools & Materials
Tools
- Tape measure
- A Notepad & a pencil or pen
- Calculator
How-To Steps
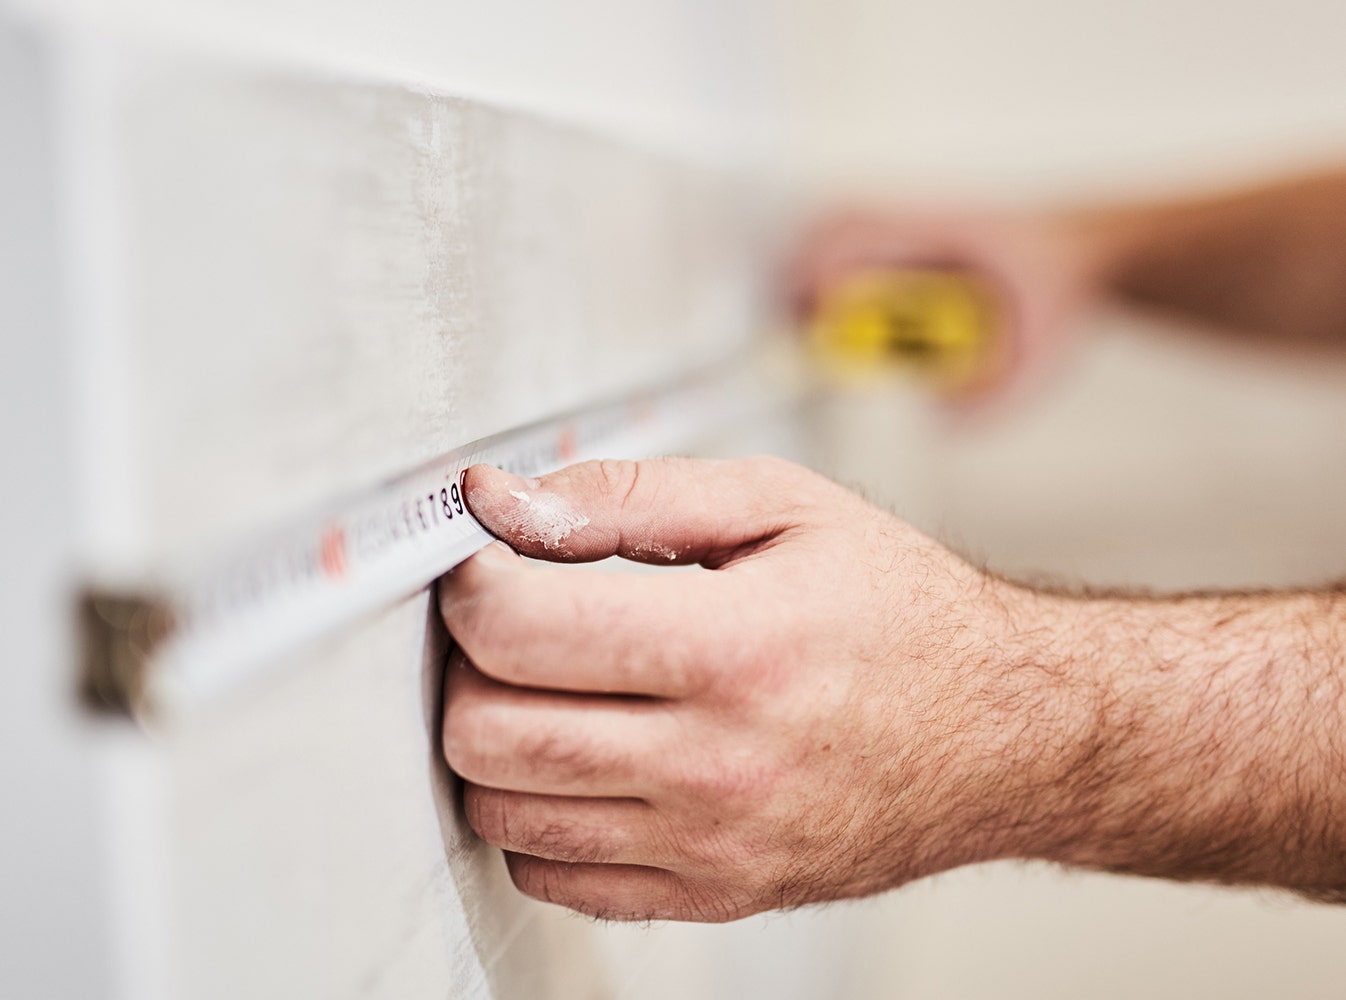
When you know the right way to measure, it’s easy! To get started, you will need a measuring tape, a pencil and paper, and a calculator.
Unless you are measuring one large single area, it is not a good idea to work in square metres as it may be inaccurate for the number of tiles required. We recommend measuring in meters (see the video above).
Here's how to calculate the number of tiles required:
Step 1: Draw A Sketch Of The Area To Tile
When space planning an interior remodel, such as a bathroom, draw out each wall on a piece of paper (not necessarily to scale), your floor plan drawing is simply to help you measure the size of the area and show the general layout, you don't need to be overly accurate, make a rough outline of the dimensions, so you have a good visual starting point. You will calculate each rectangular section as a separate area.
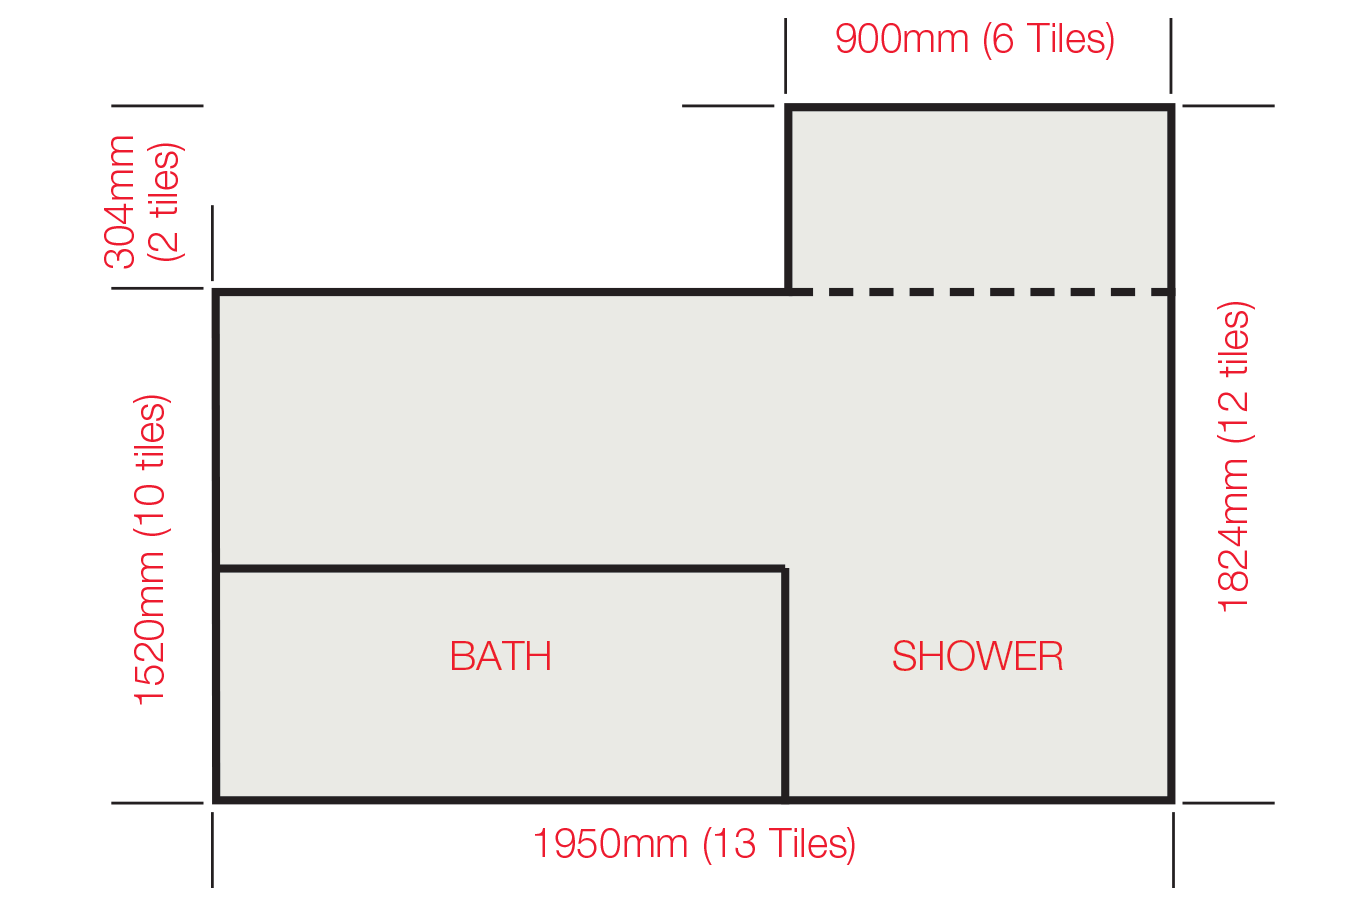
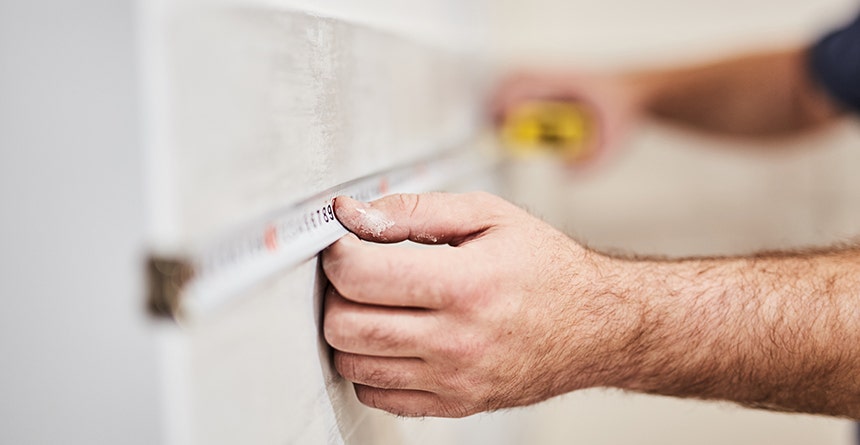
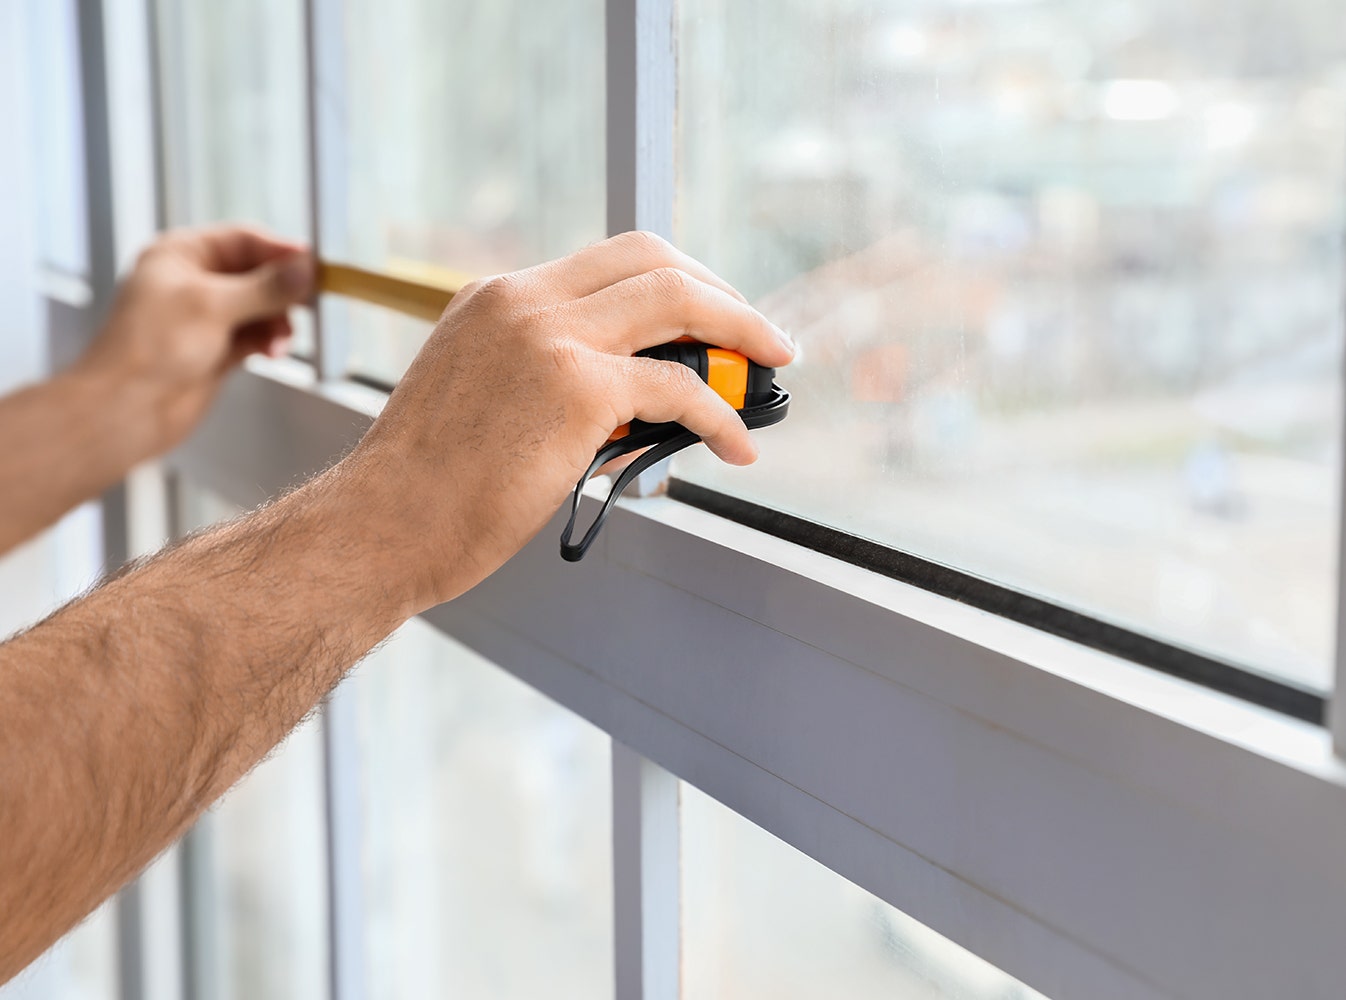
Step 2: Measure the longest wall first
Do this by running your tape measure along the baseboard from one corner to the other. Take the width measurement in millimetres and divide it by the width of the tile e.g. in the sketch above the room is 1950mm wide. If the chosen tile is 152mm x 152mm then1950 (wall width) ÷ 152 (tile size) = 12.82 tiles, we round this up and say that the wall will require 13 tiles wide.
Struggling to pick color that would match with each other? Try Adobe Color or Color Hunt, two great tools that do the job for you, from monochromatic to complementary you can have the perfect match for your colour.

Step 3: Work Out Your Tiling Approach
Now decide how high you would like to tile (sometimes you will have no choice). In our example, the basic tiling is going to be 1520mm high so we divide the height by the tile size. 1520/152= 10 tiles required or 10 rows. (For the a sleek and clean appearance, floor to ceiling tiling is generally recommended)

Step 4: Repeat This Process For The Remaining Walls.
Our second area on the wall is where the shower tiling is higher. This goes up an extra 2 tiles. The shower width is 900mm, so 900 ÷ 152 = 5.92. The area will require 6 tiles wide and 2 tiles high.
Step 5: Measure Doors and Windows
Measure the width of the door. Note the direction that the door swings and show this on your drawing with an arc. If you have a door or window to take out of a wall, simply take the number of tiles required to cover the window from the total for that wall. (Don’t forget to take the sills and sides of the window into consideration). Now measure the width of the casings around the door and note those on your drawing.
Step 6: Calculate the Tile Quantities You need
Once you have all of your measurements and have made a rough sketch of your floor plan on paper, calculate the amount of tiles. The first part of the wall is 13 tiles wide x 10 tiles high = 130 tiles. The second part of the wall is 6 tiles wide by 2 tiles high = 12 tiles. Total for the wall = 142 tiles.
Step 7: Add an extra 10% Tiles to your Total
You need to add a recommended 10% extra onto our total using the handy calculation: Total x 1.1 = Total including 10% wastage. In our example 142 x 1.1 = 14.2, meaning you need an extra 12-13 Tiles. Extra tiles compensate for any breakages that may happen during installation that can come from tricky cuts. Extra tiles are also super handy for you in the future. Keep spare tiles in the garage or shed and you’ll thank yourself later if you want to make any changes, for example, add a powerpoint. Of course, life happens and accidents are normal! Spare tiles make life’s little accidents an easy fix.

Step 8: Job Completed
Hopefully this guide will have given you a pretty good idea of how to calculate how many tiles you’ll need to order for your next project. If you are still not certain about quantities, just draw out your measurements on some paper and one of our friendly tile consultants will be only too pleased to work it out for you.