DIY & Advice
How to Prepare a Wall for Tiling
Surface preparation is key to a tiling job that looks professional, here is our step-by-step guide to getting your wall ready for tiling.
Overview
Ceramic tiles can be laid over virtually any level, firm and rigid surface that is clean, dry and structurally able to support the weight of the tiles; e.g. plaster, cement render, fibre cement sheet, plasterboard. Even surfaces like metal, old tiles and wood can be tiled over using the correct preparation.
It is important to know that you should never tile over a wallpapered wall or any other surface which may separate from the base wall. Remember your tiled wall will only be as good as the surface beneath it. If you are not sure, ask your local Beaumont specialist before starting. If you are looking to tile a shower wall head to our blog post here as a few steps are different.
Hot Tip: It is not advisable to tile over fibreglass but options do exist such as Ardex Optima. We generally recommend getting a pro to complete any projects with fibreglass as some extra steps and care must be taken. Speak to your Beaumont specialist before undertaking a project involving fibreglass.
Tools & Materials
Items required
- Personal Protective Equipment: goggles, respirator/ dust mask, gloves etc
- Dust sheet
- Sugar Soap (if needed for grimy walls)
- Sander or sandpaper
- A hammer or pliers for removing nails, screws, hooks
- Filler for plaster, cement sheeting or render depending on wall type
- Trowel
- Scraper
- Scraper or steamer for removing old wallpaper
- Cement sheeting (if needed for your wall substrate)
- Sponges and cloths
- Step ladder/ ladder
- Primer BT Primer or Ardex Multiprime
How-To Steps
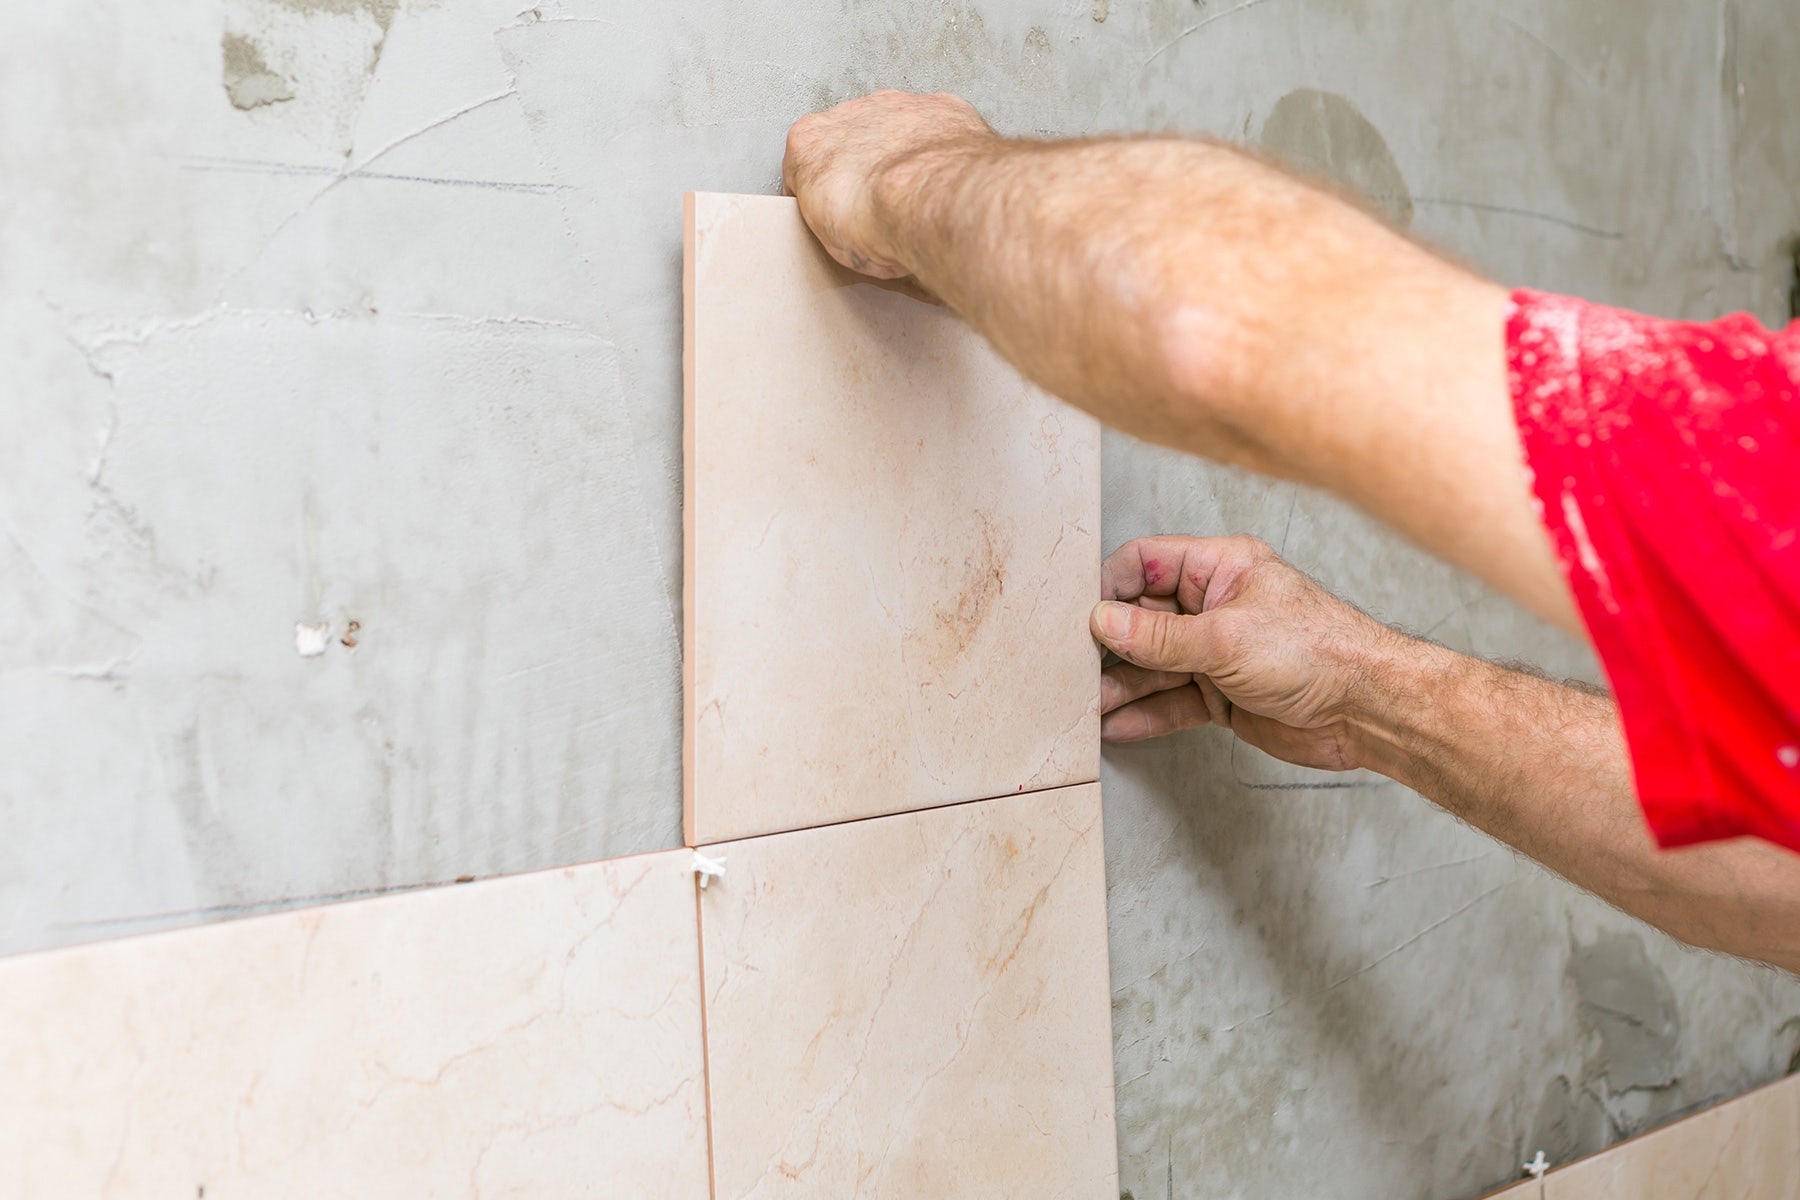
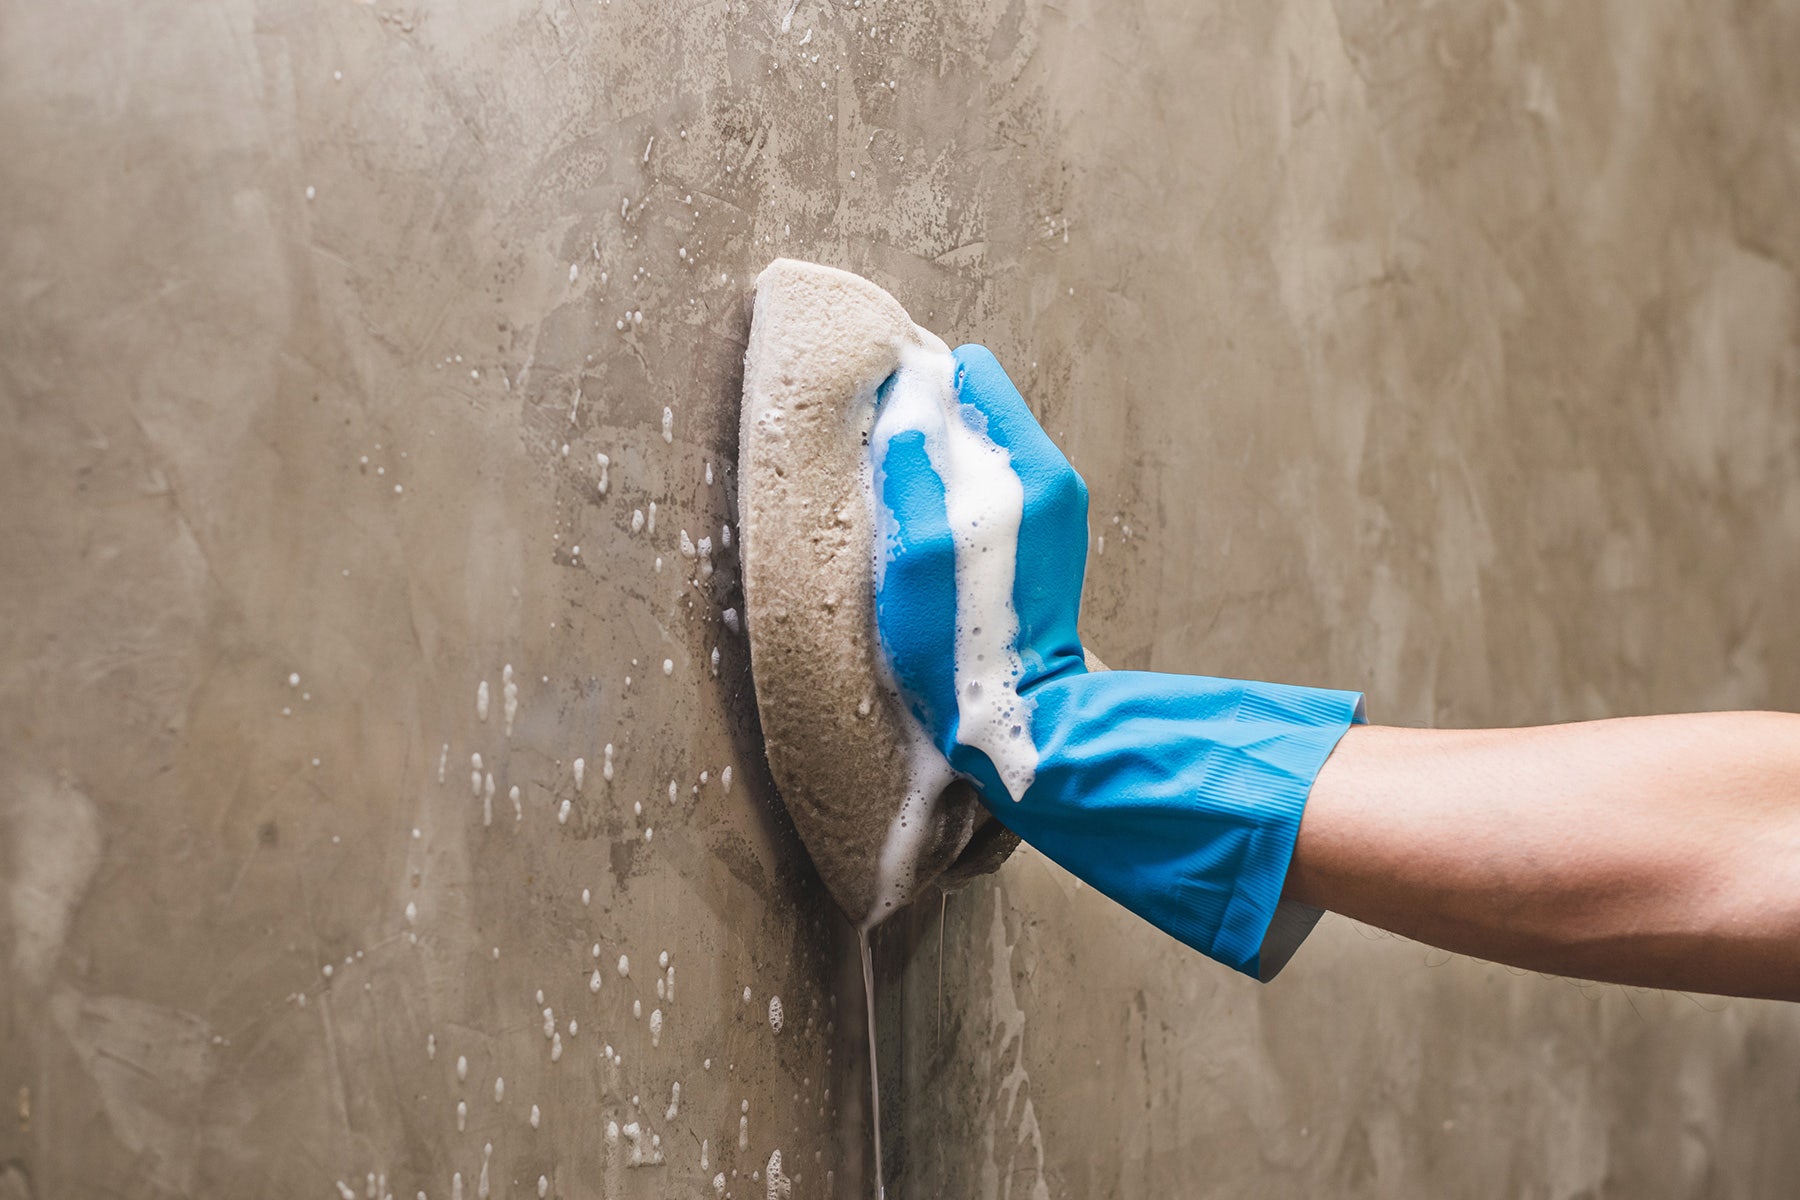
Step 1: Prepare the wall
Remove any screws, photo hooks, nails or other fittings and give the wall a good clean, it should be clear of any dust, flaking paint, dirt or powders.
If you plan to tile over plaster or cement render patch any small irregularities with one of the many excellent fillers available. If the wall is really rough, it will probably be worth lining it with cement sheeting. To do this, simply plug and screw battens to the wall at intervals recommended by the cement sheet manufacturer. Make sure that each batten is vertical and level by packing behind the batten until your spirit level shows it is just right. Then simply fix the fibre cement sheet in accordance with the manufacturer’s instructions.
If it is a new wall surface make sure that the correct curing times have expired. If you tile on a new surface too quickly movement may occur in the substrate causing havoc to your DIY tiling project.
If tiling over a painted surface avoid using paint stripper as it can impact tile primers and adhesives. Instead roughen the surface by sanding then clean away any flaky paint or dust and allow it to dry.
If the wall has wallpaper or any other surface which is separate from the base wall remove the wallpaper or other surface. If you are not sure, ask your local Beaumont specialist before starting.
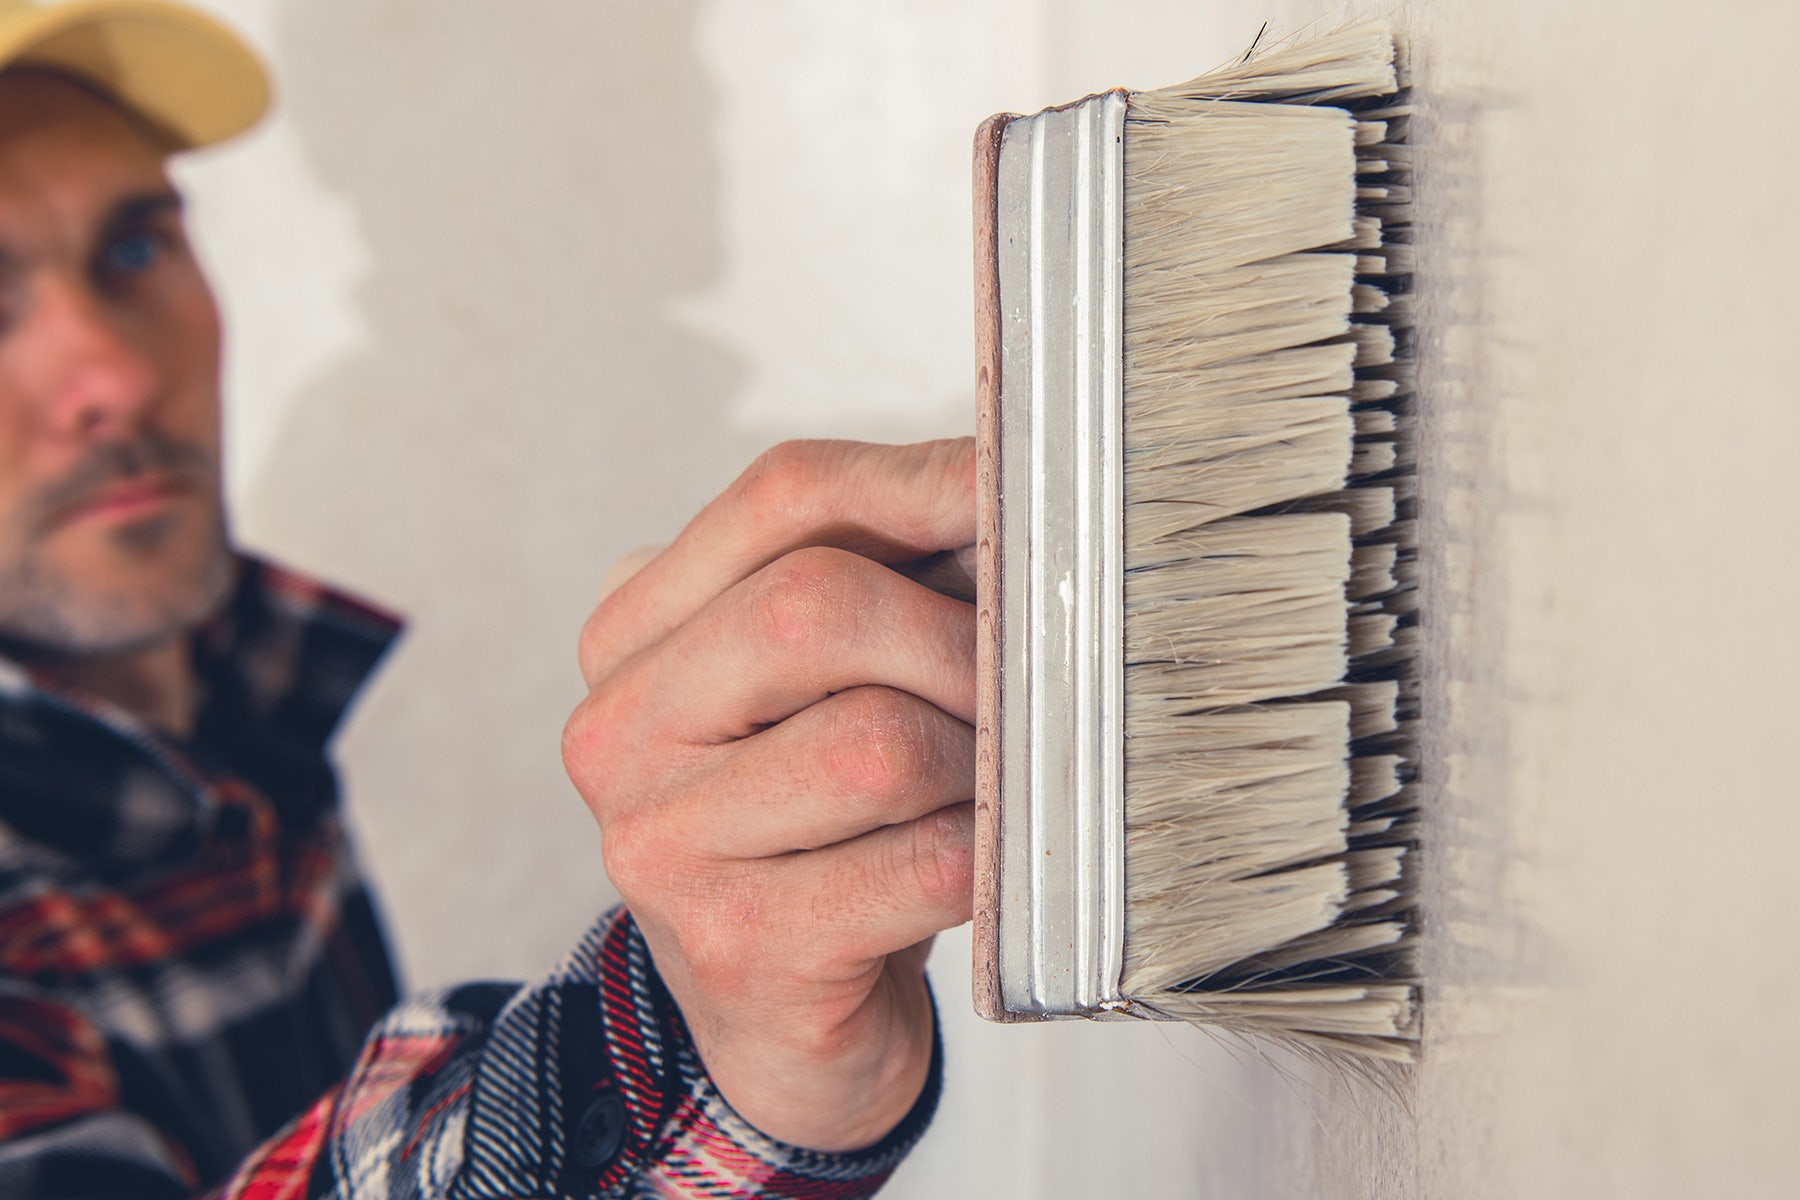
Step 2: Prime time
Once you have a clean, dry and sound wall surface it is important to prime it, this will create a good bond between the wall and your tiling adhesive we recommend BT Primer or Ardex Multiprime
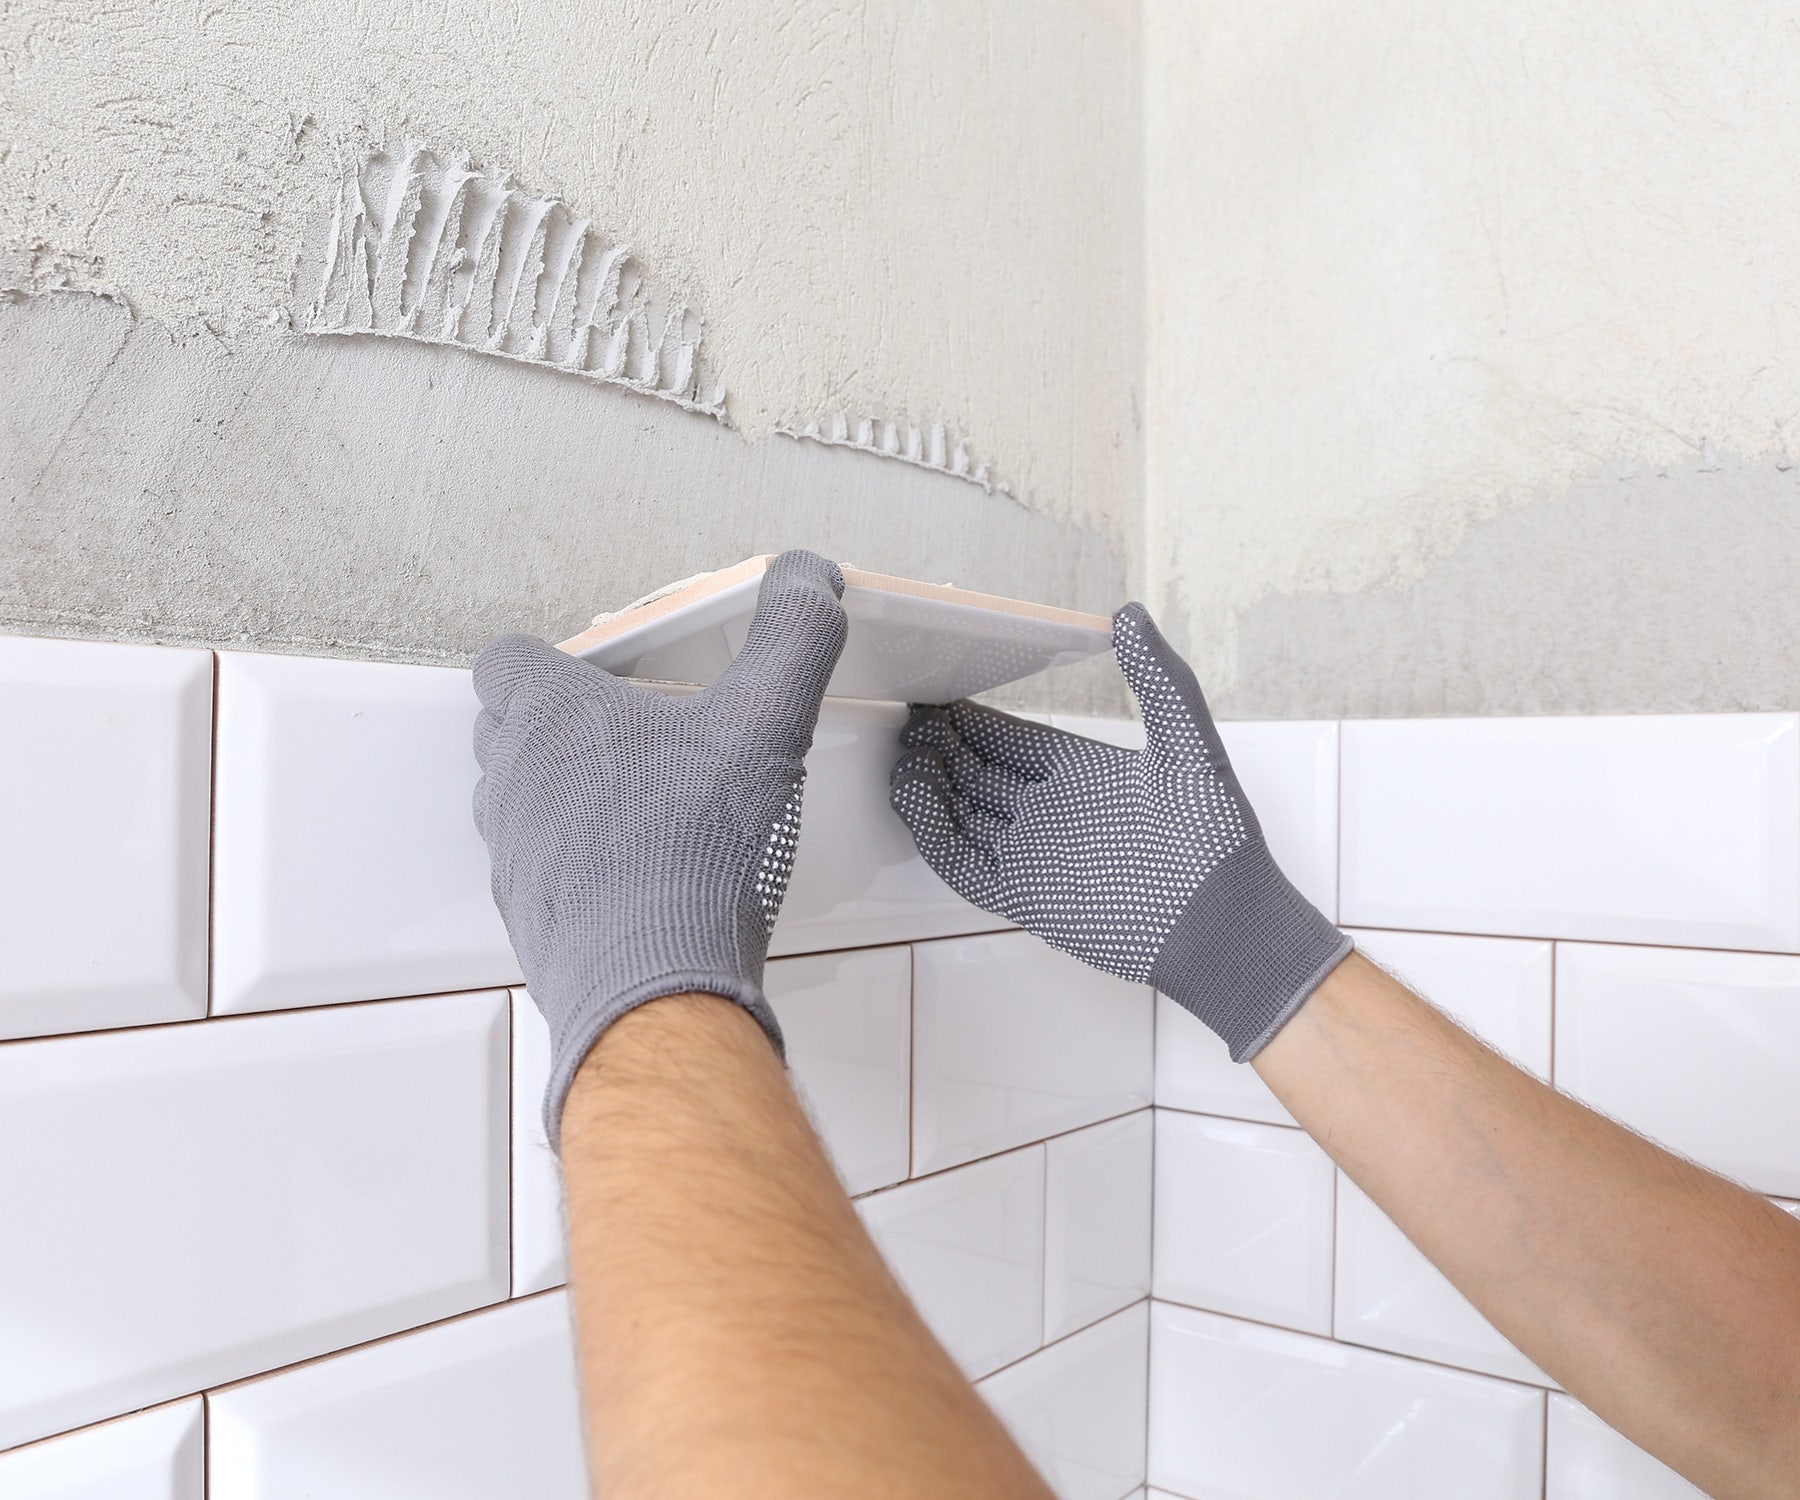
Step 3: You are ready to tile
Once you have completed these steps and the primer has dried you are ready for tiling your wall! Wall tiles should be laid after floor tiles for a more cohesive end result, so make sure your flooring is complete before starting on your wall.
It is really important to get your first row of tiles perfect as this is what governs the rest of your wall. Sometimes floors can be uneven so for a first time DIY job it is a good idea to leave the bottom row last and start tiling from the second row up.
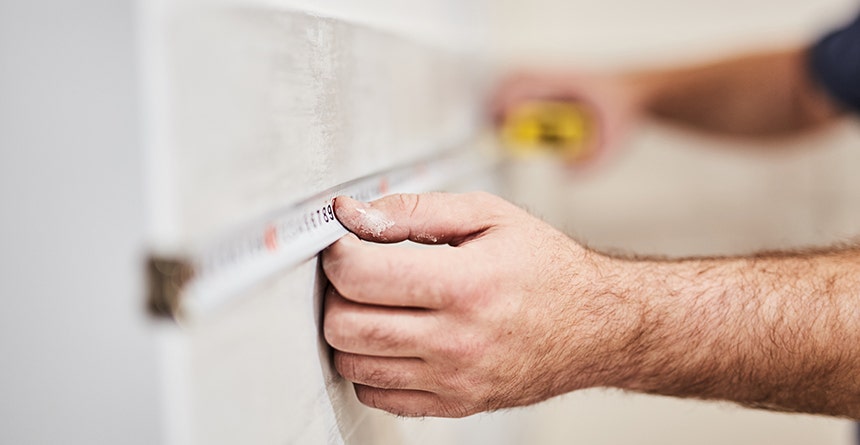
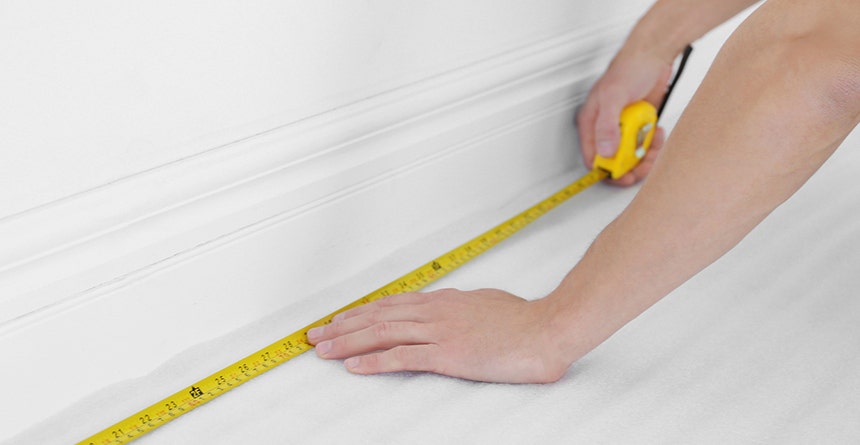
Head here to learn our insider tips for measuring your wall for tiling