DIY & Advice
How to Clean The Grout for Your Freshly Tiled Space
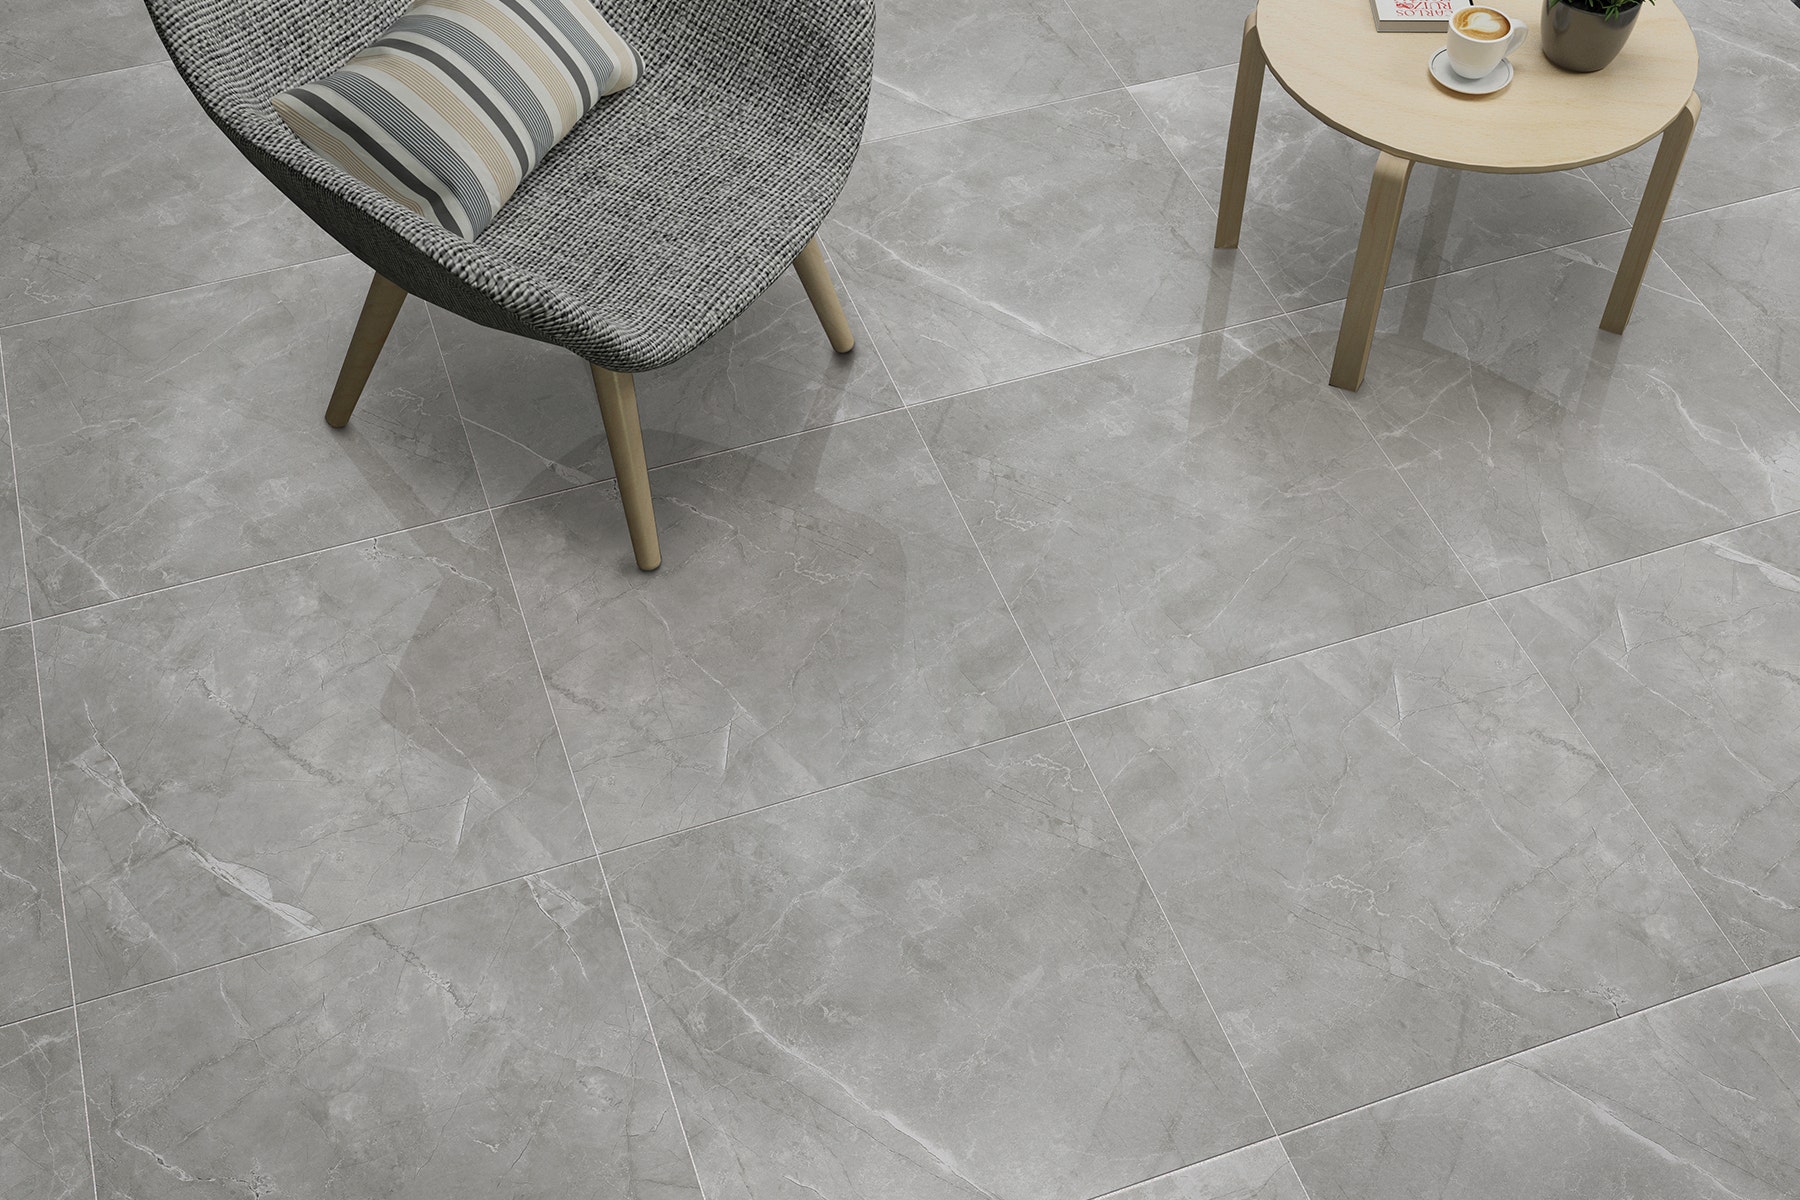
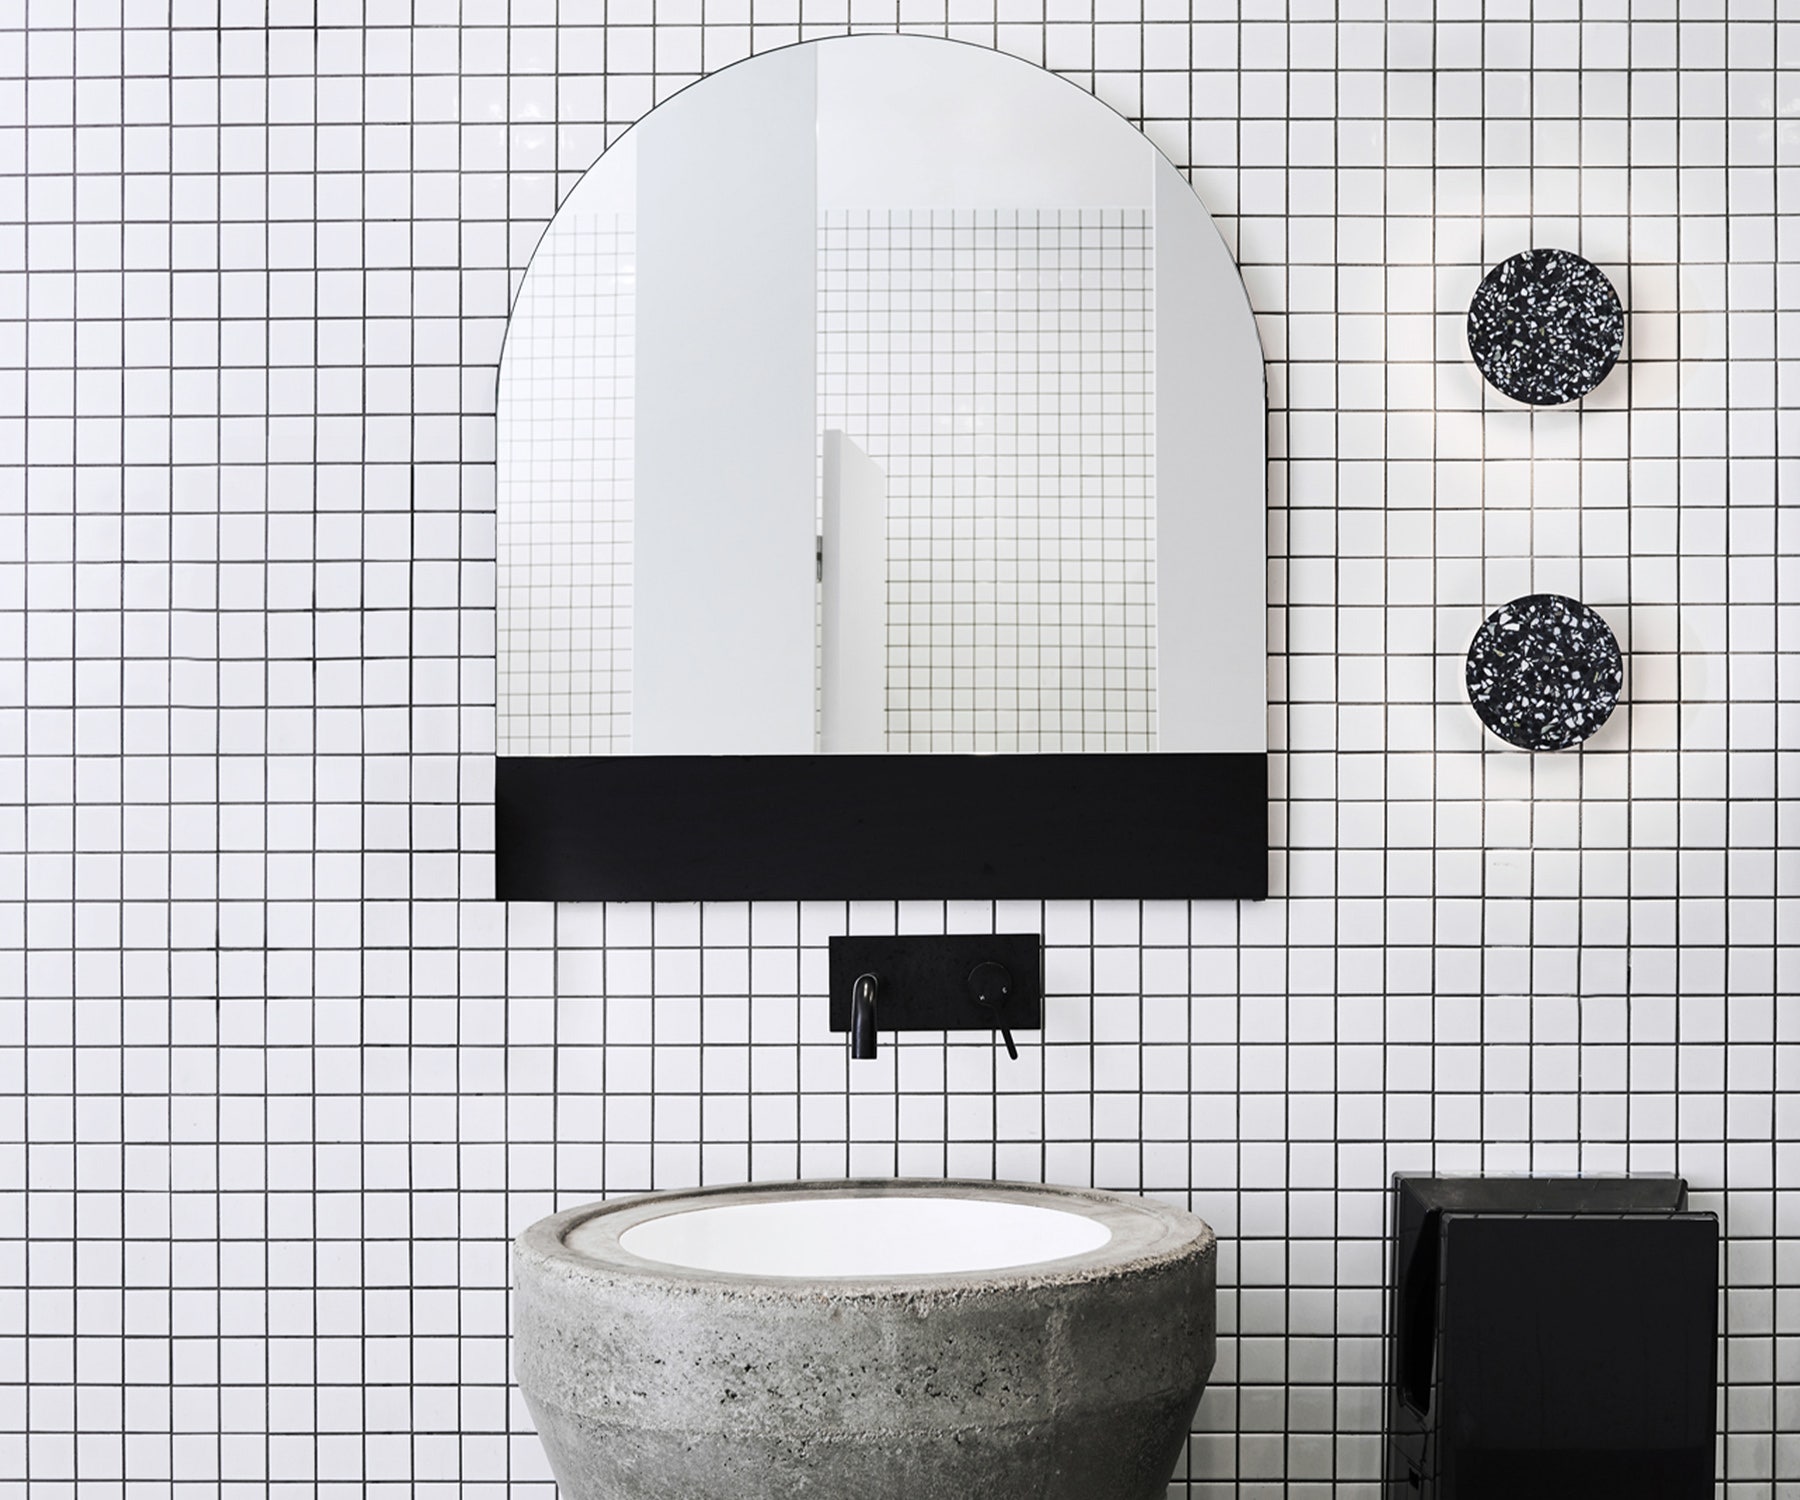
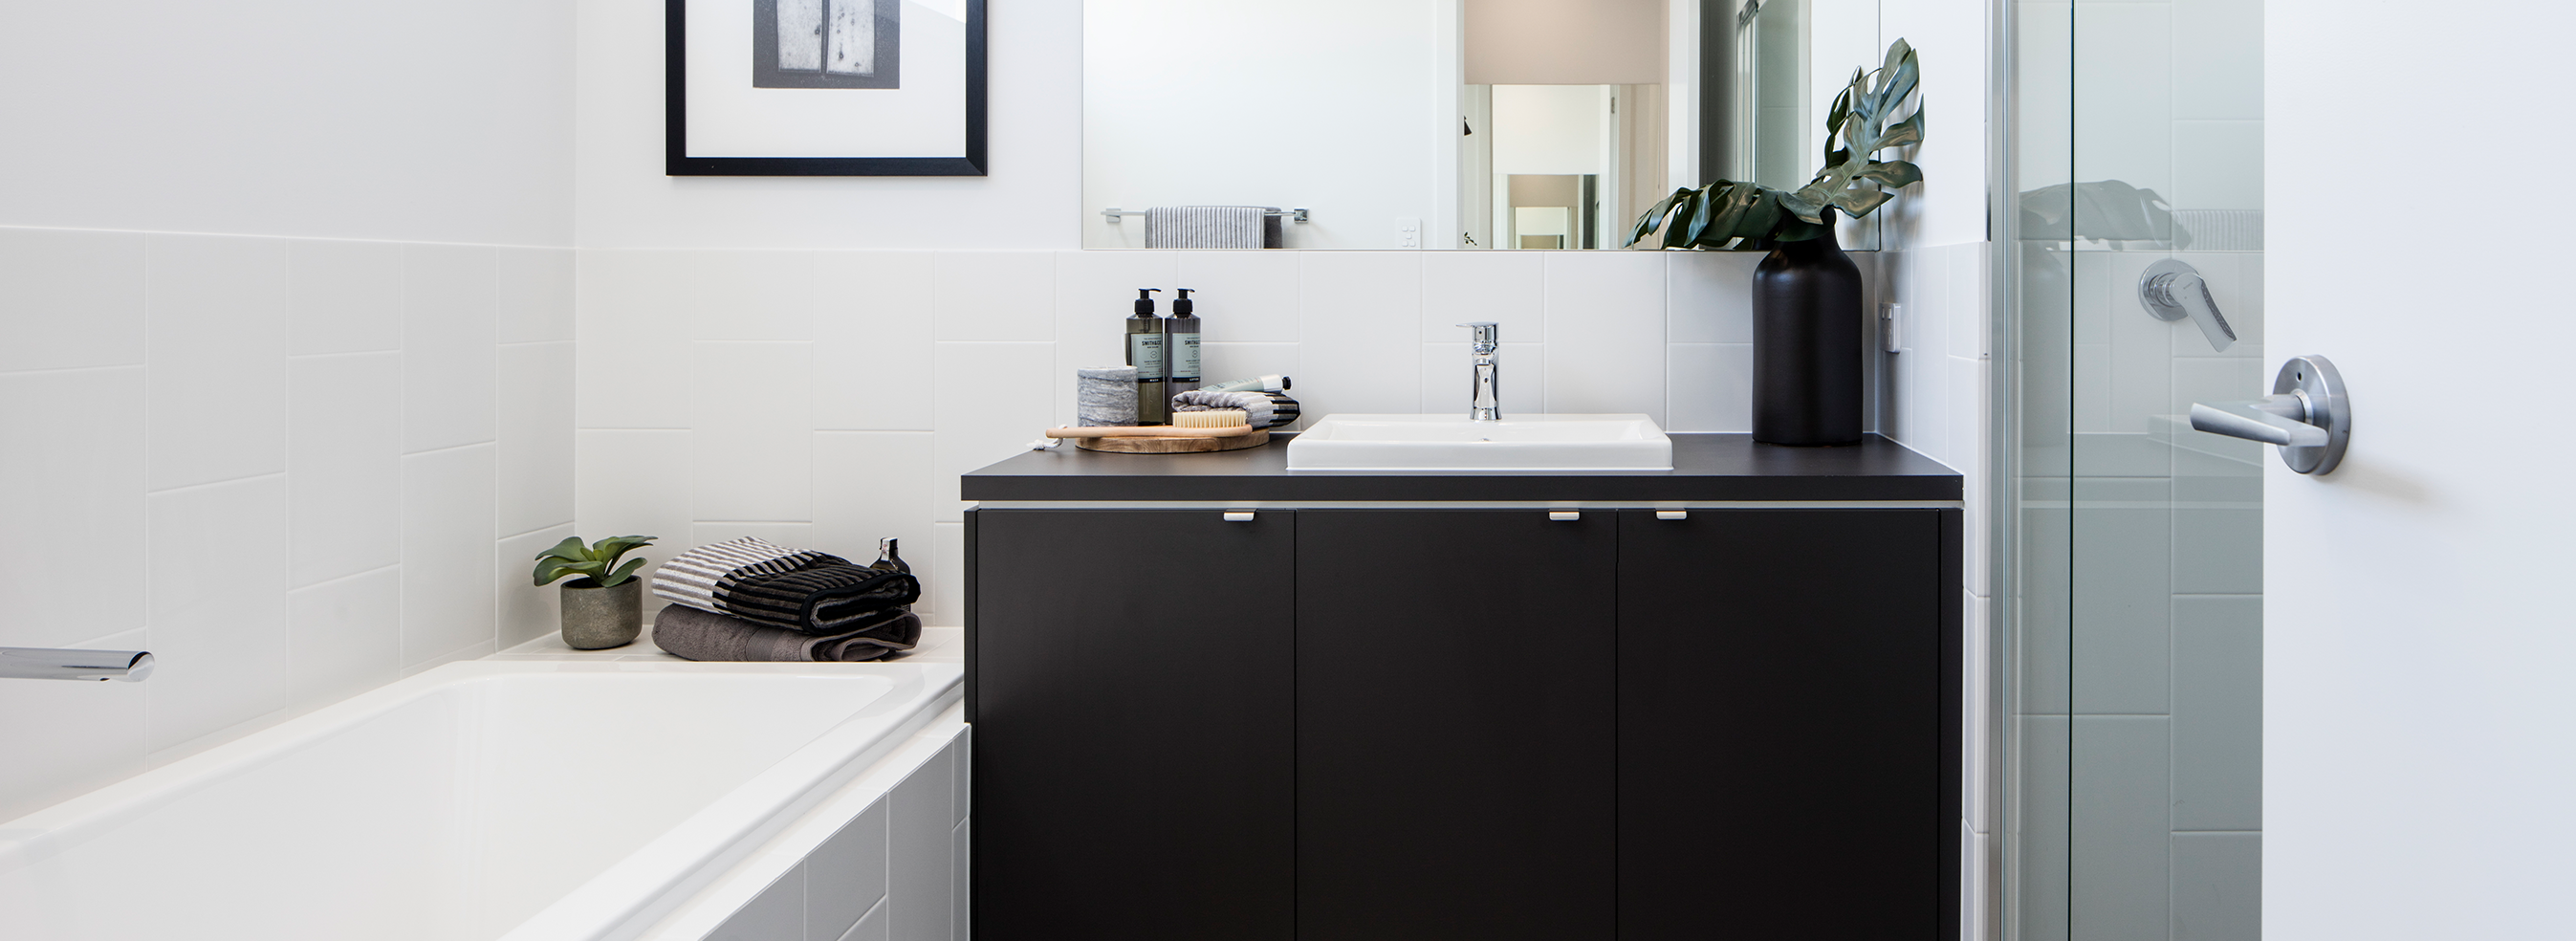
If you're looking for easy ways to keep freshly tiled walls or floor surfaces pristine and hygienic like new, here is a step by step to make them look amazing.
Overview
Tiling an area yourself can save you money, and if you follow the instructions carefully, tiling can produce professional-looking results. One of the most important parts of tiling is cleaning the grout from the tile surface before it dries completely, which will save you a lot of work and ensure that the tile finish is as bright and shiny as it should be.
Tools & Materials
Items Required
- Soft Bristle Broom and Dustpan or Vacuum
- Microfibre Mop
- Cleaning Gloves
- Warm Water
- Doodle Pad or Stiff bristled nylon scrubbing brush
- Squeegee (optional)
- Grout Haze Remover (for initial cleaning)
- Everyday Cleaner (for final wash and ongoing maintenance)
- Grout Sealer (for cement-based grout only)
How-To Steps
Step 1: Let It Cure
For freshly tiled spaces the first step is waiting for grout to cure, once cured clean with a grout haze remover such as Lithofin Cement Residue Remover. The grout curing process typically takes around 48 hours, but you should consult your grout's packaging for the exact duration. It is important to wait for this curing time to occur otherwise you may wash the grout away.
Hot Tip: Don't wait much longer than the curing time, aim to do it within 10 days of grouting. It is easier to clean grout haze sooner rather than later because the haze promotes dirt build up making it more difficult to remove with time. If you miss the window you might have to use harsher cleaners which could detriment the integratory of your project.
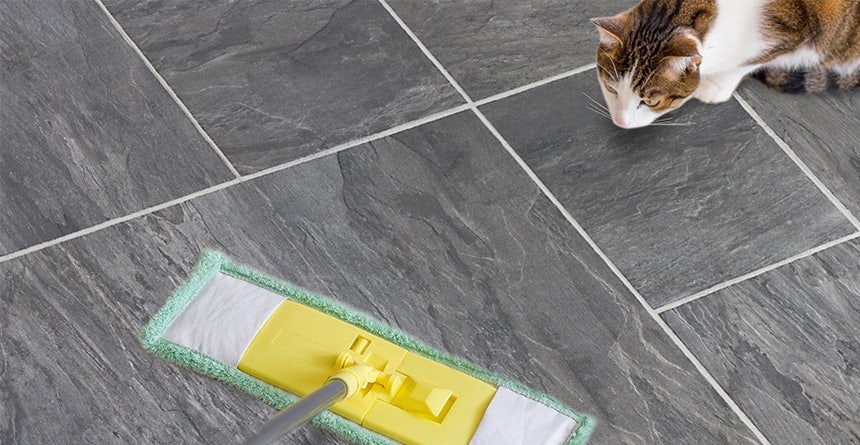
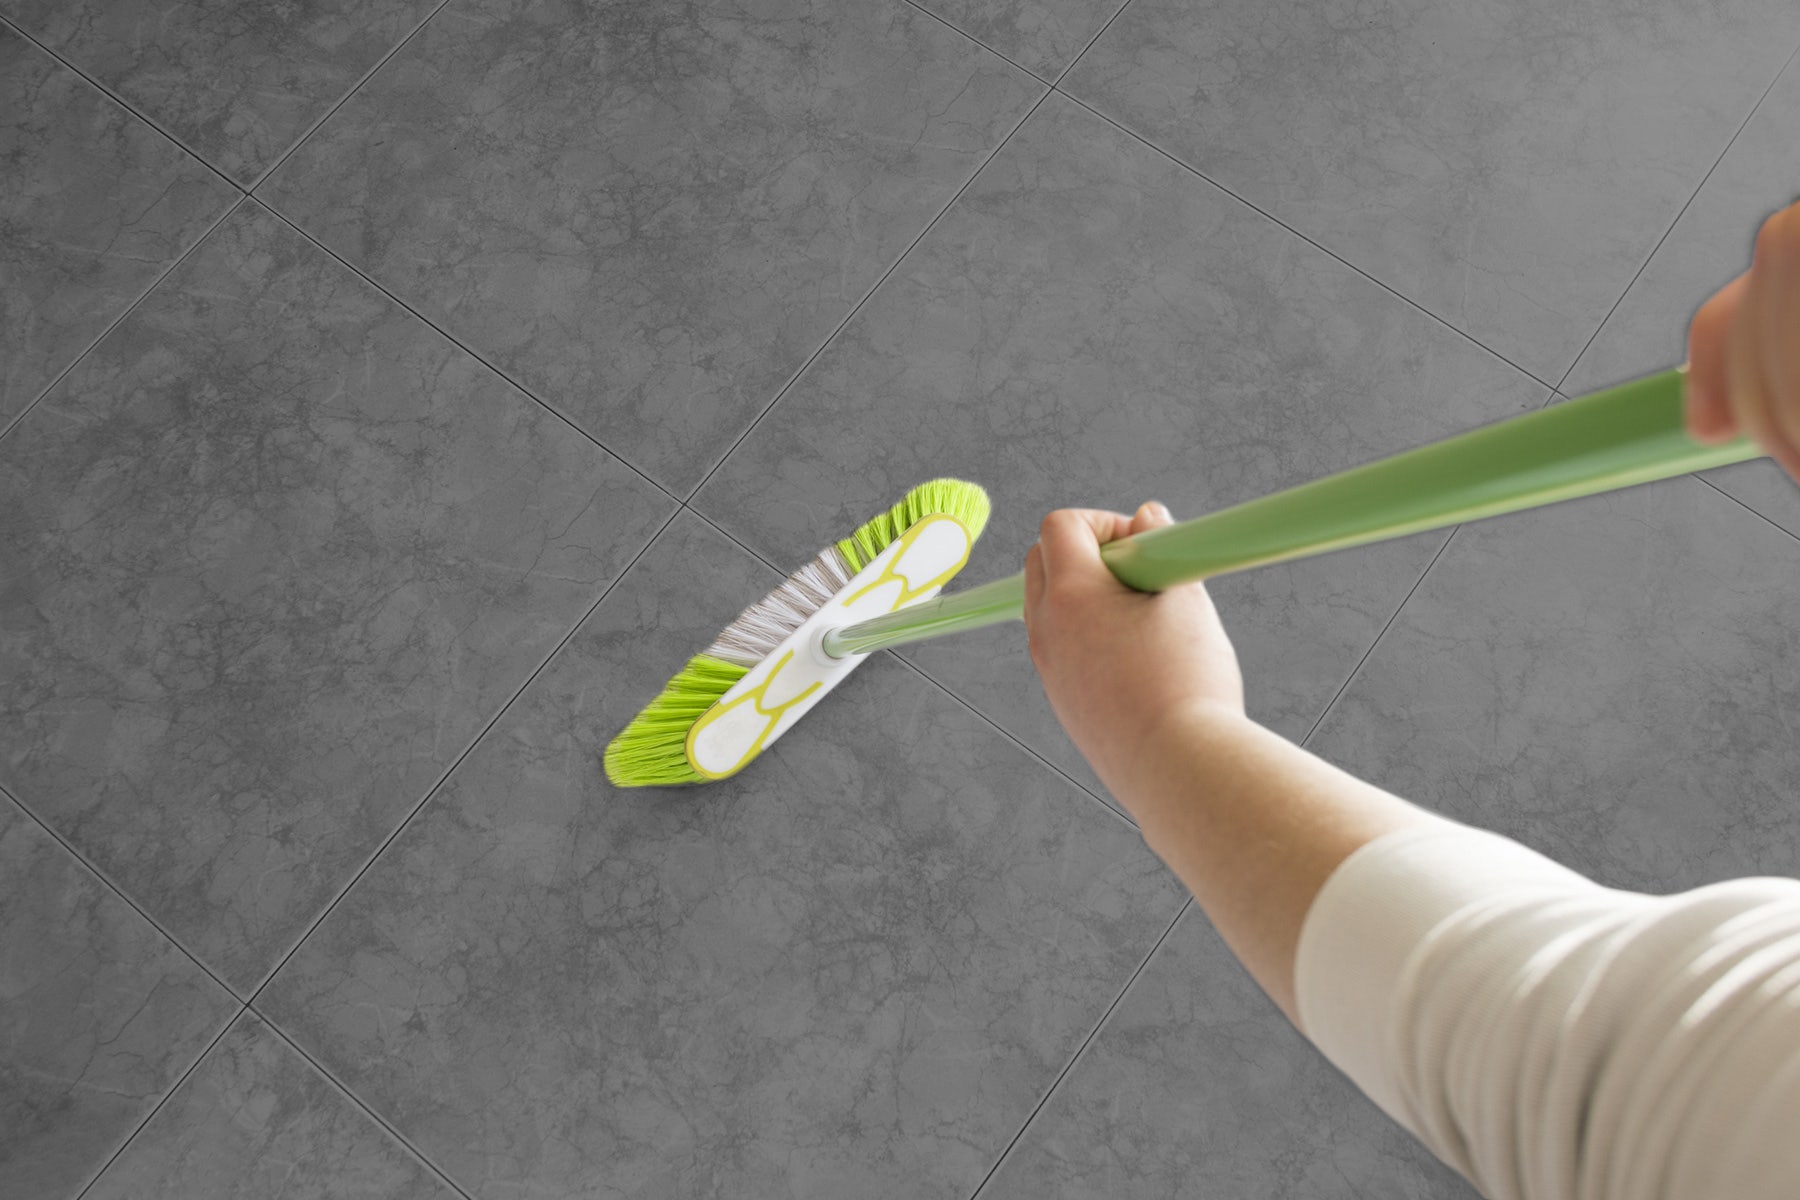
Step 2: Sweep It
With a soft bristle broom remove loose dirt, dust and grit from the surface. Soft bristles are the key to easier and more efficient cleaning without scratching or damaging your tiles. The soft bristles reach into the grout surfaces and gently remove grit and grime. Use a vacuum only if necessary, they can sometimes scratch your tiles.
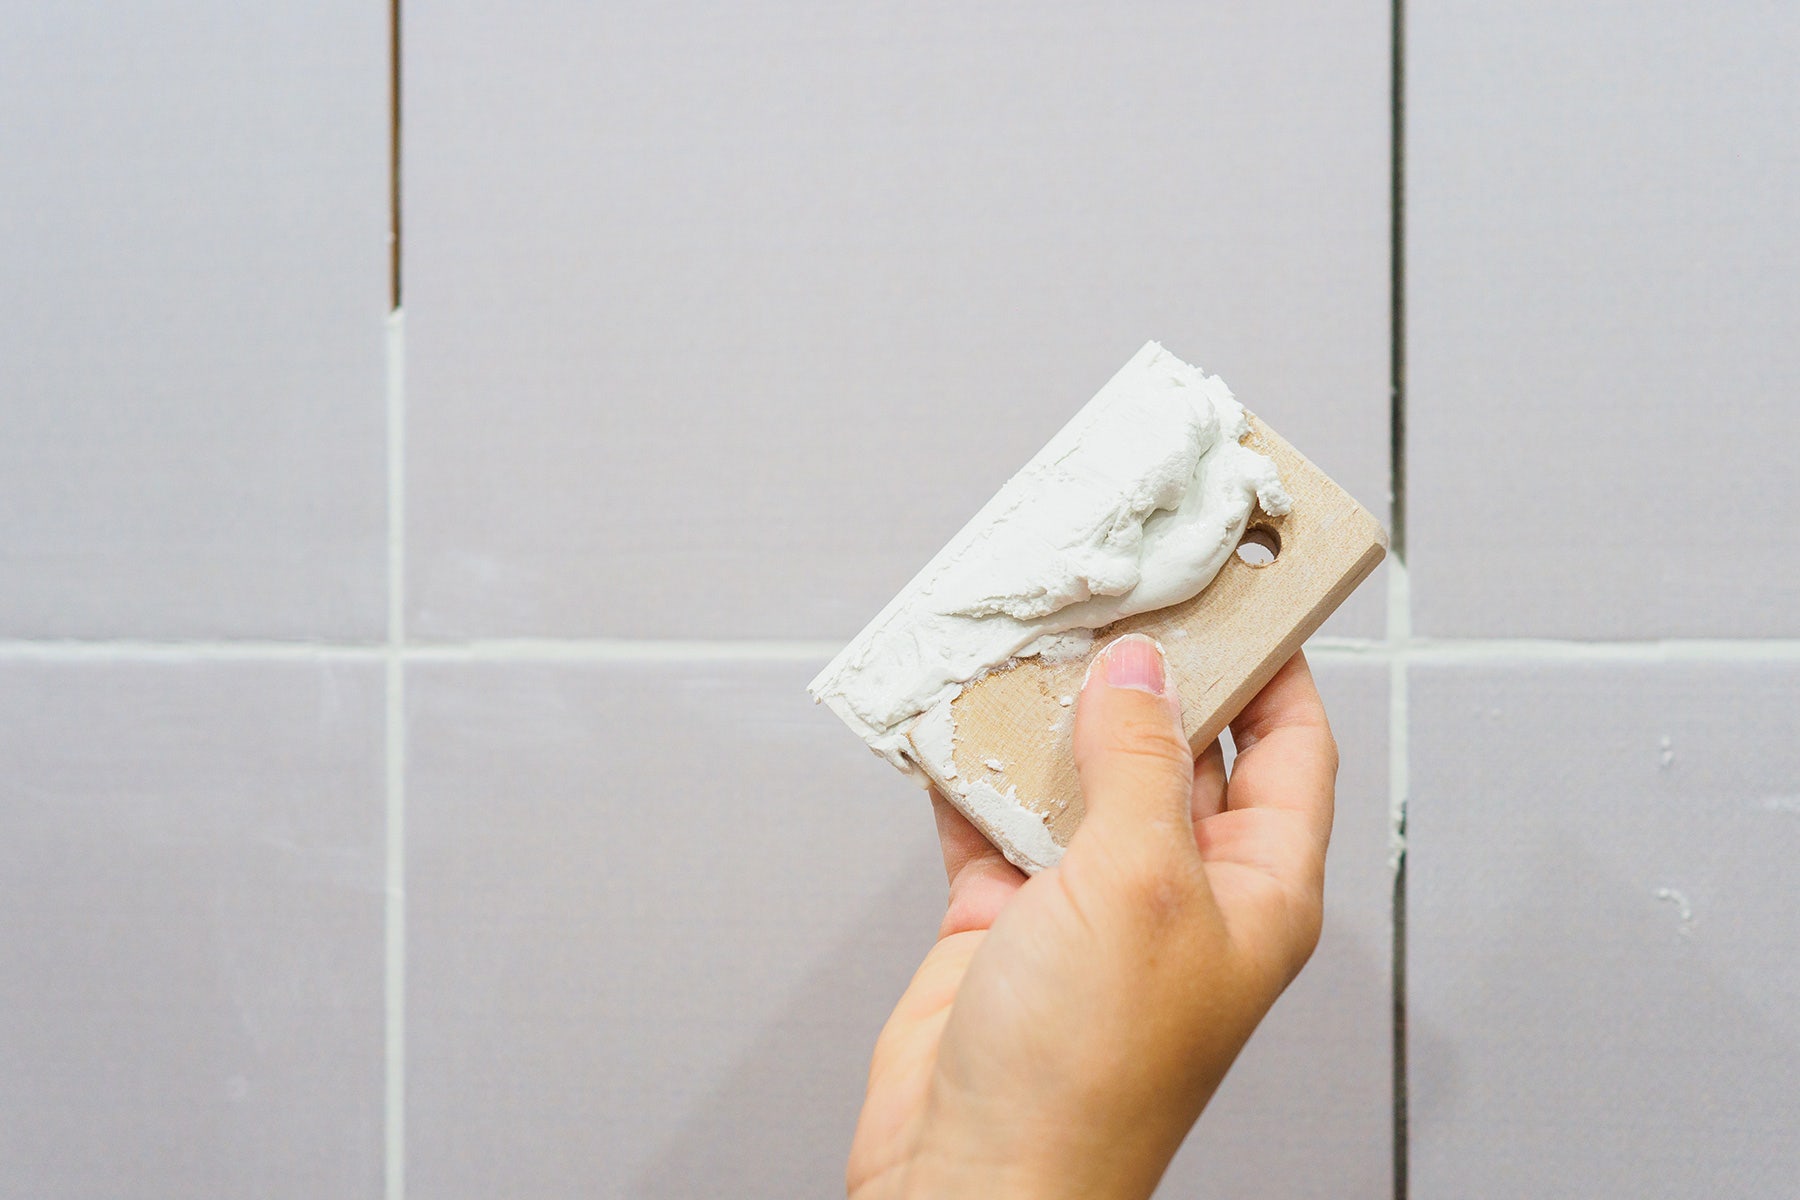
Step 3: Mix It
Give your area a light wipe down with a wet microfibre mop and then mix your grout haze remover as per manufactures directions. Distribute it to the area evenly and let the cleaner dwell on the surface of your tiles and grout for about 10 mins so it can get to action.
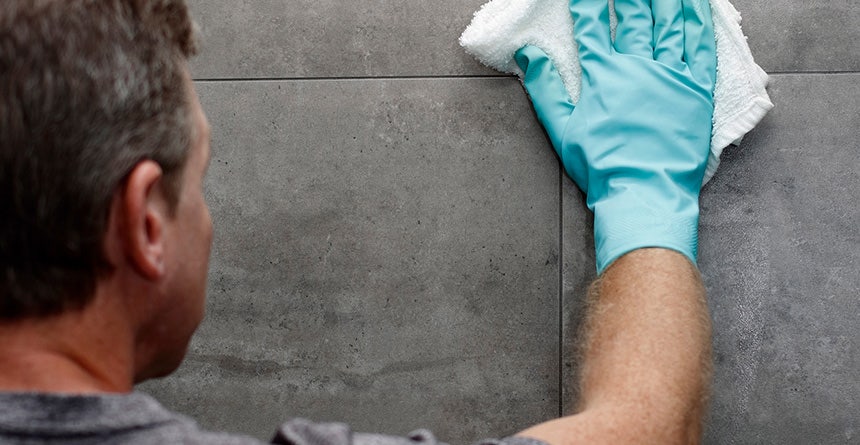
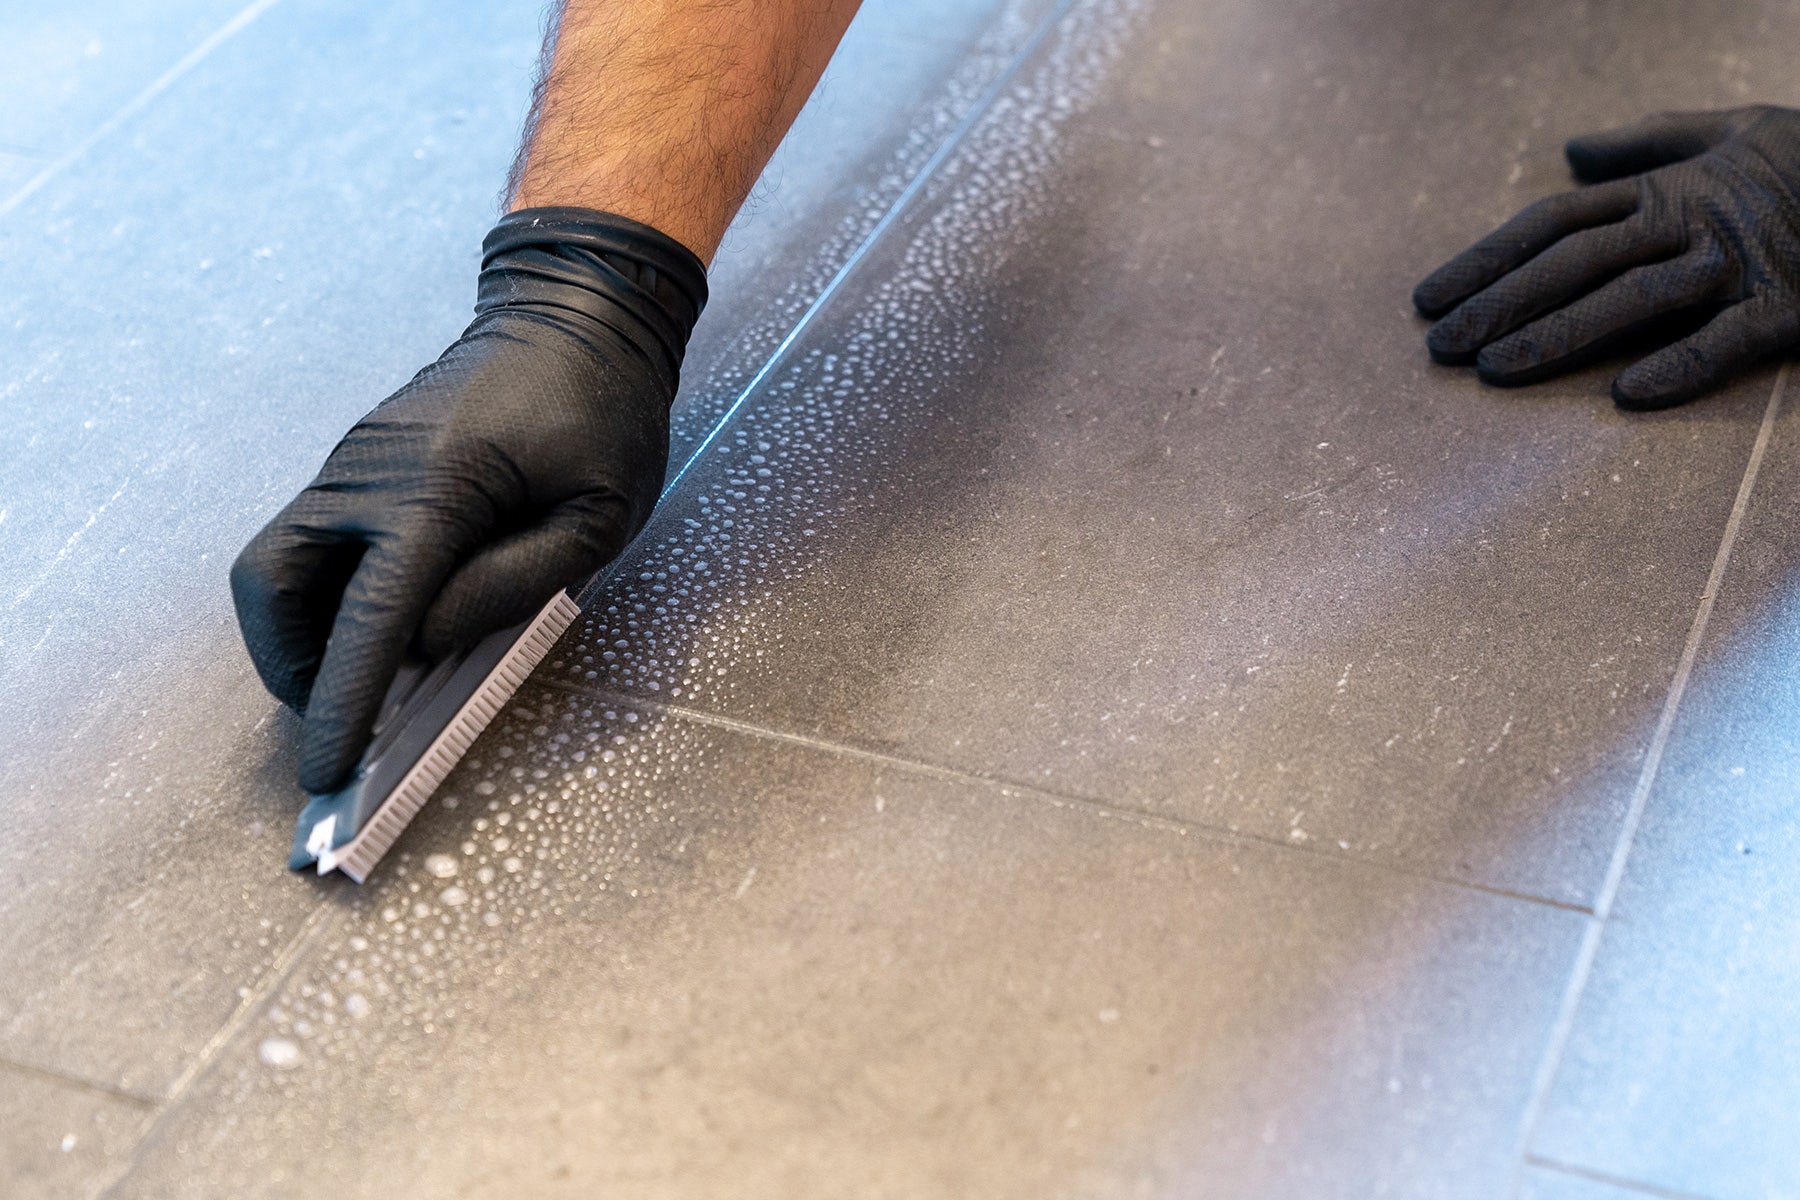
Step 4: Scrub It
Scrub the surface with a doodle pad or stiff bristle brush and then rinse with plenty of water. Use a squeegee or microfibre mop to remove any remaining residue.
Hot Tip: Don't wait much longer than the curing time, aim to do it within 10 days of grouting. It is easier to clean grout haze sooner rather than later because the haze promotes dirt build up making it more difficult to remove with time. If you miss the window you might have to use harsher cleaners which could detriment the integratory of your project.
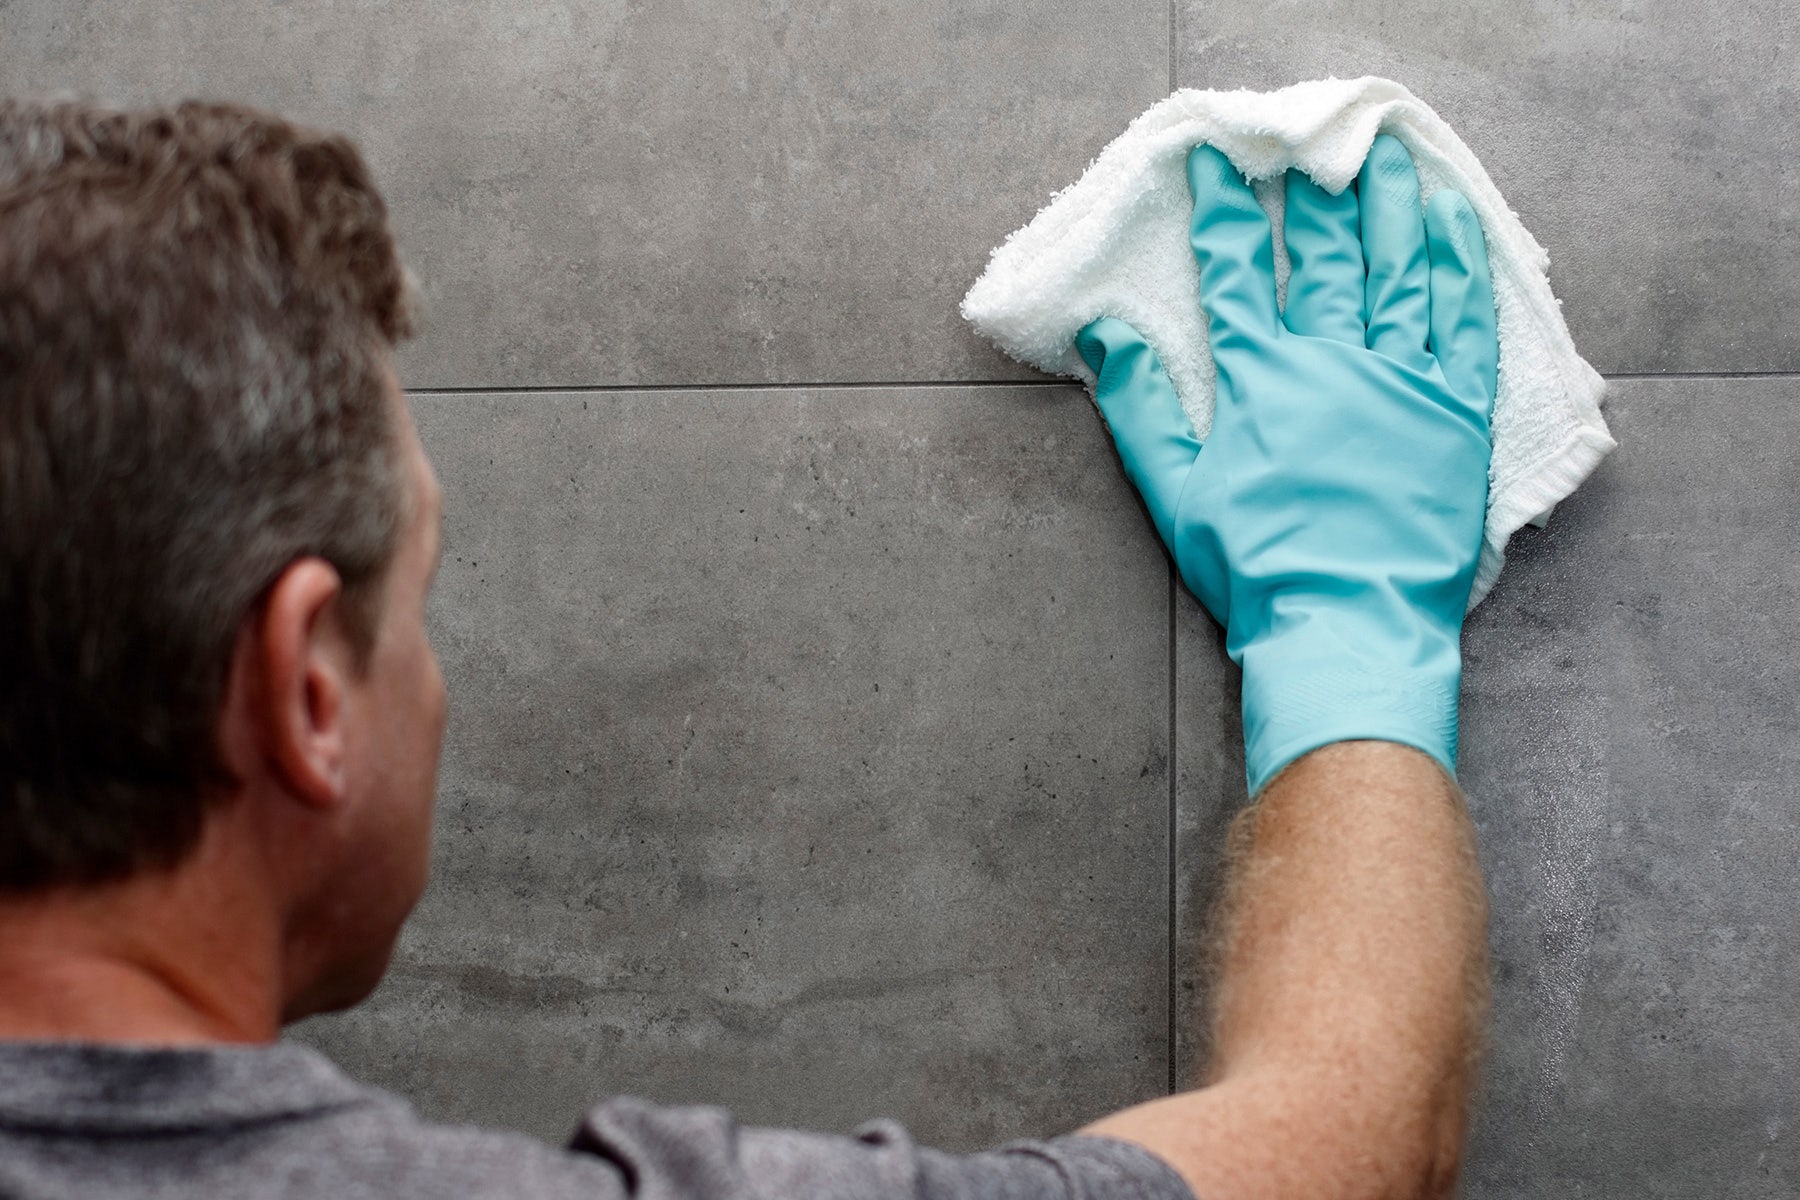
Step 5: Final Wash
Mix Lithofin KF Vitra-Clean as per manufactures guidelines with warm water, apply to surface and clean with a damp micro-fibre mop. The mop should ‘grab’ the surface and lift any remaining grime with a little pressure. A damp microfibre mop is better than a wet mop for a streak-free clean (avoid the use of cotton and sponge mops).
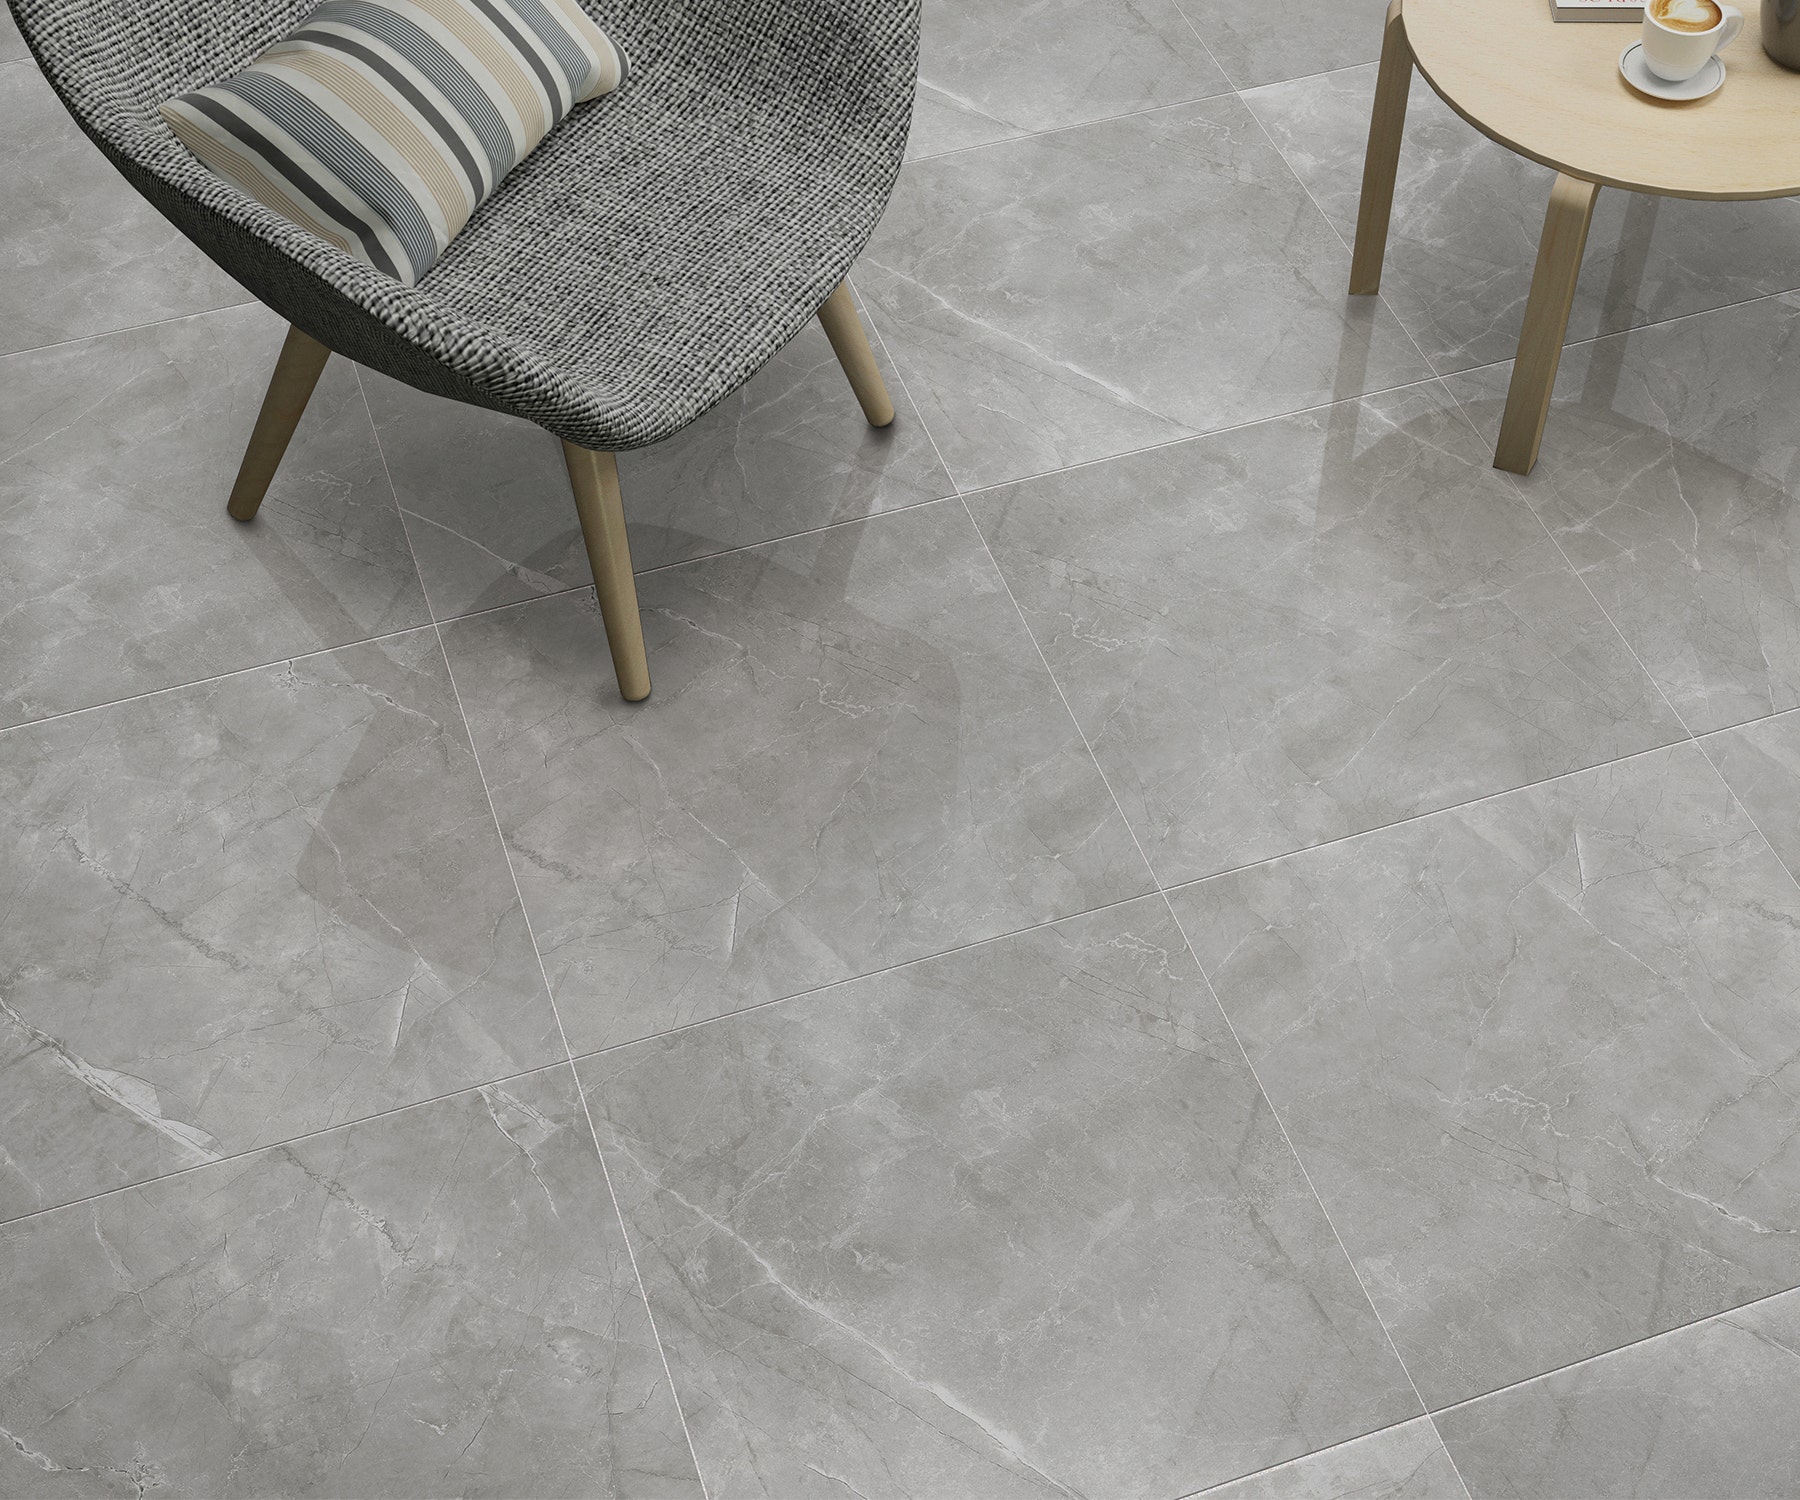
Step 6: Seal the deal
If your grout is epoxy, you are finished friend! Epoxy grout is non-porous and resistant to most stains, chemicals and moulds making long term maintenance a breeze.
If your grout is a cement-based grout we recommend sealing it to keep future maintenance trouble free. Sealing your cement-based grout will help it to perform like epoxy grout minimising future cleaning time and helping to avoid stains, moulds and mildews.