

All Your Tile Qs Answered
Our Top Tiling Tips & More
We've been at this for over 60 years and have seen it all, so we can help you with everything you need to know about tiles.
We Cover Everything You Need To Know And More.
Click on any topic below and we’ll take you directly to our tips. Come back to this index at any time if you need more information.
| Our top 15 tips | As experts in tiles, you would be correct in thinking we know a bit about tiling too. Actually, we know a lot. So you have come to the right place for our 15 Top Tiling Tips! |
| Top 10 reasons for fixing issues |
Read on and save yourself any issues when it comes to fixing tiles. |
| How rapid are rapid waterproofers really? | It’s tempting to rush through a waterproofing job, but this can prove regretful if you need to rip out your beautiful new bathroom to fix the membrane. |
| Hmm. My tiles have arrived, but something doesn’t seem right? | I spy with my little eye, something looking wrong or damaged. If your tiles have arrived but they’re not looking like you believe they’re supposed to, we’re here to help. |
| How come the glaze on the edge of my tiles seems to be missing? | International standards allow 5% of first-grade consignments to have some visual imperfections. Your tiler should put these aside and use them if a cut tile is needed. |
| Why do my tiles have small cracks on the edges? | Minor firing cracks can occur during the manufacture and slip through the process, but they are quite suitable for use as a cut tile. |
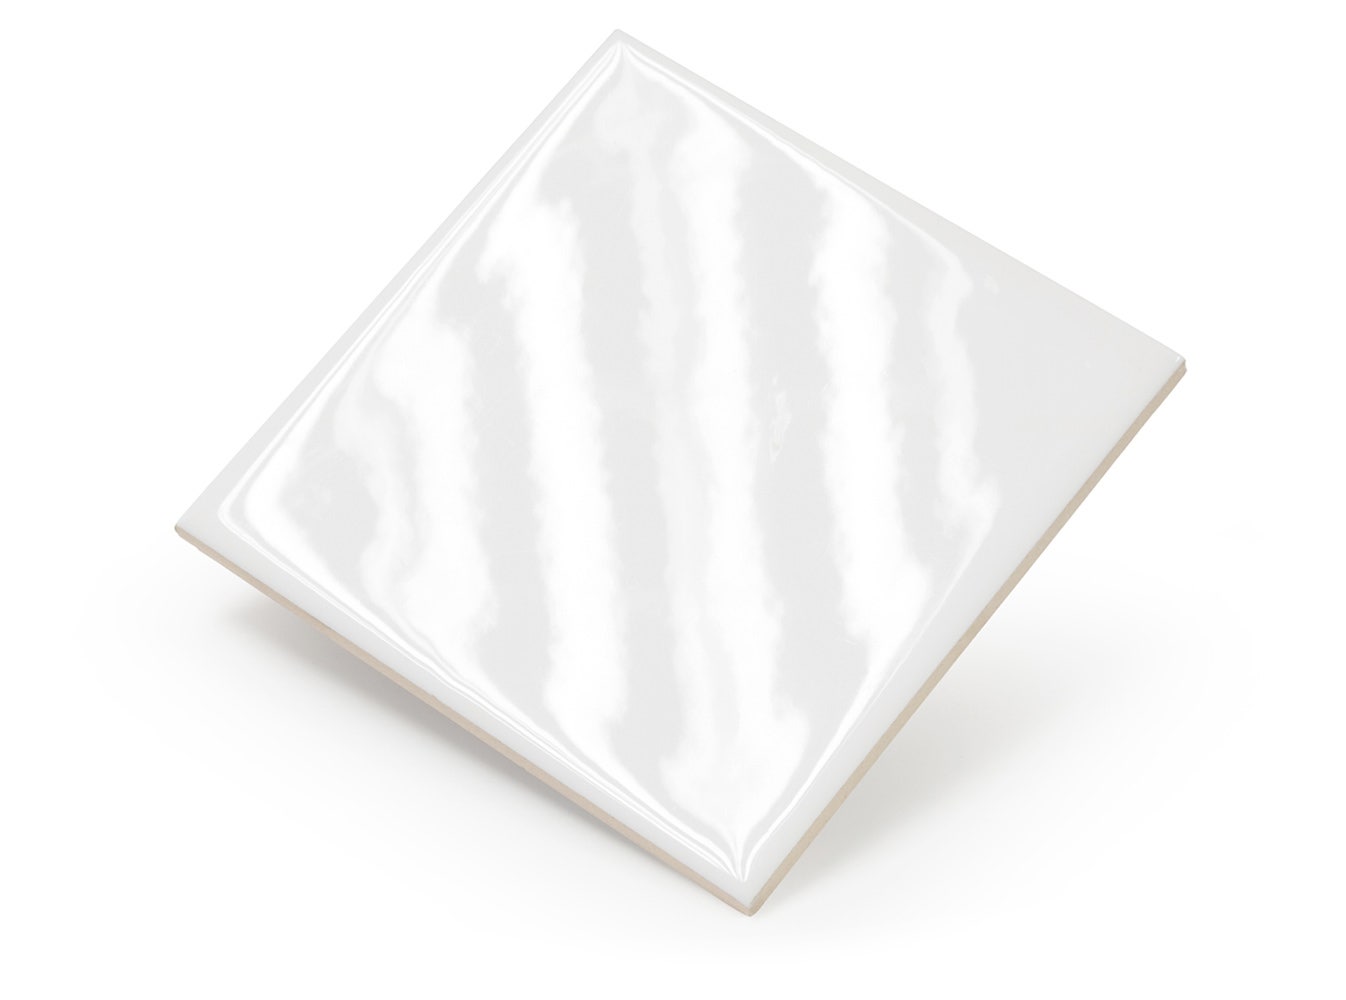
Featured Tiles
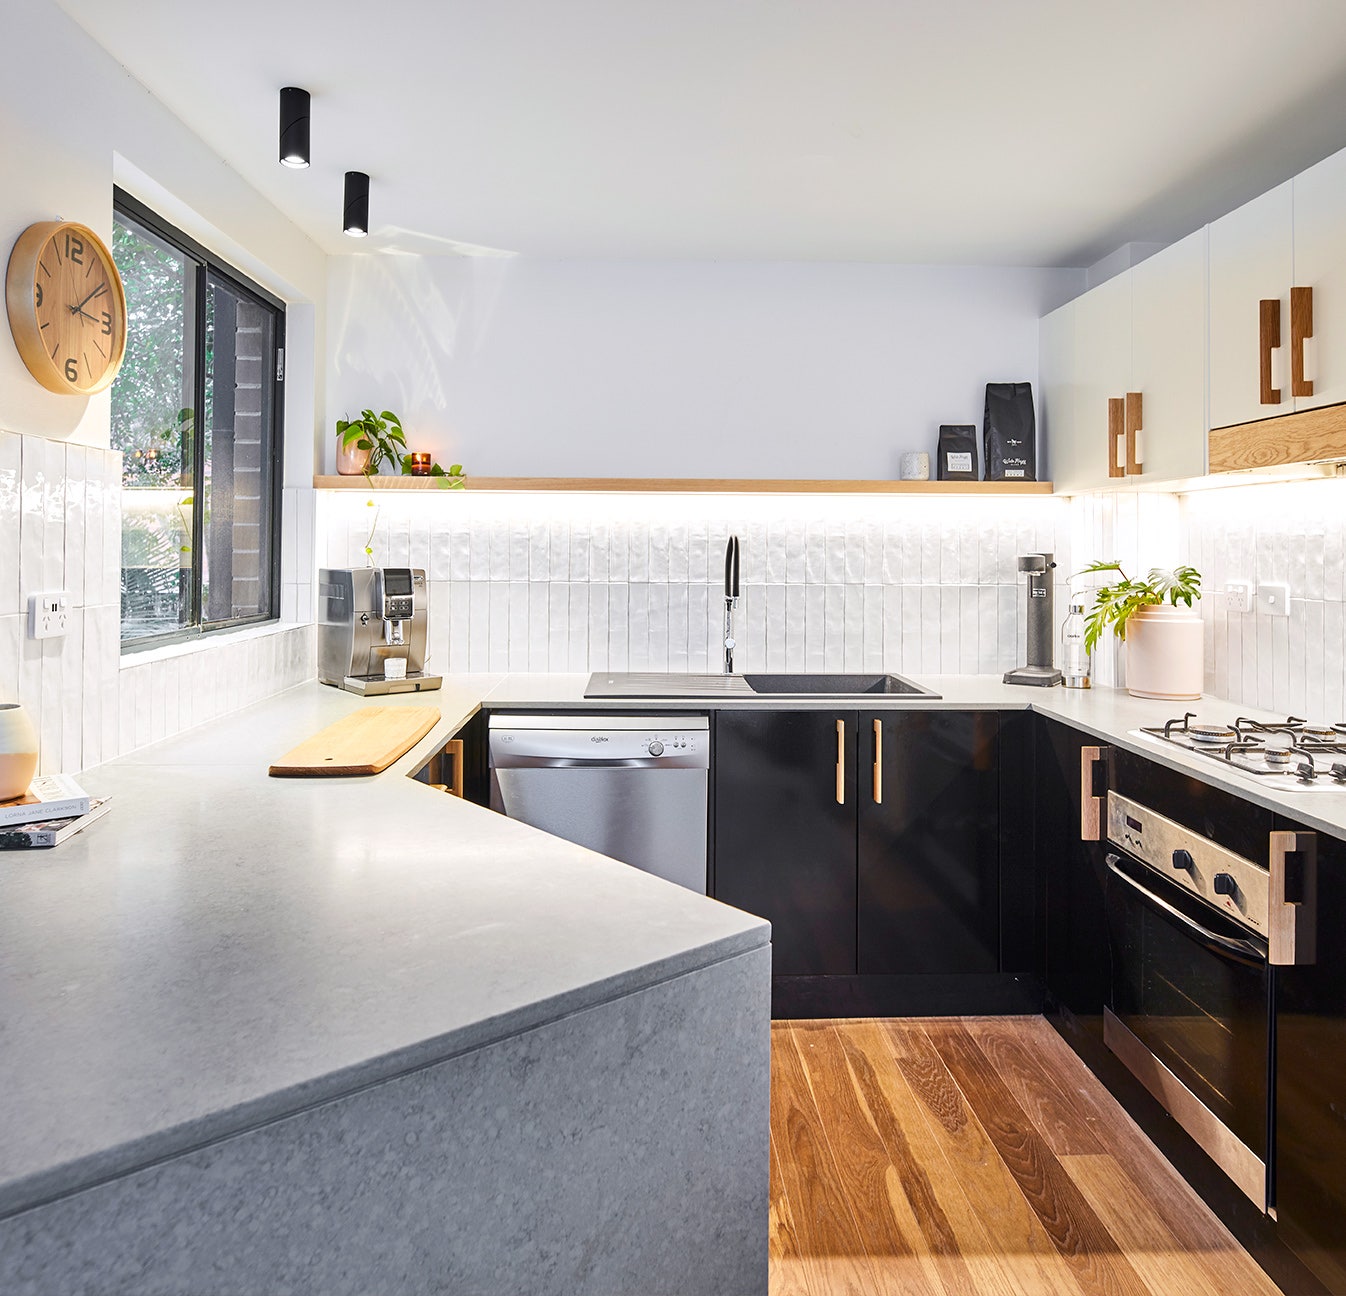
Splashback Wall Tile: York Slim Superwhite Gloss

What Are Our Hottest Tiling Tips?
If you've read our How to Tile DIY Guide, you'll now be an expert in DIY tiling, but even if you haven't, these 15 Top Tips (and the top 10 reasons for tile fixing issues below) will come in handy for your tiling project.
Our Top 15 Tips
- Before commencing, check your tiles are the correct size, colour, shade and that you have enough to complete the job (with spares) before you start. Boxes of the same tile for the same area should have the same batch number on the box. Dry lay some tiles first to ensure the blend is acceptable before you start glueing tiles down.
- Tiles must be dry and the back of the tile clean. Any loose powder on the backs of tiles should be brushed off.
- The surface being tiled should be structurally sound and strong enough to support the weight of the tiles, flat and free from grease, wax, oil, curing compounds, dust, dirt and all forms of contamination.
- The adhesive should be applied using the appropriately sized notched trowel. Do not use the spot-fixing method, and always apply adhesive horizontally with a notched trowel, rather than in a swirling motion.
- The whole back of each tile must be in good contact with the adhesive. Press tiles firmly into the adhesive bed, slide the tile across the notches of adhesive and then slide back into position. This will ensure that the entire tile is in contact with the adhesive so no voids occur beneath the tiles.
- Now and then, lift a tile from the adhesive to check that complete contact with the adhesive is being made.
- Do not fix tiles with an adhesive that has been allowed to dry out or form a skin.
- Allow the adhesive to be fully set before grouting: usually, no less than 24 hours and may require longer during cold temperatures. Natural stone will absorb moisture from the adhesive and should be allowed to fully dry before grouting. During this time the tiles must be protected from potentially harmful factors like being walked on, weather or water penetration.
- Adhesives must be used strictly in accordance with the manufacturer's instructions.
- To achieve greater adhesion and a longer open time, porous concrete should be dampened with water before tiling with cement-based adhesives.
- Appropriate expansion or movement joints must be used and aligned with any construction joints in the substrate. Find out more about surfaces you can tile on and the preparation required here.
- For thin bed fixing of tiles, the minimum finished thickness of the adhesive should not be less than 3mm.
- Small hairline cracks in concrete substrates should be filled if the slab is otherwise structurally sound. You can clean the surface and use Ardex RA 56 Polyurethane Hybrid filler to fill and suppress small cracks, following the manufacturer’s guidelines.
- Tiles must never be stored in direct sunlight before fixing as they become hot and cause the adhesive to skin when the tile comes in contact with it.
- Some tiles design features different levels of variation between each piece. Always check the V Rating on your tiles and dry lay them before lay installation. If your tiles are rated V3 or V4 the variation can be quite extreme giving an authentic natural or handcrafted appearance. By blending the different shades of tiles you will achieve a much better-looking job.
Our Hot Tip: For more expert help you can call our helpline on 1800 4 TILES or drop into any of our 110+ stores.
The Top 10 Reasons For Tile Fixing Issues
- Incorrect or no expansion joints: failure to use the correct expansion joints and tiling over construction joints will make your tiles too rigid, and they will crack or buckle during movement or expansion and contraction of the building.
- Incorrect choice of adhesive. This is one of the most common causes of tile fixing failure that we see. See our page on How to Choose Grout and Adhesives for more information.
- Allowing the adhesive to dry out before fixing the tiles.
- Contaminated background. Ensure that the surface and area that you are tiling is properly cleaned before commencing tiling.
- Poor or incorrect surface preparation.
- Poor adhesive coverage. This can result from not using the correct notched trowel, using the spot-fixing method, or allowing voids behind the tiles.
- Unsatisfactory bed thickness. Ensure that you use the correct notched trowel when applying adhesive.
- Excessive movement in the substrate.
- Dust or loose backwash not removed from the backs of tiles. Ensure that the backs of tiles are clean and dry before laying tiles.
- The incorrect mixing ratio of adhesive powder and liquid. Always follow the manufacturer's directions, and always add the adhesive to the water to ensure a smooth mixture.
Our Hot Tip: For more expert help you can call our helpline on 1800 4 TILES or drop into any of our 110+ stores.


How Rapid Are Rapid Waterproofers Really?
Don’t believe everything you see on TV! It’s tempting to rush through a waterproofing job, but don’t … and here’s why.
One of the tilers on The Block told the contestants a waterproofing membrane only needs half an hour to dry! This isn’t true: Rapid under tile waterproofing membranes are fast, but they aren’t magic!
The best rapid liquid under-tile waterproofing systems on the market need at least 4 hours to dry before you can tile over them – our recommended waterproofers are right here.
The manufacturer’s Product Technical Data Sheet is the best source of information on installation methods and drying times and you should be very wary of claims that aren’t backed up in these documents.
Even though it is tempting to rush through the waterproofing job, this can prove to be a big regret once a beautiful bathroom needs to be ripped apart for an incorrectly installed membrane.
For fast waterproofing, one of our recommendations would be to use ABA Waterproofer Rapid with STB Tape.
ABA Waterproofer Rapid is a premium performance easy to use formula. It is a single part membrane that can be used with STB tape for a faster tile installation, increased coverage and an even more secure waterproofing system. For more information, download the Product Technical Data Sheet, or call ABA Technical Services on 1800 300 863.
Have you heard of our fabulous new product, Wedi? With Wedi, you can be waterproofed and ready for tiling in just three hours! Find out more here.
Our Hot Tip: For more expert help you can call our helpline on 1800 4 TILES or drop into any of our 110+ stores.
Hmm... My Tiles Have Arrived, But Something Doesn’t Seem Right?
If your tiles have arrived but they’re not looking like you believe they’re supposed to, we’re here to help.
When an order is delivered, it needs to be checked by the builder, tiler, or homeowner BEFORE the tiles are installed. This is standard practice, otherwise, the wrong tiles can end up being installed. Our deliveries are always accompanied by paperwork, a bright yellow warning sticker and sometimes even sketches specifying how and where the tiles are to be laid.
Goods can also be damaged in transit or on-site so it is important to check for any breakages in plenty of time for the problem to be addressed so it doesn’t become an urgent problem if it is discovered during the tile fixing process.
It is quick and easy to correct a delivery error but once the tiles are laid, it can get messy so please, ensure the tiles on site are the ones you chose. Naturally, Beaumont Tiles can't be held responsible once the tiles have been installed.
So What Can I Do Now?
As long as the tiles haven't been laid, call the Beaumont Tiles branch from which you purchased the tiles, and we will arrange to exchange the delivery for the correct tiles. Please ensure you've read our Refund Policy before you call us.
If your tiler has installed blemished, damaged, or incorrect tiles, we cannot do much. The tiler must assume responsibility for installing the wrong or imperfect tiles.
Featured Tiles
Floor Tile: Marwari Moon Matt 795x795
Our Hot Tip: Never accept a delivery of tiles without checking they are exactly what you ordered and if by chance there is an issue, call the store you purchased them from. We are here to help.
How Come The Glaze On The Edge Of My Tiles Seems To Be Missing?
Being a natural product that is kiln-fired, there may be some tiles in each batch that show some imperfections.
Tiles are sorted at the factory before packaging, and any with visible imperfections are removed and graded to be sold as seconds. A few can slip through the system. These tiles are perfectly sound but are imperfect all the same.
The international standards allow 5% of any first-grade consignment to have some visual imperfections. An allowance of 5% means that in each group of 100 tiles, there may be up to 5 tiles that show some imperfections. Imperfect tiles should not be used. The tiler will normally put these tiles aside and use them when a cut tile is needed. If you need to return any imperfect tiles, as always we are very happy to help in accordance with our Returns Policy.
Our Hot Tip: Being a stunning, natural product, variation in tiles is normal. In glazing, we allow only 5% variation. Tilers will know to use tiles with a higher variation for cuts.
Why Do My Tiles Have Small Cracks On The Edges?
We have the best quality tiles in Australia and work hard with local and international suppliers and quality procedures to ensure they are the absolute best. Minor firing cracks can occur during the manufacture and slip through the quality process, this is called a firing crack. Generally, these tiles are removed during the sorting and grading process, before they are packed.
If a few were to slip through the process, they are not to be installed. The unmarked area of the tile is sound and quite suitable for use as a cut tile, but the damaged glaze makes it unsuitable for the whole tile to be laid.
Why Did I Receive A Cracked Tile In My Order?
- This is a manufacturing fault and the tile has slipped through the sorting process in the factory.
What Can I Do Now?
-
A tiler should put any tile with a visible fault like this to one side and use it for a cut tile when needed.
-
If there are more than 5% in your box and your tiles have not been laid yet, contact the Beaumont Tiles store you bought them from and they'll help you out. Ensure you have your Order Number ready so we can easily find you in our system.
Our Hot Tip: For more expert help you can call our helpline on 1800 4 TILES or drop into any of our 110+ stores.


My Frieze Tiles Don't Match My Plain Tiles
Some tiles have a pattern applied to a finished plain tile. Then, the tile is fired in the kiln for a second time. This process is called second firing. The tile can be third or even fourth fired for intricate patterns that include several colours or materials that are hand-applied.
The complication is that some glazes actually react and change colour slightly on the second or third pass through the kiln. This can occur if kiln temperatures vary between firings.
If the plain and patterned tiles vary, we will highlight these variations to you during the selection process.
If the difference between the plain and decorator tiles is obvious, the tiler should make you aware of this before installation.
What Causes The Problem?
Some patterns and frieze tiles require a second or third pass through the kiln. When this happens, the body tile glazes can react and change colour slightly with each refiring.
Each batch of tiles can be a different shade, or tonality, to the last production run.
Pattern tiles do not always sell in the same mix ratio as plain tiles. We may have supplies of frieze tiles that are correct in every way, but not the same tonality or background shade.
Our staff will have graded them as acceptable to mix but we encourage you to check them upon delivery for satisfaction before installation.
So What Can I Do Now?
If you are not happy with the tiles, do not lay them. Call the Beaumont Tiles store you purchased from and they will arrange to exchange the tiles for a closer match if possible.
If you are not satisfied with any of the replacements available, we can issue a credit on the returned tiles in accordance with our Returns Policy.
If the patterned frieze is suitable, but the background tile that it is applied to is not, then your tiler can cut the frieze from the body tile and install it as though it were a purpose-made listello or strip tile.
It is very important to inspect the tiles before fixing them. We can’t be held responsible after the tiles are laid.
Our Hot Tip: We are always here to help. If you do want to return your tiles, please read our Returns Policy (link) and give us a call and we will sort it out for you.