DIY & Advice
How to Grout Tiles
Learn our insider tips to have you grouting your reno like a pro.
Grout is both a functional and decorative element to any tiling job, it is the material that fills the spaces between the tiles on your wall and floor. After all your hard work with prepping your space and tiling it’s so important to get this part right (it’s the easy part by the way!)
Overview
Before getting started make sure you’ve chosen the right type and right colour. Grout is available in a vast array of types and colours to compliment your tile selection and space. Whichever option you choose, follow the manufacturer's instructions on how to mix and apply the grout. If you need some help getting your selection right head to your local Beaumont store or check out our useful blog here.
Grouting is one of the simplest parts of DIY tiling. There’s no secret to learning how to grout tiles: you just need to be prepared to work a little hard. Make sure that your adhesive has set firmly before you start. Read on to learn how to grout tiles step by step.
Tools & Materials
Required Items
-
Cleaning cloths or a microfibre sponge and cloth
-
Clean bucket of water
-
Personal Protective Equipment like Glasses, a Dust mask and gloves
-
Mixing paddle
-
Drop sheets
-
Grouter or Grout float
-
Grout of choice
-
Silicone
How-To Steps
Step 1: Get mixing
When mixing the grout. Follow the instructions on your packet and mix to a thick paste-like consistency and remember a little grout can go a long way.

Step 2: Apply the Grout
With a grouter or grout float apply the grout to your wall or floor using a driving diagonal motion, pushing the grout firmly into the joints leaving no air pockets or voids. Leave as little grout on the surface of the tiles as possible (it will help clean up later on) and do not apply grout to the corners where walls meet floors or where two walls meet. You will need to apply silicone in these locations.
A handy hint is to start in a small section until you are confident. See photos on how to grout wall tiles.

Step 3: Clean the area
Always allow the grout to dry and for a film to set on the face of the tiles before cleaning. Dry times vary dependant on weather conditions. If you clean too soon, before the grout has a chance to dry, you risk removing grout from the joints.
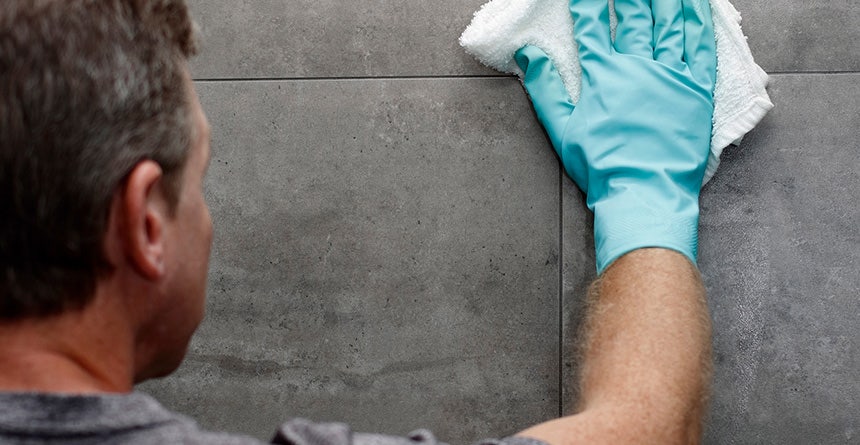
Once the grout has become slightly powdery on the surface, remove the excess grout on the tiles with a clean, damp sponge by wiping across the tile diagonally to the joint. Turn the sponge over and repeat. Rinse, squeeze and keep repeating just don’t overly wet the surface yet. The trick here is to lift the film from the tile without wetting the actual grouted joint. You might not get it all off during this step and that is okay, just wait for things to totally dry.
Hot Tip: Make sure that you wipe on a 45-degree angle and keep rinsing then squeezing the sponge as you work the idea here is to remove the film without overly wetting the grouted joints.

Step 4: Remove that residue
24-48 hours after the grout has dried, tiles should be washed with Lithofin Cement Residue Remover with a microfibre cloth following the instructions on the bottle. This will remove any residual grout from the surface of your tiles.
If you notice a dull haze just after your new tiles are laid, or you are finding that your tiles are getting dirty very quickly - don’t panic! This will likely be grout residue. The good news is that it’s easily washed off with Lithofin Cement Residue Remover by following the instructions on the label.

Step 5: Seal the deal
If you are using Epoxy grout (great choice by the way) that’s job done friend! Epoxy is a superstar that is naturally resistant to chemicals, stains and moulds..hello reduced cleaning times.
If you are using a cement or sand-based grout we recommend applying a grout sealer. Unlike epoxy grout these types are very porous and can be more prone to stains or mould and mildew growth. Sealing your cement or sand-based grout will help to minimise this along with your ongoing cleaning regime.

Step 6: Admire your handy work
You’ve done it! Tiling makeover complete, congratulations!
Share your progress and end results with us on social media. While you are at it enter our monthly I Chose Beaumonts competition for your chance to win a tile voucher to the value of your tile spend!