DIY Tiling
Cutting Tiles
With access to good equipment and with a little practice, cutting tiles is not difficult. What’s critical when cutting tiles is your safety. Before you start you must please read important details about Silica and how to safely cut tiles here.
In this section, we run through everything you need to know about cutting tiles safely.
Almost every tiling job will involve cutting tiles, but when you're tiling a bathroom, laundry, or kitchen, you will also need to make extra cuts for your powerpoints, taps and plumbing fittings.
Click on any topic below and we’ll take you directly to our tips. Come back to this index at any time if you need more information.
|
Our 3 top tips when using a tile cutter to cut straight. |
|
|
When and how to use a wet saw, safely! |
|
|
The first step - turn the power off!! Everything you need to know to cut like a pro. |
|
|
We’ll show you how to use an electric grinder. We'll also show you how to make the small cuts you'll need to make and how to do them safely. |
|
|
There are two important things you need to know about cutting holes in tiles for taps. The first is that you'll need to use a tradesman or handyman hole cutter suitable for tiles. The second is that you must cut the tiles before you lay the tiles, read on below. |
|
|
Generally, when the job is smaller you’d choose tile nippers. |
|
|
We’ll explain what it is and how to use it. |
Our Hot Tip: Please read our important information about Silica before starting any tiling job.
Our Hot Tip: If you're cutting tiles for the first time, ensure you have some spares for any whoopsies along the way.

Making A Straight Cut Using A Tile Cutter
If you are planning to do a few tiling projects around your home; a tradesman’s tile cutter is an excellent investment and will make you popular with anyone else starting their own tiling projects! If this is a once-only tiling project, then the best option will be to hire a tile cutter from your local Beaumont Tiles store. You may also consider buying a cheaper ‘handyman’ tile cutter. While these can be a good option, they are not built to last a long time. They will, however, do a great job for one or two jobs around the home.
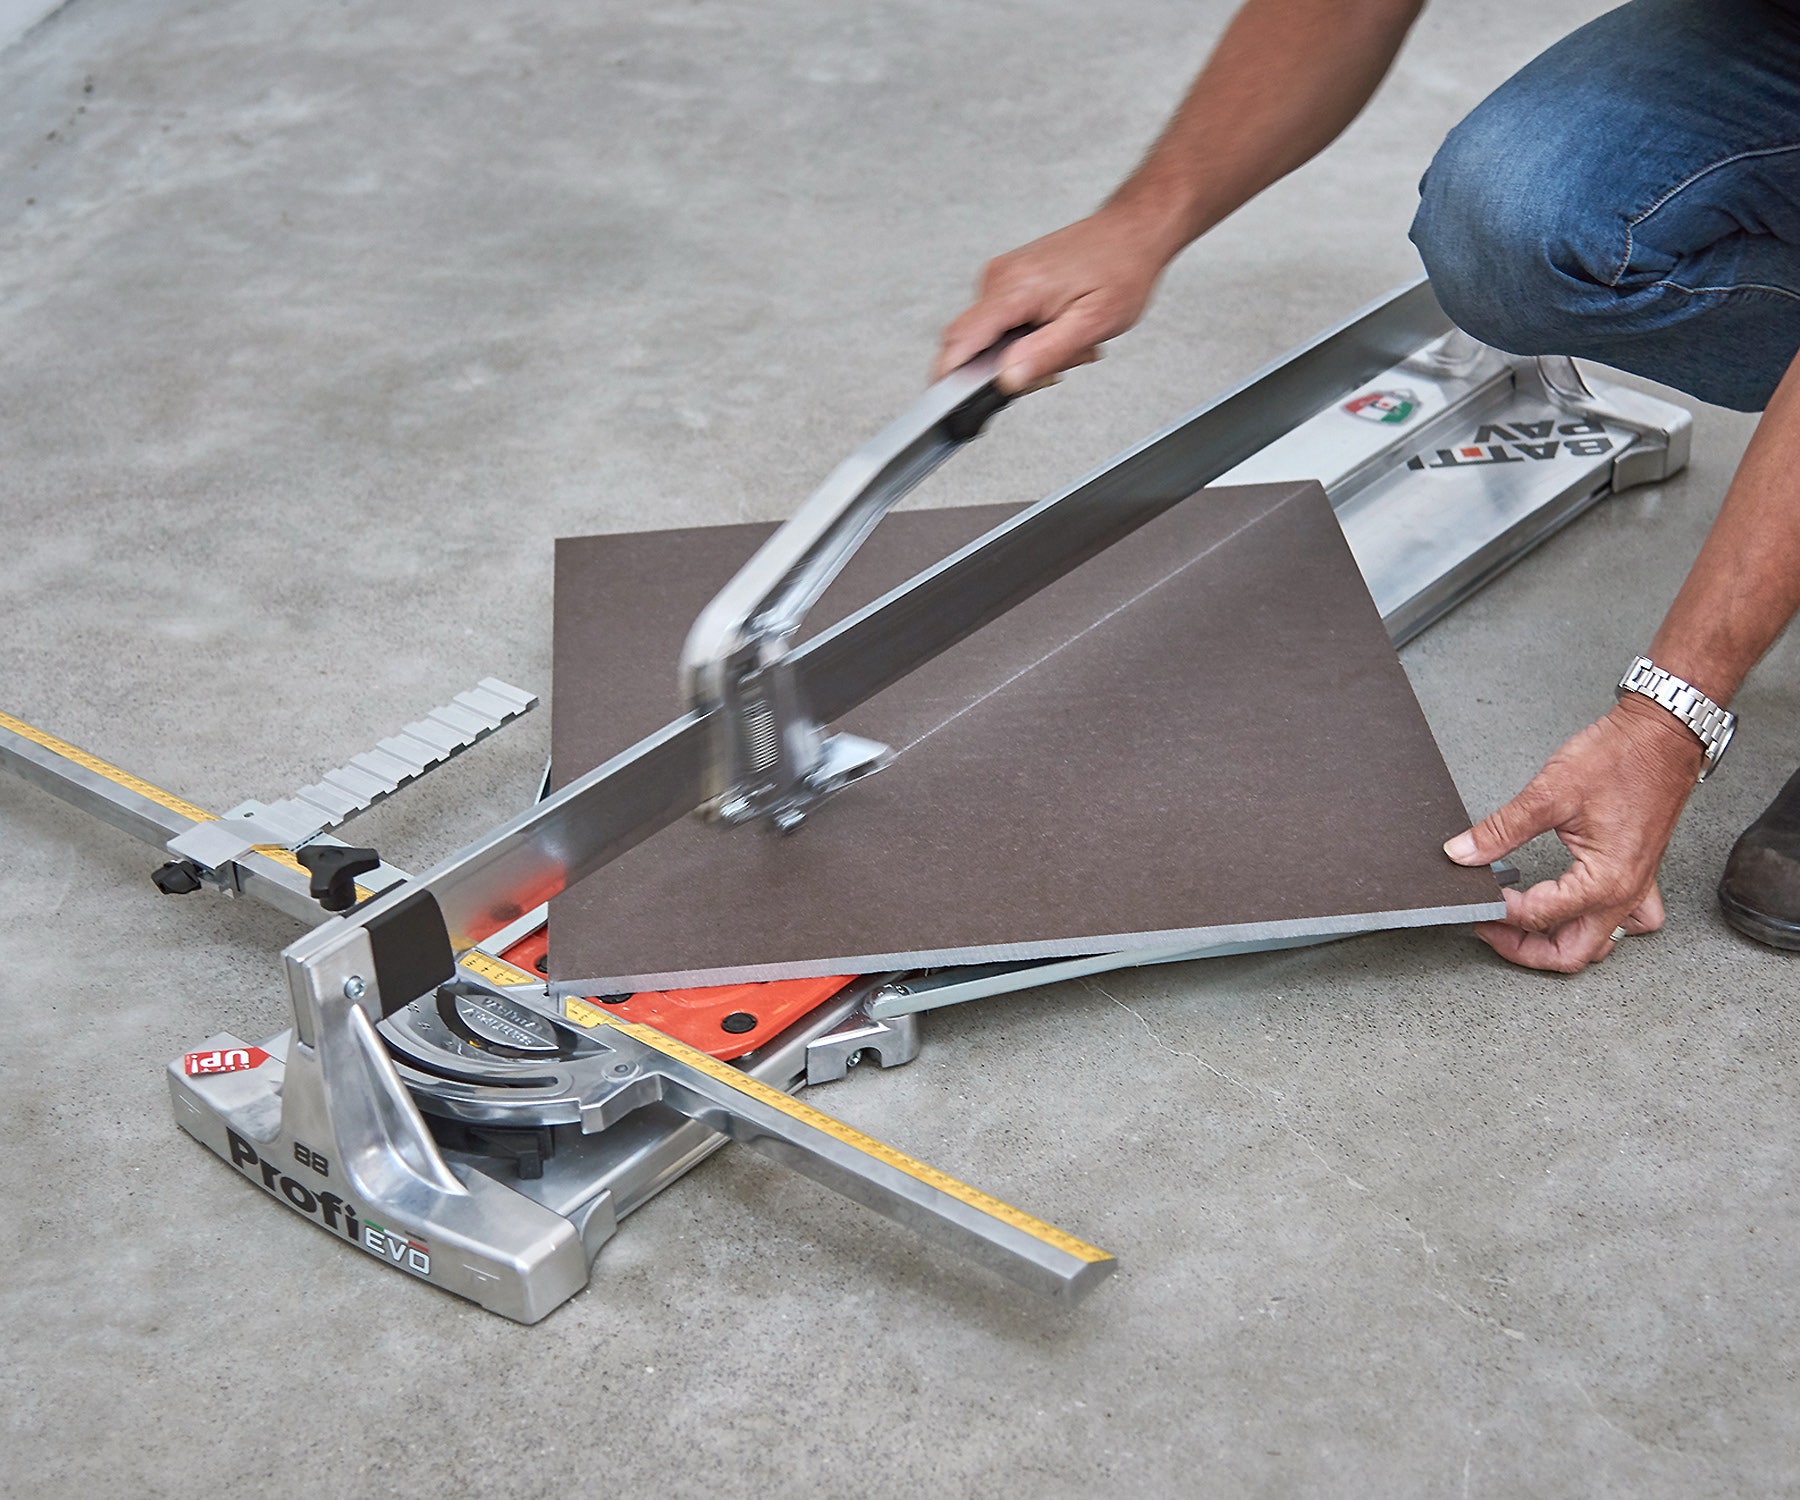
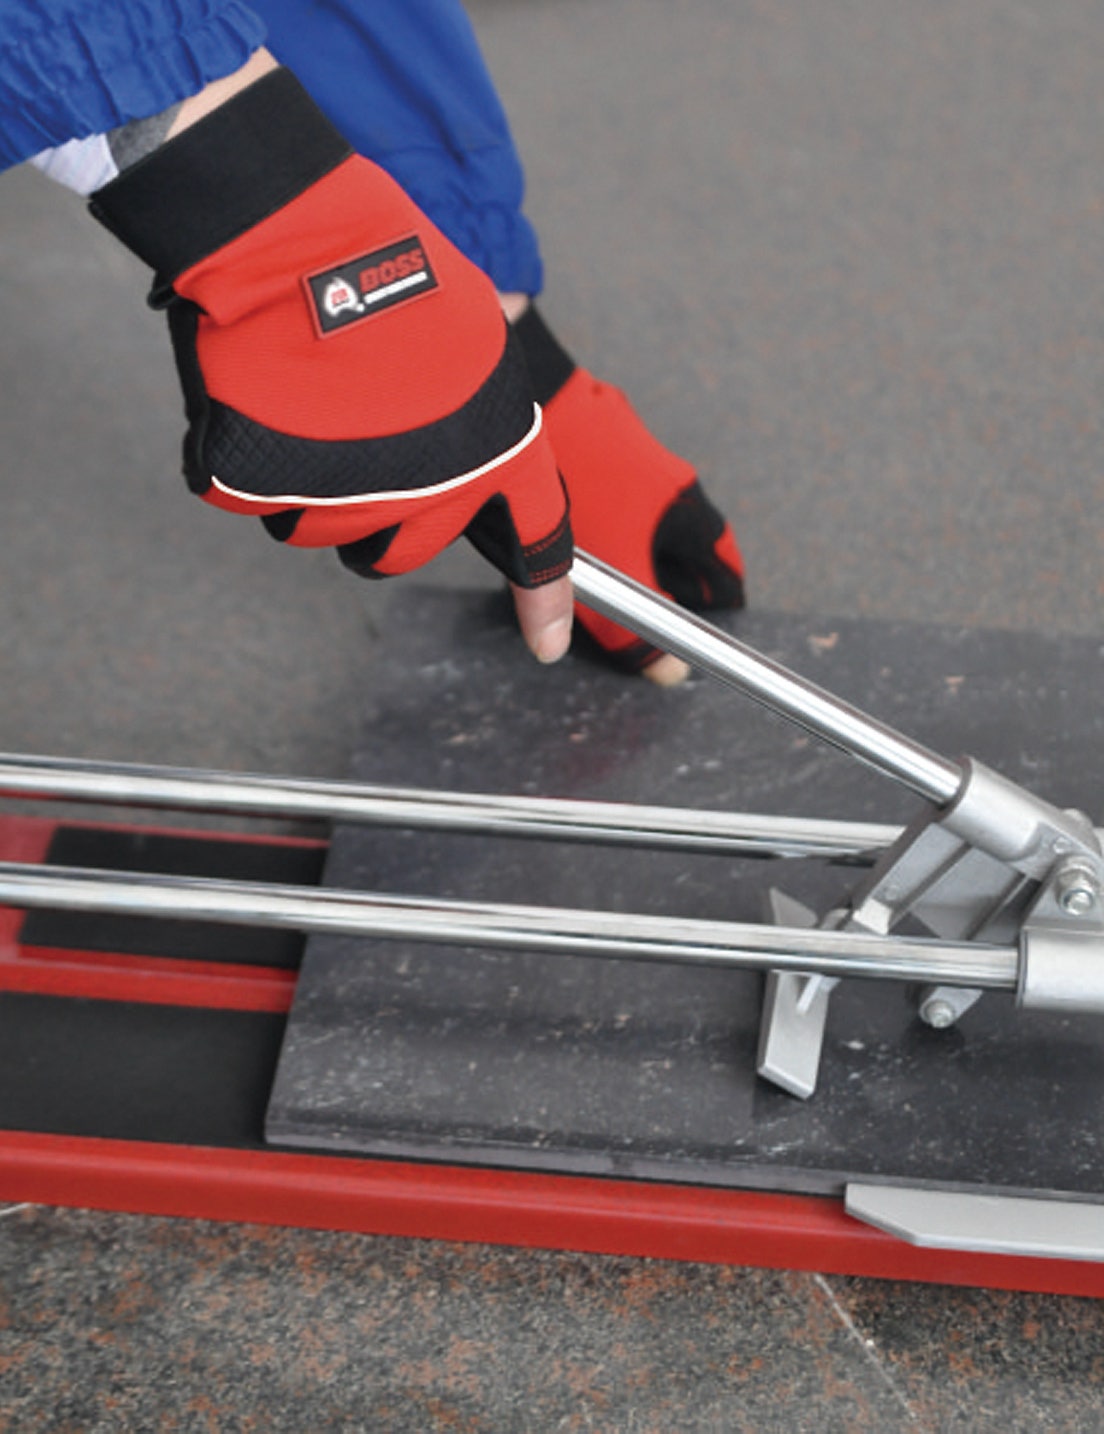
A tile cutter is a manual cutting device that cuts tiles using a score and snap method. This method works better on softer materials like wall & most floor tiles but does not work well on glass tiles. A manual tile cutter will not be able to make any bevel cuts. For simple, straight tile cutting, however, using a tile cutter is as easy as 1, 2, 3;
- Using a pencil, mark where the tile needs to be cut. Make sure that you cut the tile smaller than the actual space to allow for even grout joints.
- Place the tile in the tile cutter and run the scorer wheel across the tile (once only!). This creates a breakpoint in the tile.
- Push down the breaker. This will deliver a nice clean and evenly cut tile.
Our Hot Tip: Your safety is the number one priority! Tiles are heavy with sharp edges so you must have the right safety protection; footwear, a mask, gloves, earmuffs and work in a well-ventilated room if you are cutting tiles.
Our Hot Tip: Our experts have created a handy DIY guide that will be your best friend throughout your DIY journey - download the DIY guide.
How To Cut Tiles
Our tiler mates show you how in this video.
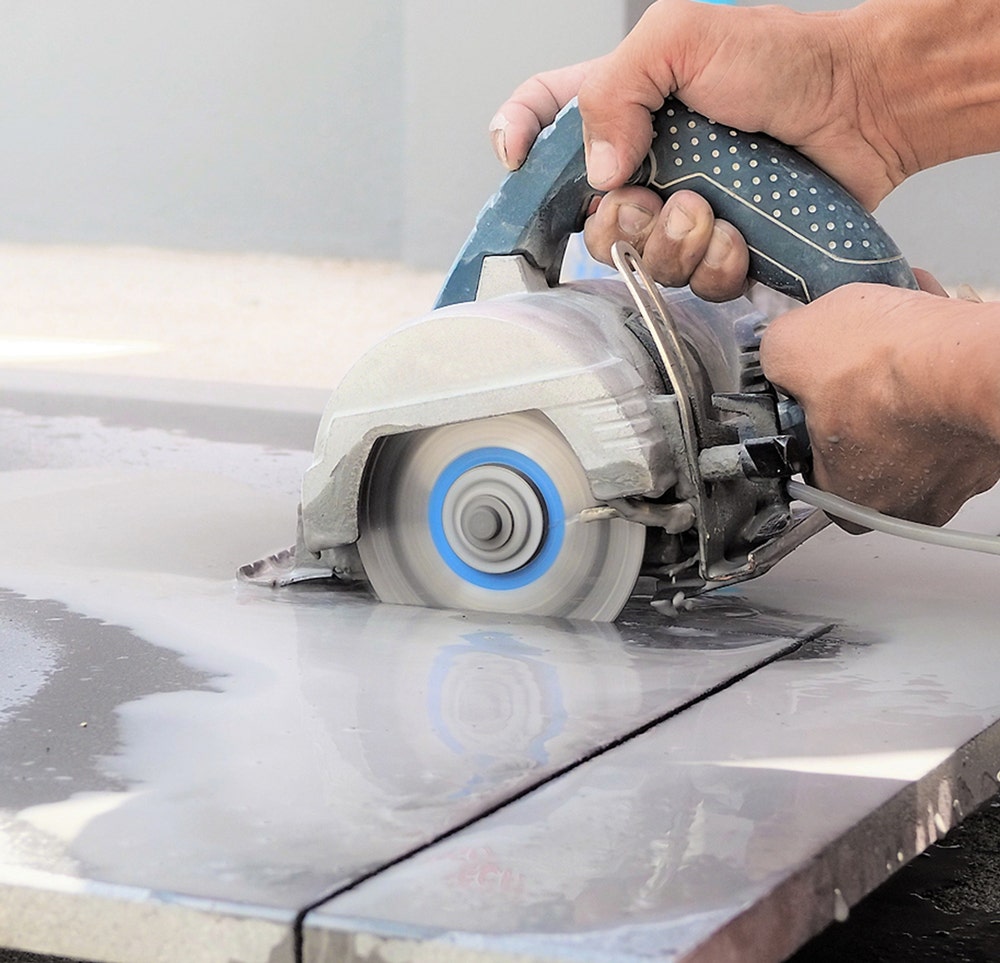
Straight Cuts On A Wet Saw
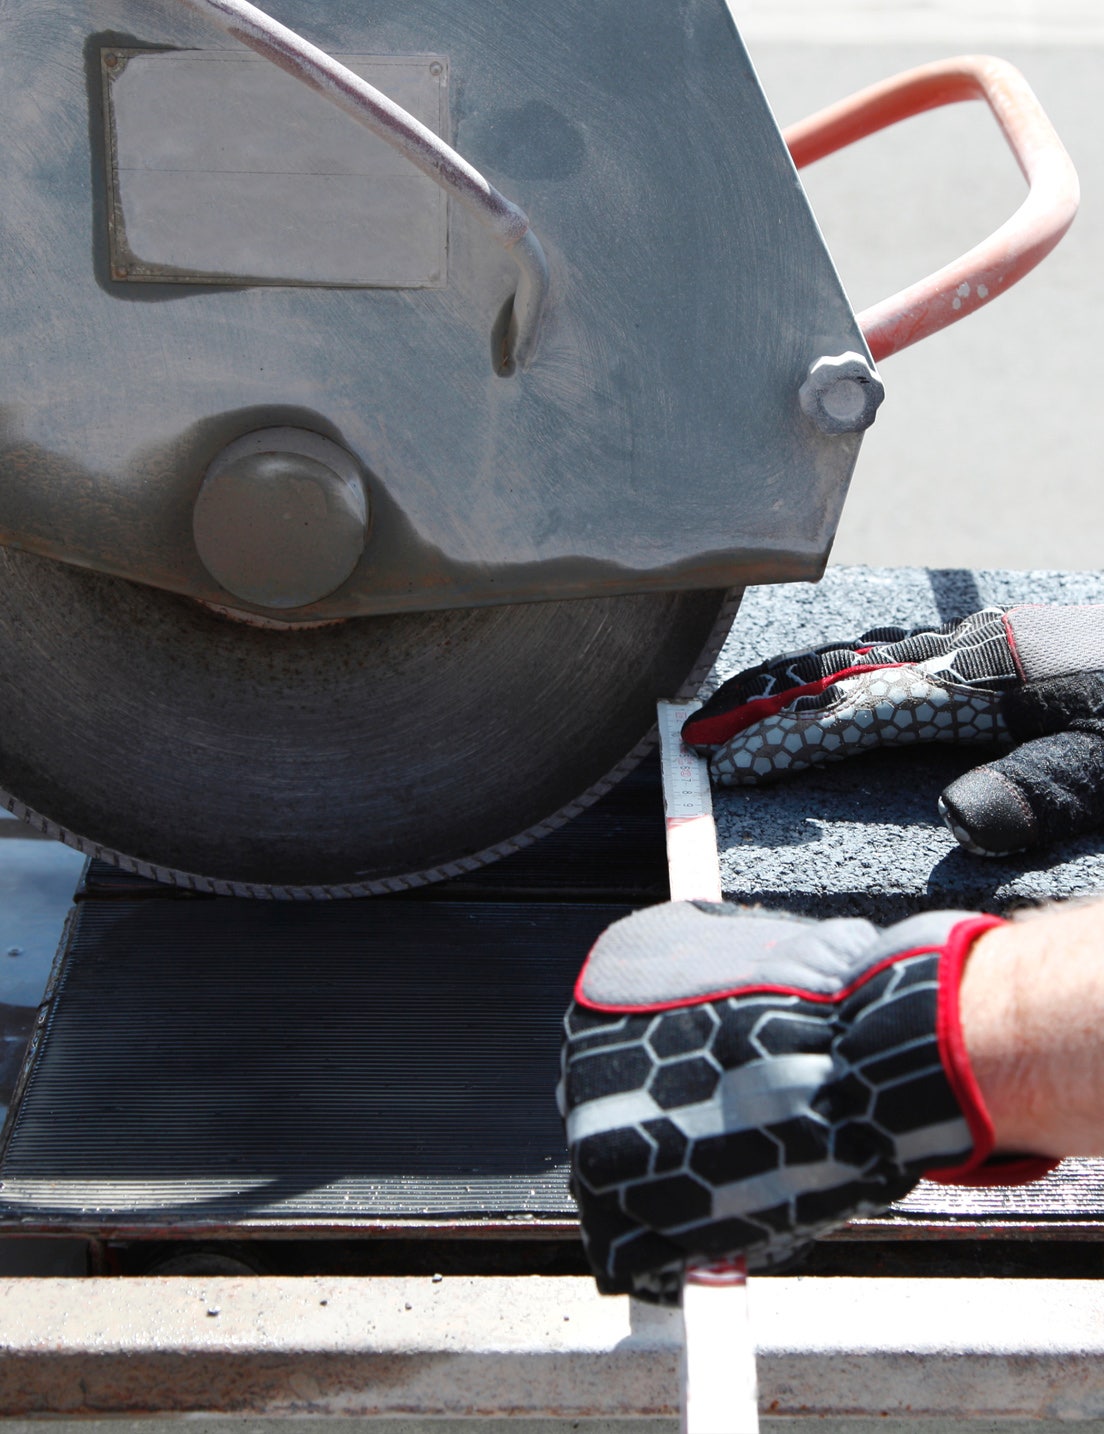
There are two main options for straight cutting, using a manual score-and-snap tile cutter or using a diamond bladed electric wet saw. Depending on your project size and the type and thickness of the material you are cutting, a wet saw will cut more precisely with a cleaner and generally, chip-free and smooth cut edge. This is also the type of saw to use if you are cutting natural stone tiles, glass tiles or harder to cut porcelain tiles. The wet saw cuts with a rotating diamond-tipped blade that is cooled by water (which also reduces any dust). They are ideal when you have a lot of heavier, thicker, dense tiles, stone tiles or pavers to cut and when you want a pristine straight cut edge.
An electric wet saw looks like a tabletop that the tile sits on. A circular diamond-tipped blade connected to an electric motor sits above the tile. Depending on the type of wet saw, either the tabletop moves under the fixed saw blade or the rotating cutting blade moves over the tile on a fixed tabletop. Either way, the water-cooled diamond blade cuts the tile. There is a range of blades available to suit different types of tile cutting.
Wet saws are usually operated outdoors due to the water spray but will give a professional cut and are not very difficult to operate once you know the process and have had a little practice.
To cut with a wet saw, mark tiles in the same way as when using a hand tile cutter but use a fine marker pen rather than pencil so your line does not wash off. Do not force the saw through the tile, it should cut without slowing the blade. Ensure there is sufficient water flowing when operating the saw to keep the blade cool and optimise the cut.
Once the tiles are cut, they will be covered by muddy cutting water. Do not allow this to dry on the tiles - rinse the tile (front and back) in clean water after cutting and allow it to dry before installing.
Our Hot Top: Depending on your project size and the type and thickness of material you are cutting, a wet saw will cut more precisely with a cleaner, generally chip-free smooth cut edge.
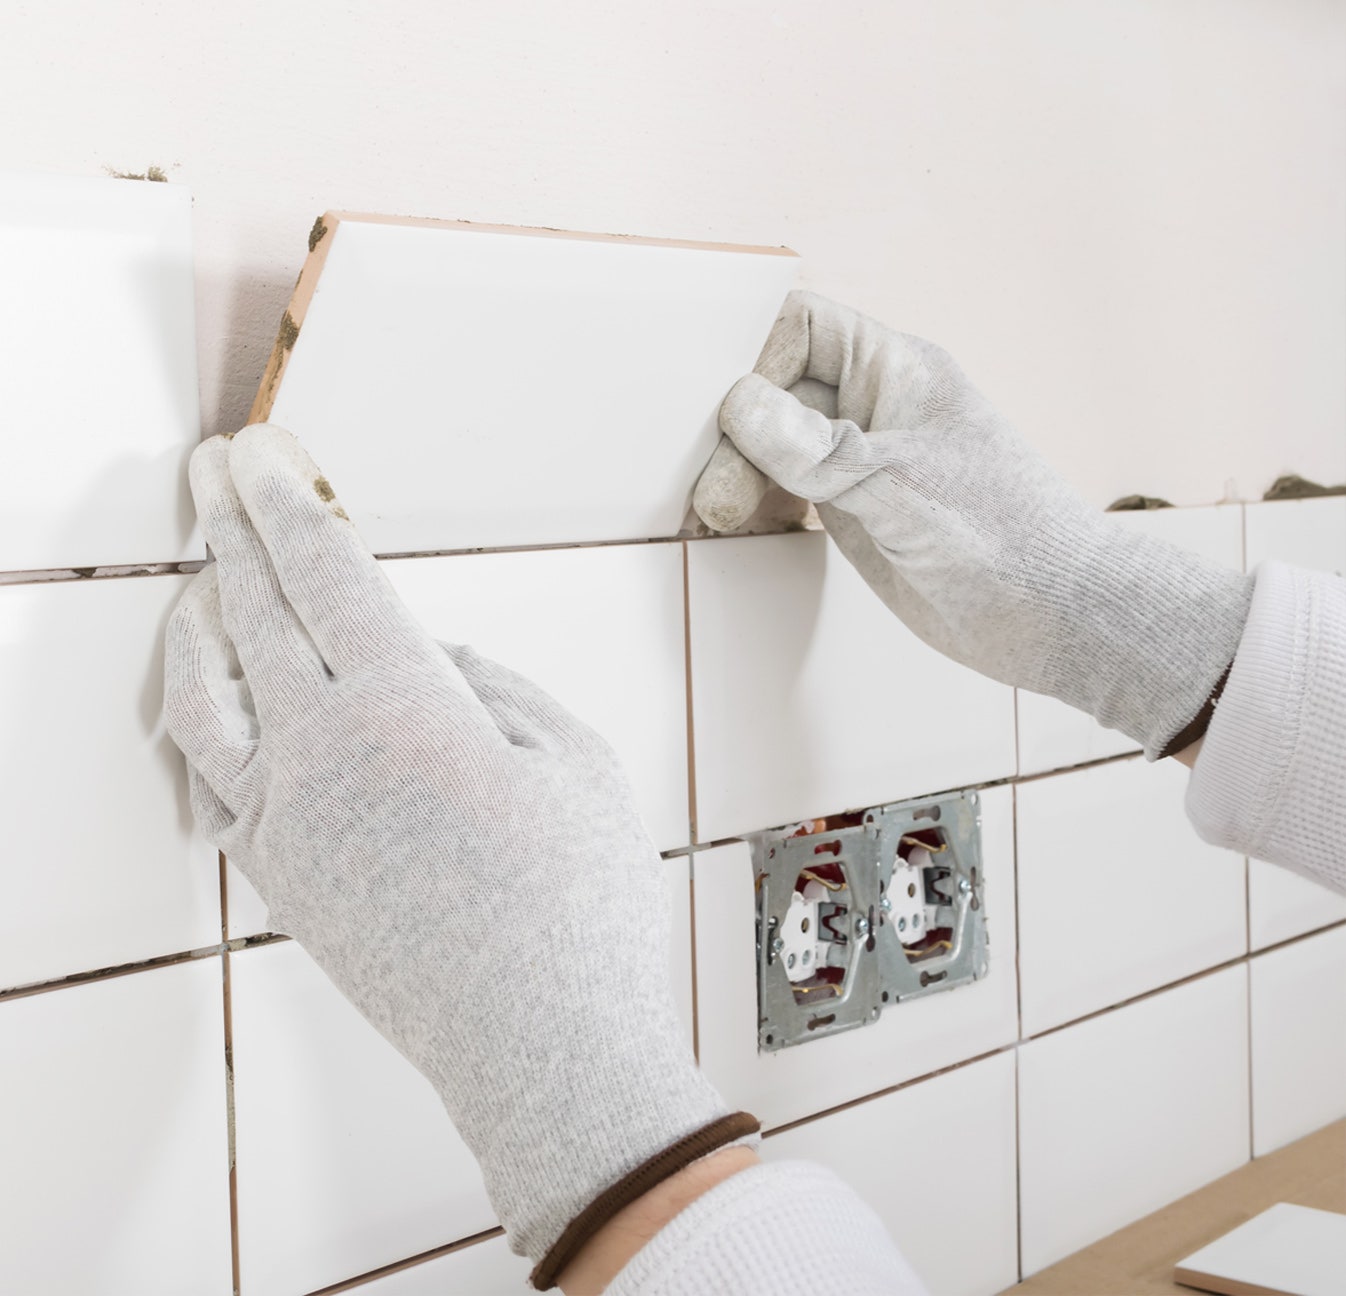
Cutting Small Shapes - Power-Points
- Make sure all the power is disconnected before you start working around any powerpoint. Using a pencil or fine marker pen, mark where the tile needs to be cut. Make sure that you mark the tile smaller than the space to allow for even grout joints.
- Use the tile cutter to score each of the lines that will be cut. This creates a break point in the tile.
- Break off little pieces (‘nibbles’) of the tile using a pair of tile nibblers/tile nippers until the marked out shape has been achieved. Always break off small amounts at a time: never try to break off the whole shape at once.
Our Hot Top: Tile nibblers are needed for this job, ask your local Beaumonts expert for our recommendations. You'll find our range here.
Our Hot Tip: Our experts have created a handy DIY guide that will be your best friend throughout your DIY journey - download the DIY guide
Cutting Small Shapes With An Electric Grinder
For a small shape, you may decide to cut your small pieces out using an electric grinder fitted with a diamond cutting blade for ceramic tiles. This must be done with care as cutting can create hazardous dust. Remember to always cut outside in a well-ventilated area, wear a well-fitting respirator mask and other PPE like hearing and eye protection. Use a vacuum suction head near the cutting blade to remove dust and dispose of the vacuumed dust safely.
- Make sure all the power is disconnected before you start working around a powerpoint. Using a pencil or fine marker pen, mark where the tile needs to be cut. Make sure that you mark the tile smaller than the space to allow for even grout joints.
- Use the electric grinder fitted with a diamond cutting blade suitable for tiles. Cut the sides of the shape first then the middle.
- Break off any remaining little pieces of the tile using a pair of tile nibblers until the marked out shape has been achieved. Always break off small amounts at a time: never try to break off the whole shape at once.
Our Hot Top: Protect your safety when using an electric grinder to ensure you do not breathe in harmful silica dust. Remember to always cut outside in a well-ventilated area, wear a well-fitting respirator mask and other PPE like hearing and eye protection.
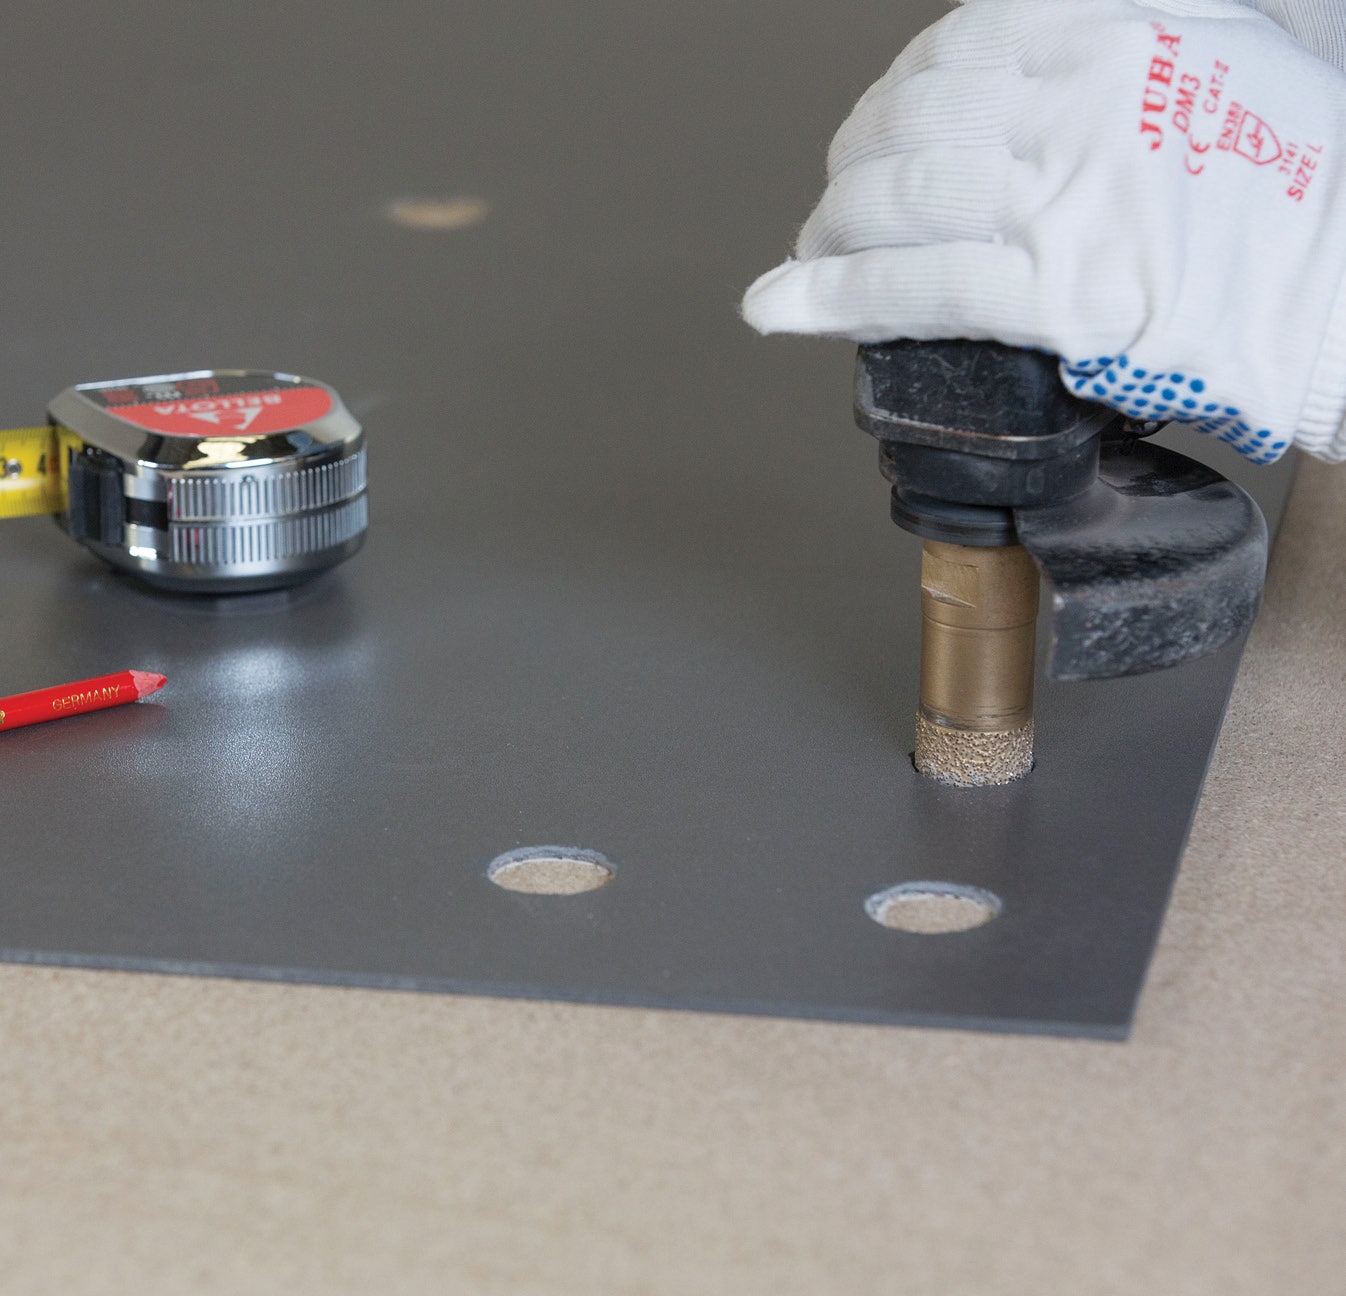
Cutting Holes In Tiles For Taps
Almost every tiling job will involve cutting tiles but when you're tiling a bathroom, laundry or kitchen, you will also need to make extra cuts for your taps and plumbing fittings.
There are two important things you need to know about cutting holes in tiles for taps. The first is that you'll need to use a tradesman or handyman hole cutter that’s suitable for tiles. The second is that you must cut the tiles before you lay the tiles.
Always wear gloves, hearing protection and appropriate safety glasses when cutting tiles. Also wear a fitted dust mask/respirator and cut outside or in a well-ventilated area whenever drilling or cutting with an electric grinder.
- Use a pencil to mark where the tile needs to be cut, making a mark at the centre of the hole to guide the hole cutter.
- Place the tile over a suitable, stable work surface and lightly score the centre marks with a grinder to stop the drill from skidding.
- Drill the hole using a hole cutter from the front of the tile.
How To Cut A Hole In Tiles For Taps
Our tiler mates show you how in this video.
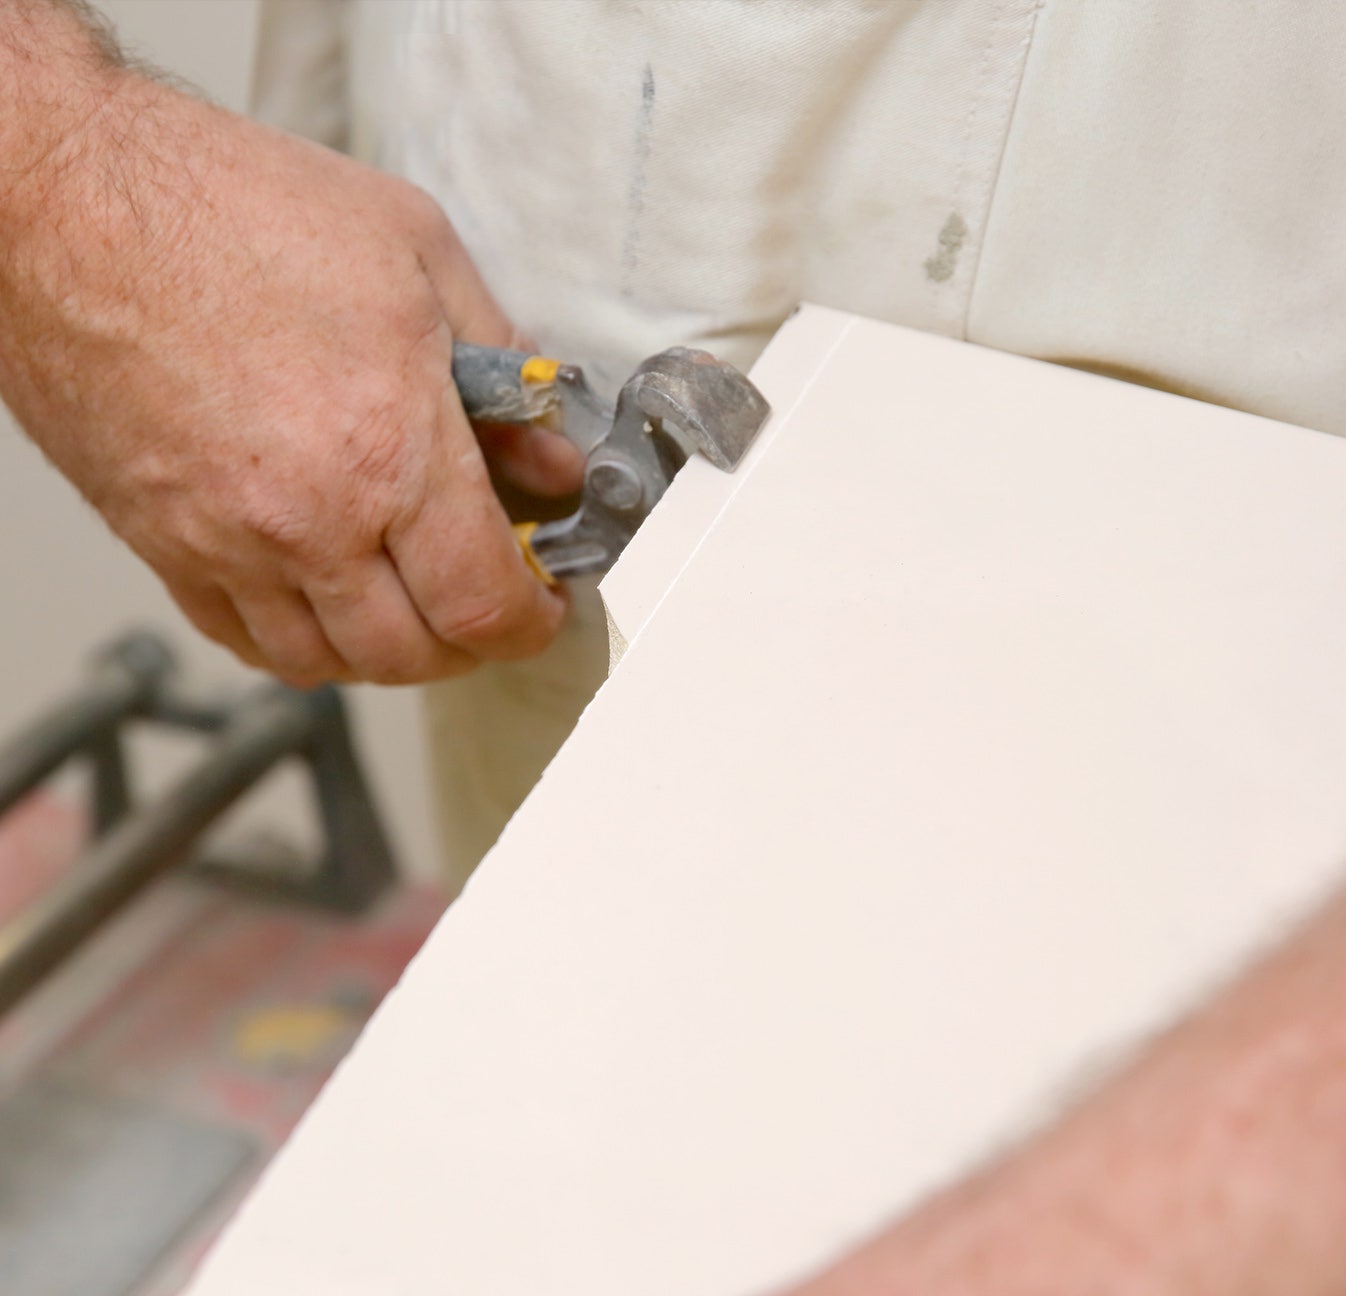
Cut With Tile Nippers
A nipper is a hand tool used to bite off small chunks of a tile so you can cut along curved lines. The main difference is that the jaws on a nipper have cutting edges. Nippers are generally used for smaller jobs.
If only a very small amount is to be cut off a tile, scribe as normal but then with tile nippers, nip the rest of the tile away. The big tip is, use small bites!
What you'll need:
- A fine marker or pencil
- Eye protection
- A straight edge to work on
- Tile nipper
How to:
- Mark and score a cutting line.
- Slowly start nipping. resist the urge to nip away big chunks of tile - be patient and take your time.
- Work your way across the tile to finish.
- If your edges need smoothing, use a sharpening stone or carborundum file.
Our Hot Top: Practise with a tile off-cut or spare before the real deal!
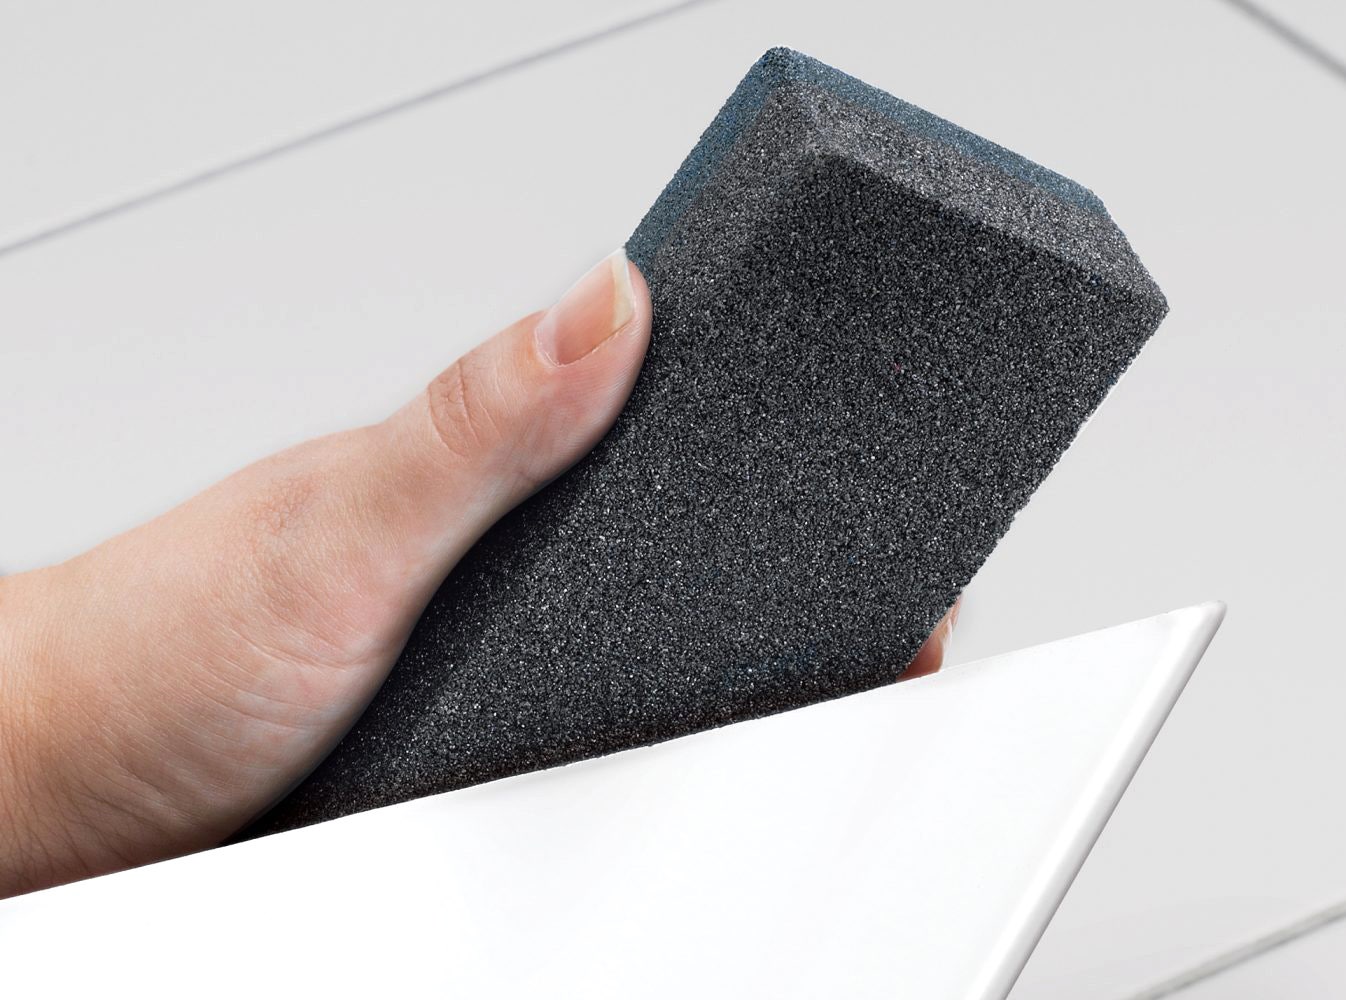
What's A Carborundum File
A carborundum file is made to smooth off any sharp edges of a cut tile. Similar to a sharpening stone, they will not make a score-and-snap edge as smooth as an edge from using a wet saw, but the carborundum file will dull the sharp glaze edge and smooth off some irregularities.
Our Hot Tip: Our experts have created a handy DIY guide that will be your best friend throughout your DIY journey - download the DIY guide